Happy Independence Day, y’all! I hope you get to celebrate our stars and stripes in good old down-home fashion with food, fireworks, friends and family. We are headed out to our friends’ lake house later today, but only after the local parade, carnival and naps. . . oh, and of course we’ll stop for fireworks along the way.
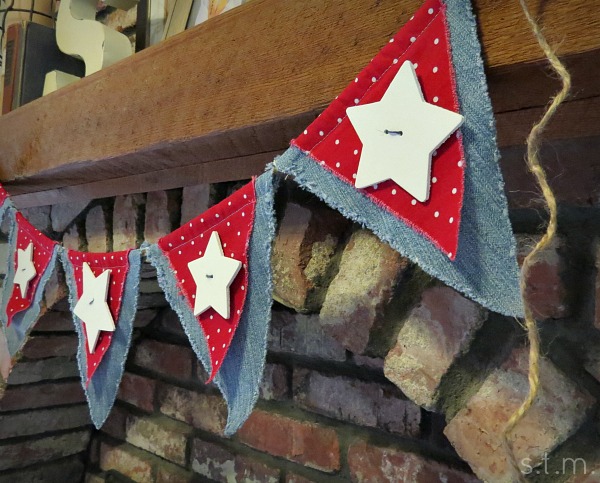
This is definitely one of my favorite holidays of the year and I love decorating our home with loads of red, white and blue. I just had to share one last patriotic project that I finished this weekend, using a pair of old jeans, cheap material, a bit of jute and a few wooden stars. I knew I would eventually do something with that stash of jeans in the corner of my craft room.
I simply cut pieces of jeans and fabric using my triangle stencil and sewed them together along the top to create a pocket for the strand of jute. In the meantime, I used my large Crop-a-Dile to poke two holes in each star to mimic buttons and painted the stars white. Before I moved on, I popped the sewn banners in the washing machine and dryer to fray the edges just a bit. After a quick ironing, I sewed the star “buttons” onto each of the banners, ran the jute through the tops and strung it up to my mantel.
Enjoy your Fourth and let a veteran or service person know he/she is appreciated!