My son and I enjoyed yesterday’s wonderful fall afternoon walking in the woods, gathering leaves and creating a beautiful autumn swag with our bounty. This was just a little project I dreamed up that I knew my little guy would enjoy and it was a good excuse to tromp through the woods together on a beautiful day.
If you have a hole punch and a little patience, this is a perfect family craft project. We simply picked up lots of colorful, and some not so much, leaves throughout our walk and then used a hole punch to poke holes near the stem of each leaf (unless nature had already provided one), sorting them into small, medium and large leaf piles as we went. My six year old loved punching the holes!
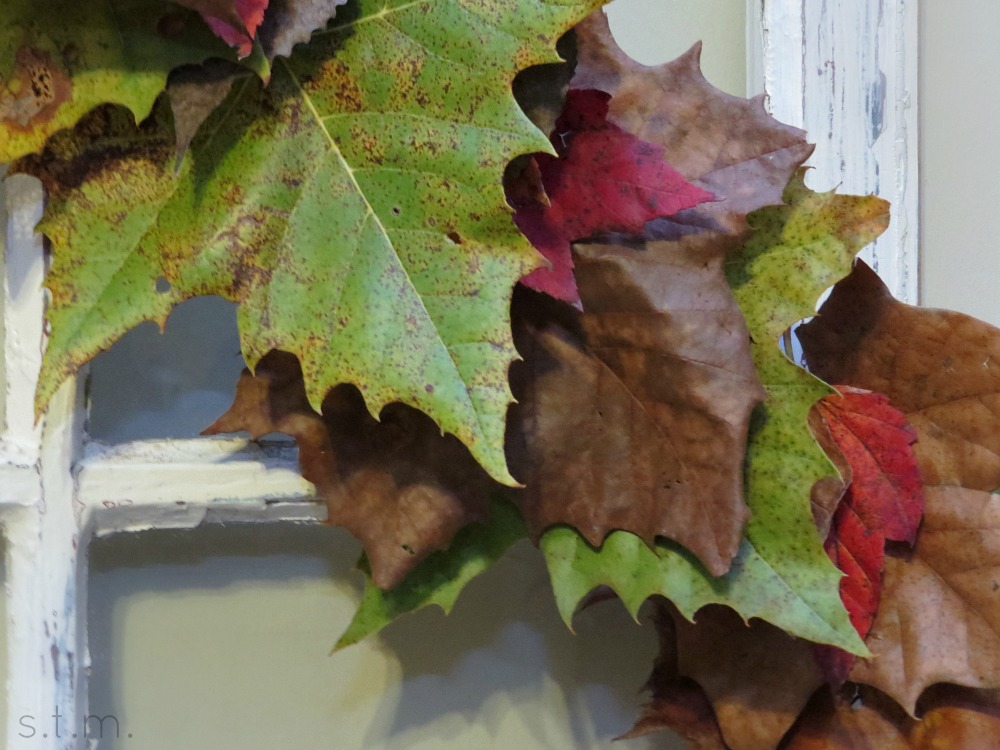
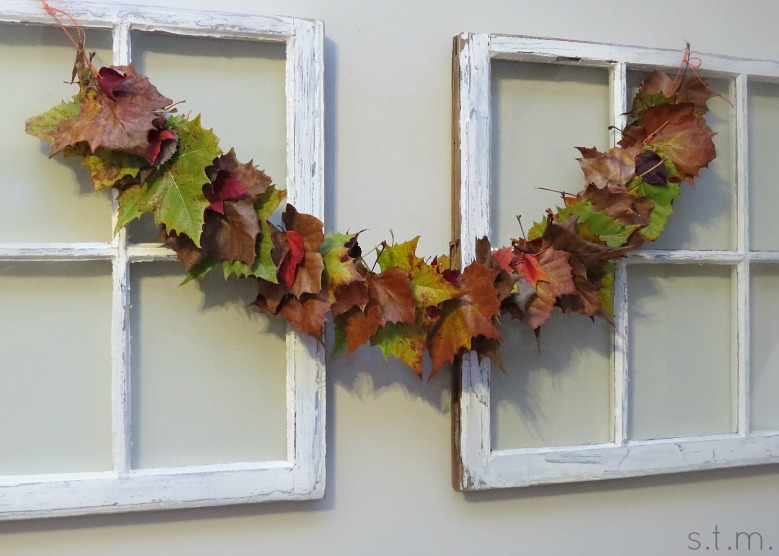
After everything was punched and sorted, we started stringing. We simply loaded a long piece of baker’s twine with a variety of leaf colors and sizes and tied a bow at both ends. After I hung the sway, I evenly spread out the leaves until it was pleasing to the eye and you could see several different colors and leaf sizes. Of course the leaves will continue to dry out and lose lots of color over time, but that’s part of the charm. Also, this cute little swag is highly flammable, so maybe the fireplace isn’t the best place to hang such a thing.
I loved how this autumn swag turned out and had a great time making it with my son; unfortunately this is probably one of those one-event-only projects that will go in the trash before the forth coming Christmas décor explosion. Oh well, I guess we’ll just have to make another one next year.