Okay all my fellow Corona shut-ins, I have been promising to post my reusable mask instructions here at Small Talk Mama and I’m finally taking a few moments to pass along the pattern, which is a combination of two different designs I found online. Those two links are at the bottom of this post; so if I completely confuse you, please take a look at those instructions for some clarification.
Let me start by saying this type of mask is not guaranteed to keep out any type of germs; but since healthcare workers are asking for these reusable masks during the current shortage, I’m guessing they are better than nothing. I plan to wear mine while I’m out in public so that I don’t touch my face until I can wash/sanitize my hands.
I originally started making the masks for my fellow real estate agents as we take precautions to keep ourselves and our clients safe and healthy; but as this pandemic continues to infiltrate our communities, more and more doctors and nurses are requesting washable and reusable health equipment. What started as a simple local effort is quickly spreading to healthcare professionals across three states, thanks to the help of my mom and sister.
Materials:
- material, cotton or cotton blend is a good choice but not necessary — I used a myriad of fabric that I had gathered for years.
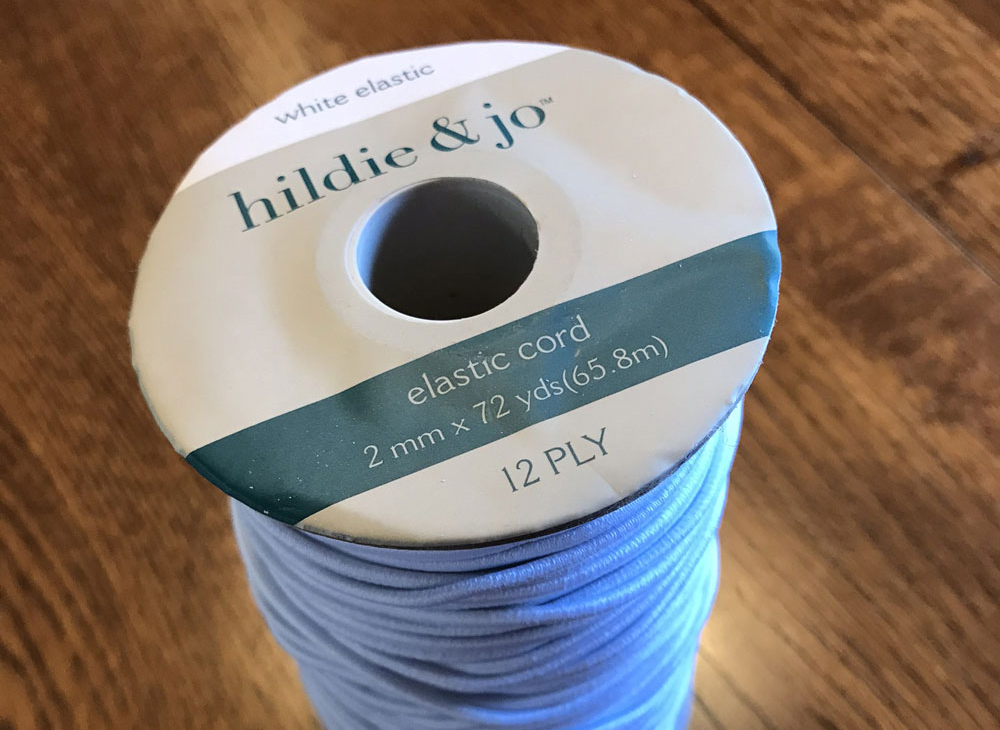
- elastic cord, I used 2 mm
- scissors
- iron and ironing board
- sewing machine with thread
- straight pins (optional)
Instructions:
- Pre-shrink your material by washing and drying.
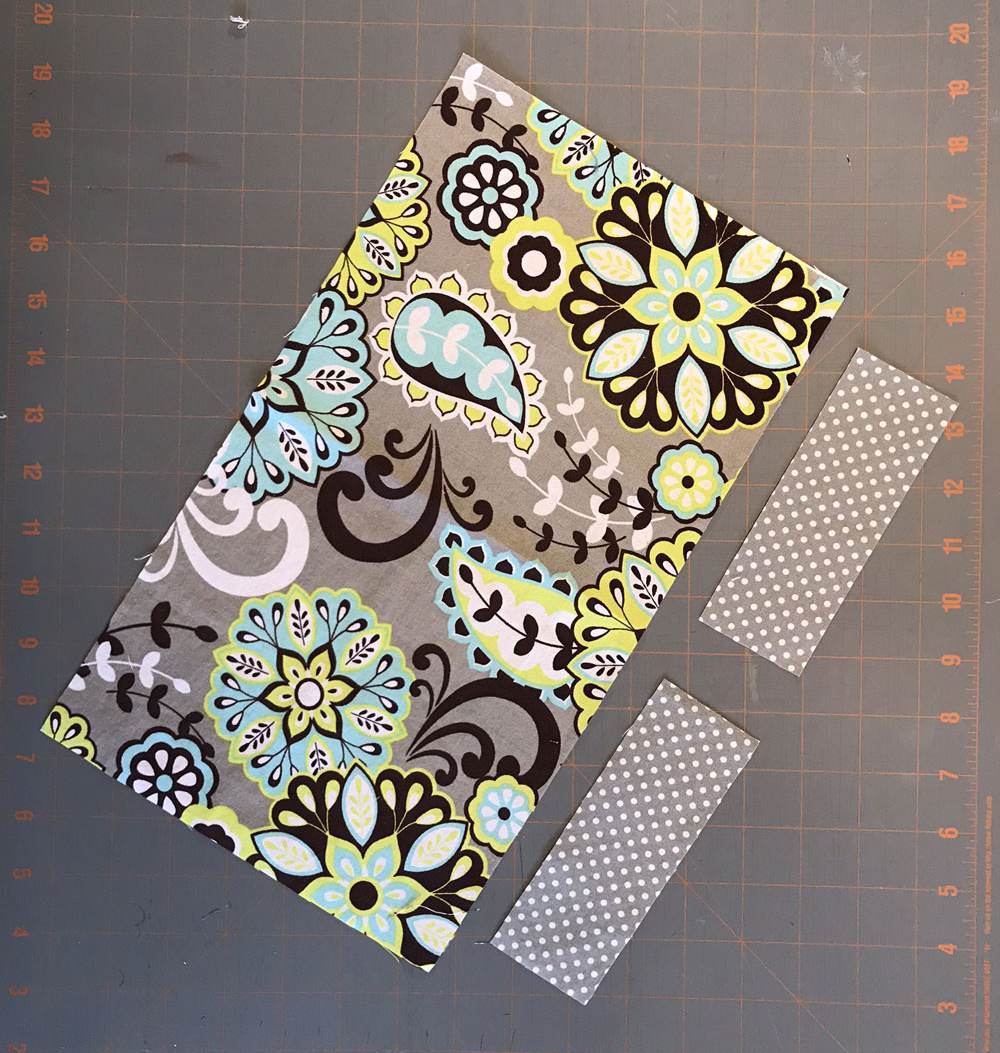
- Cut a piece of material 8 ” x 14″
- Using the same material or coordinating fabric, cut two side pieces measuring 2″ x 5.5″
- Fold the large piece of material to a size of 8″ x 7″ with the right sides of the fabric together.
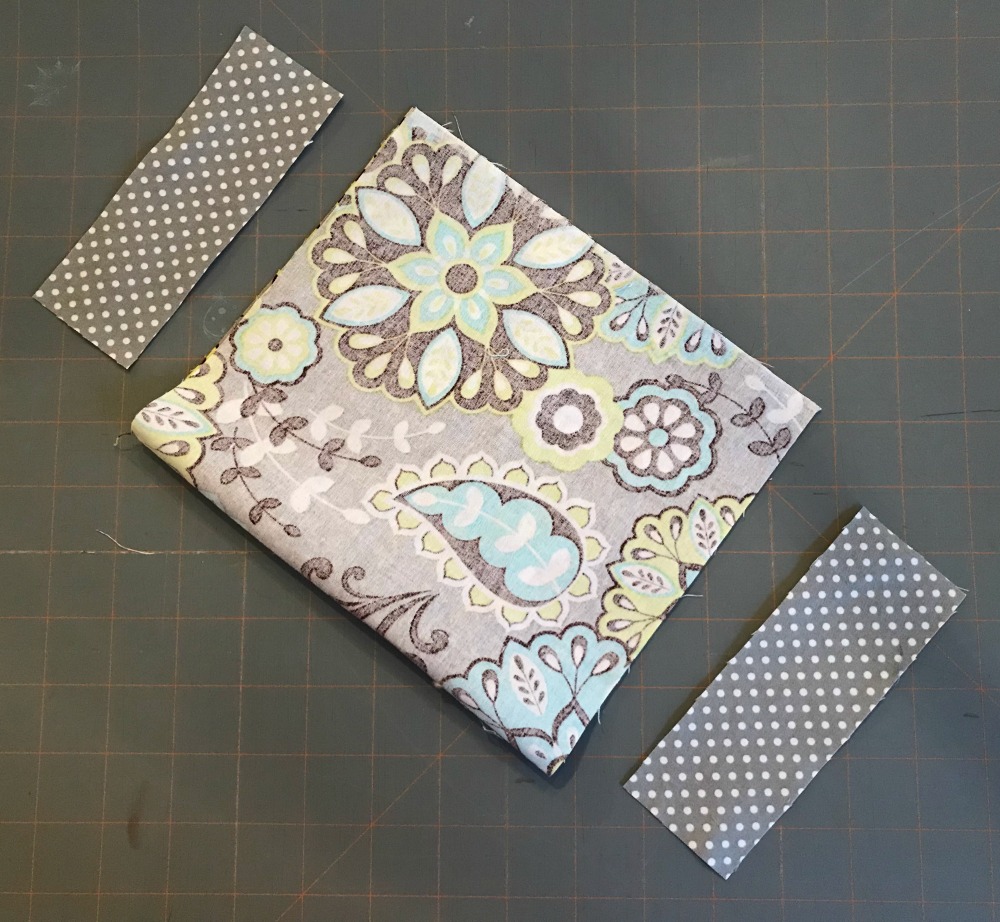
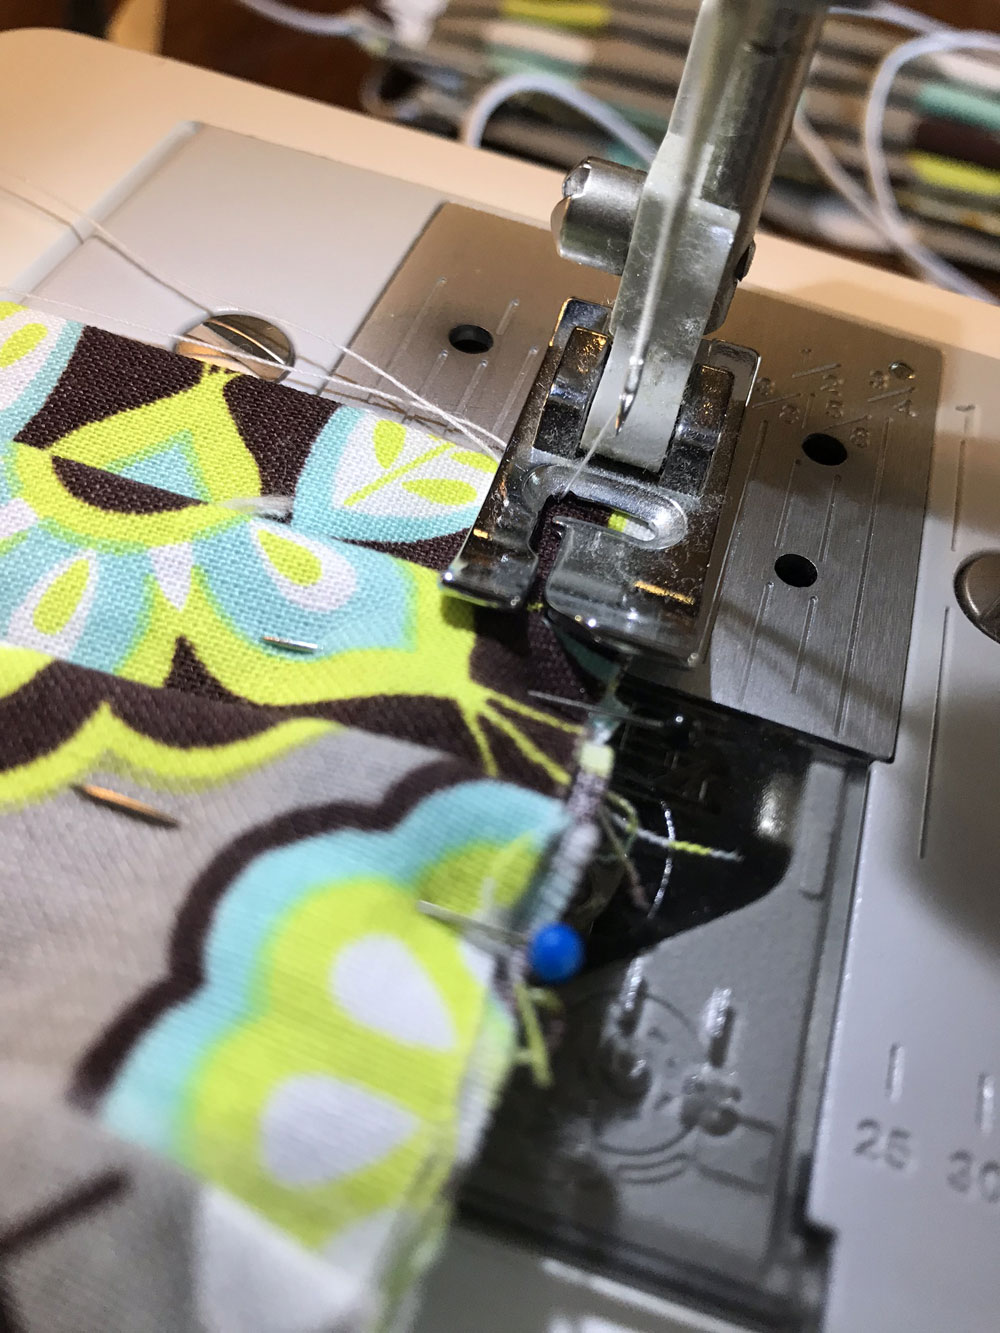
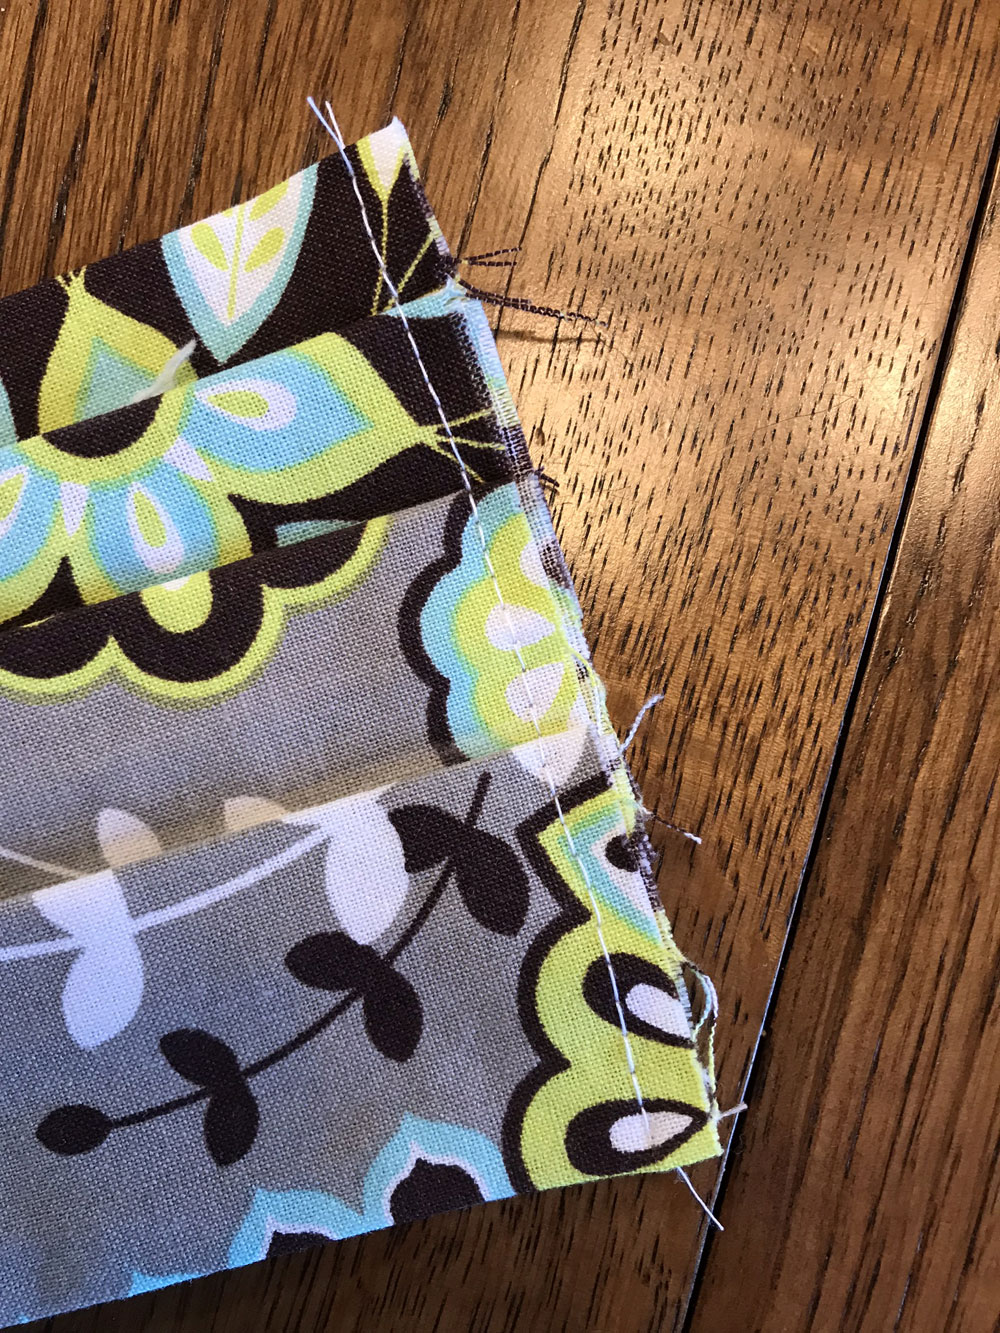
- Sew the 8″ open seam together using a 1/4′” seam allowance.
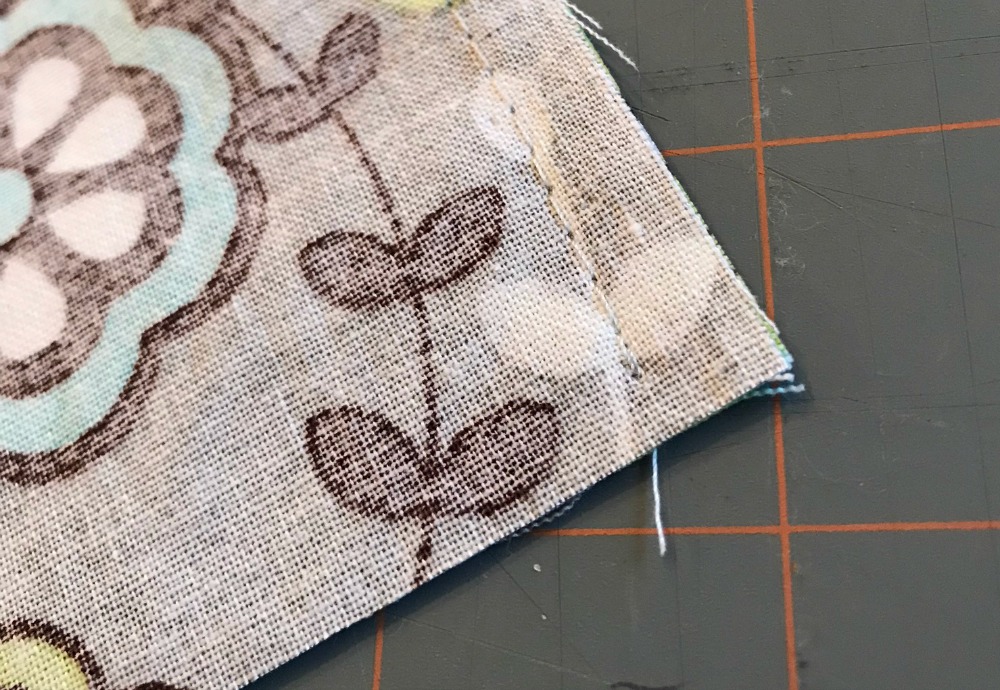
- Turn inside out so that the right side of the fabric is now on the outside. With the 8″ seam at the bottom, press the fabric with your hot iron.
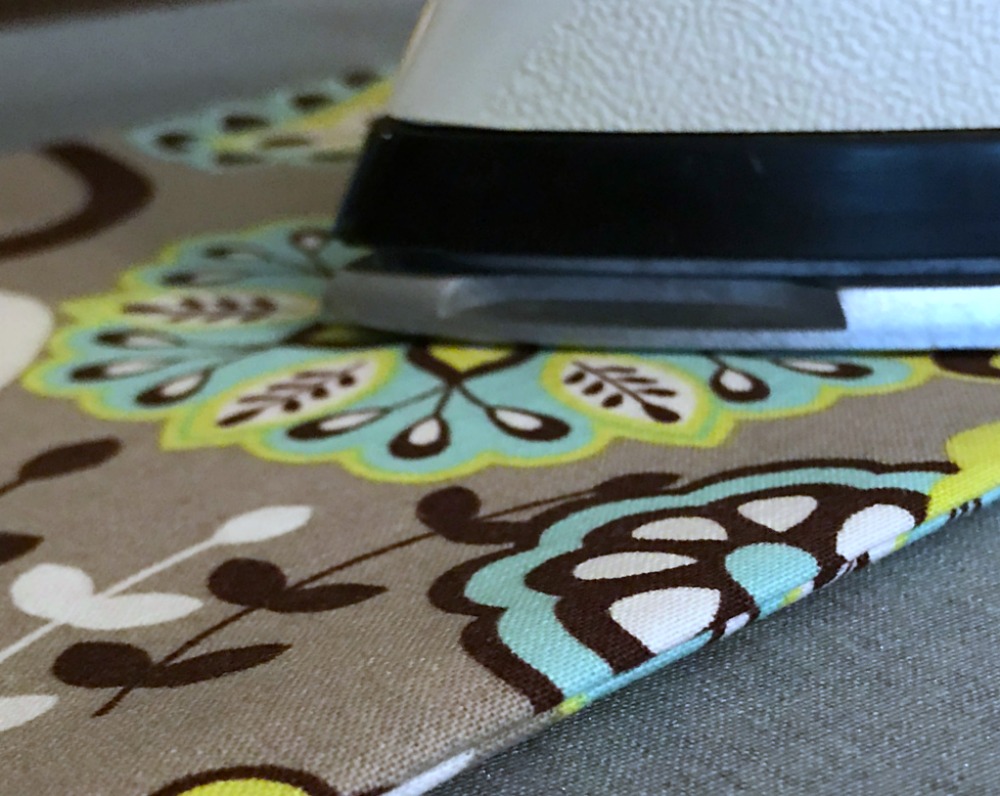
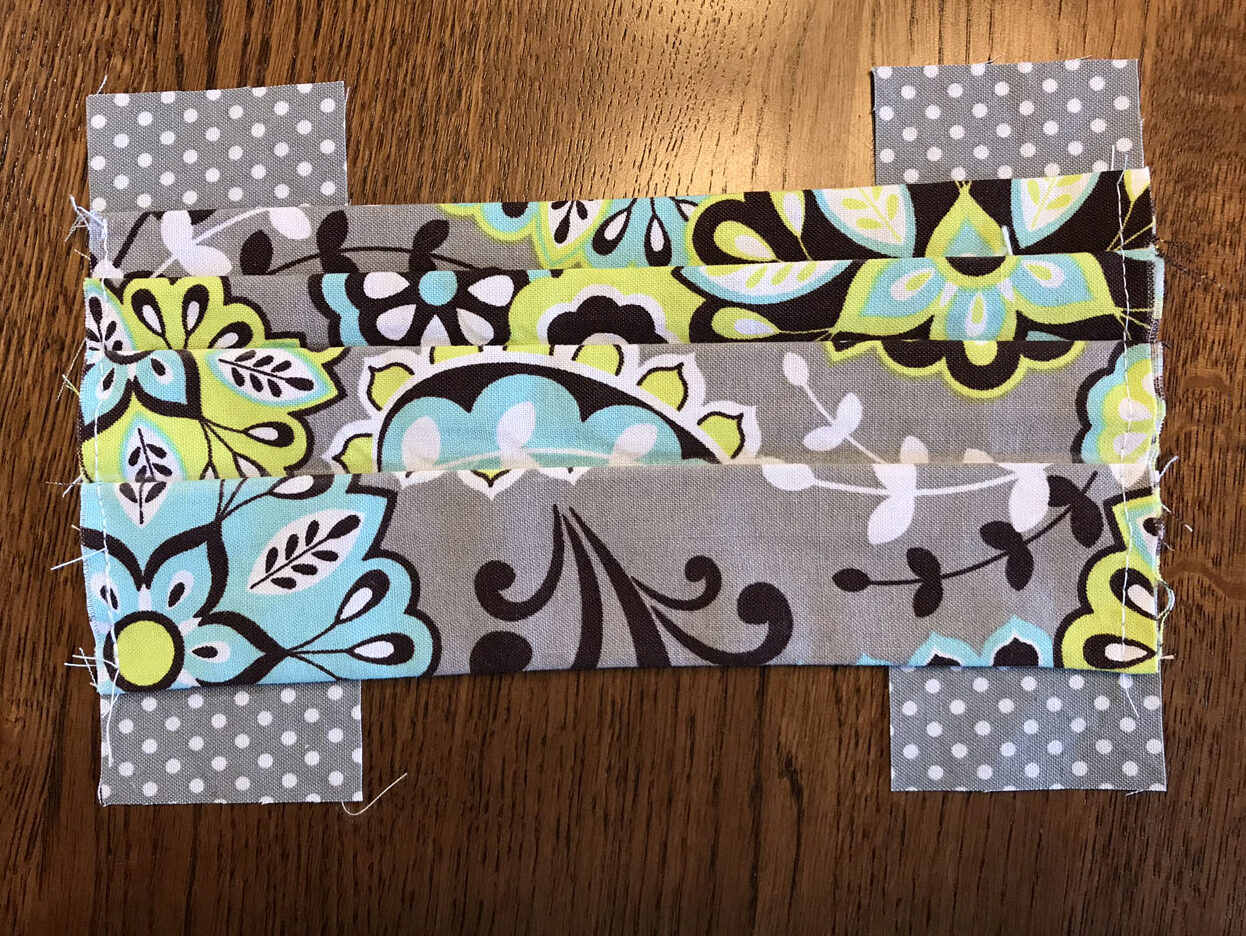
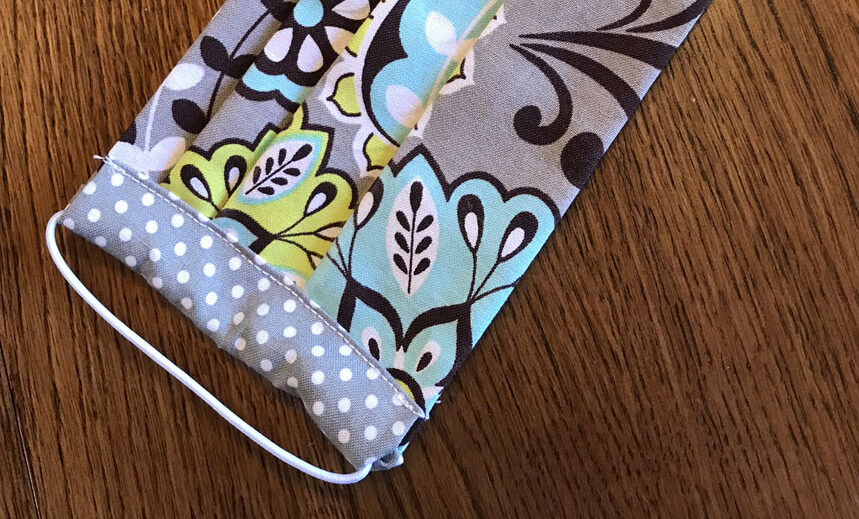
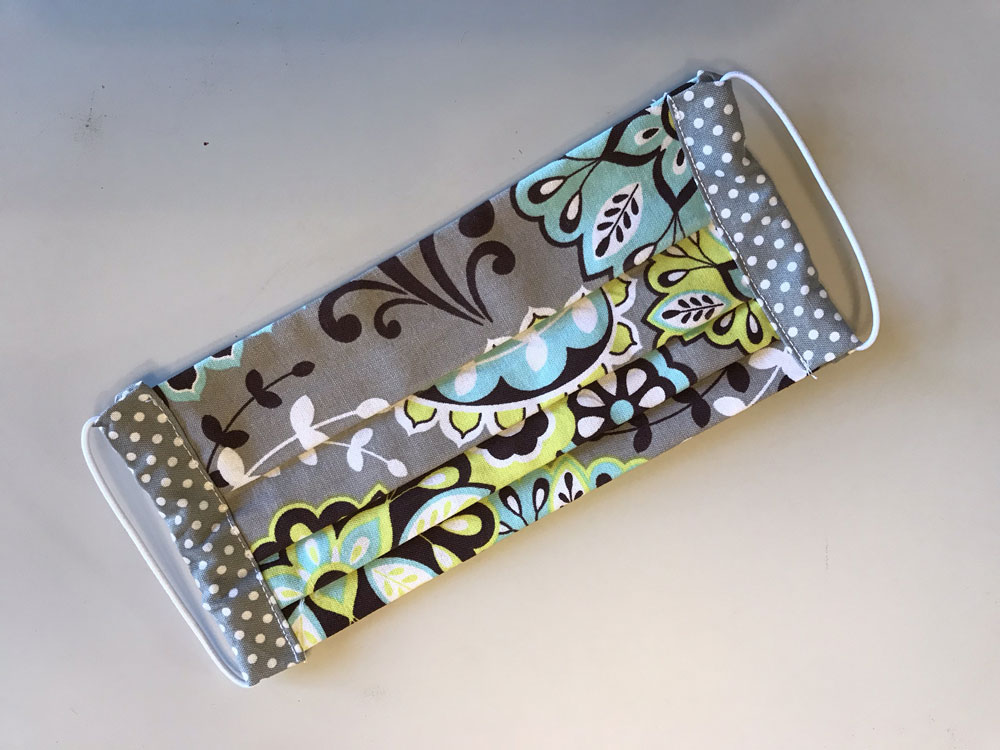
- Fold and press three pleats in your material. The first pleat should start about 1.25″ inches up from the bottom. Leave this amount toward the top also, so that your pleats are centered from top to bottom. You can pin your pleats to keep them in place for sewing, but if you are mass producing these masks you probably can skip this time-consuming task.


- Using a smaller seam allowance, sew both ends of the pleated fabric which will hold the pleats in place.
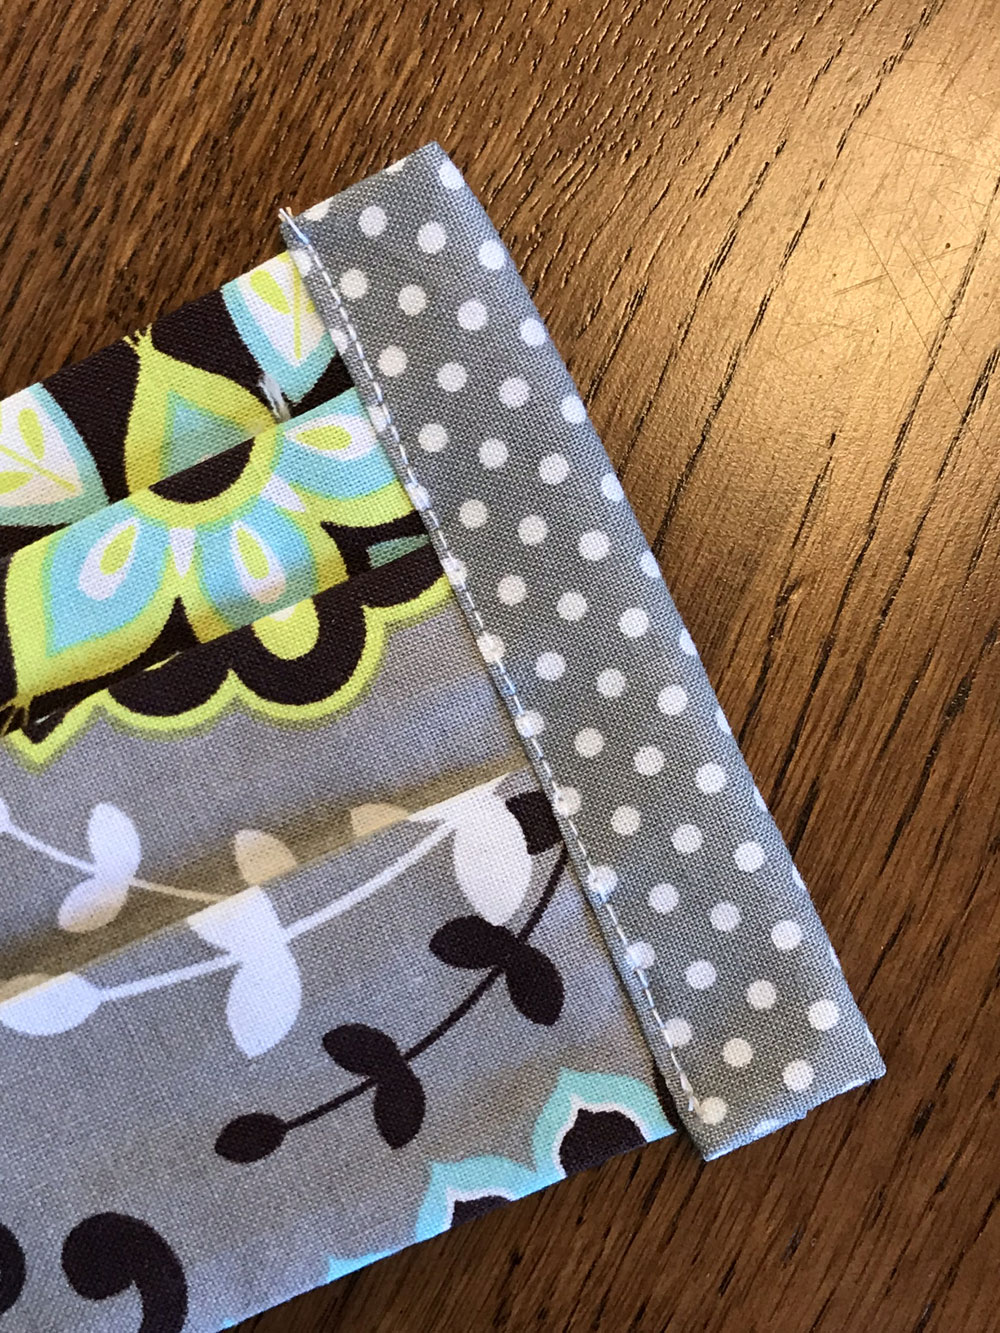
- To make the cord pockets, place the side pieces under each end of the pleated mask face up with the edges together. Fold over the excess fabric at each top and bottom and use a 1/4″ seam allowance to stitch in place. You can pin these flaps before sewing to help hold them in place if you prefer.
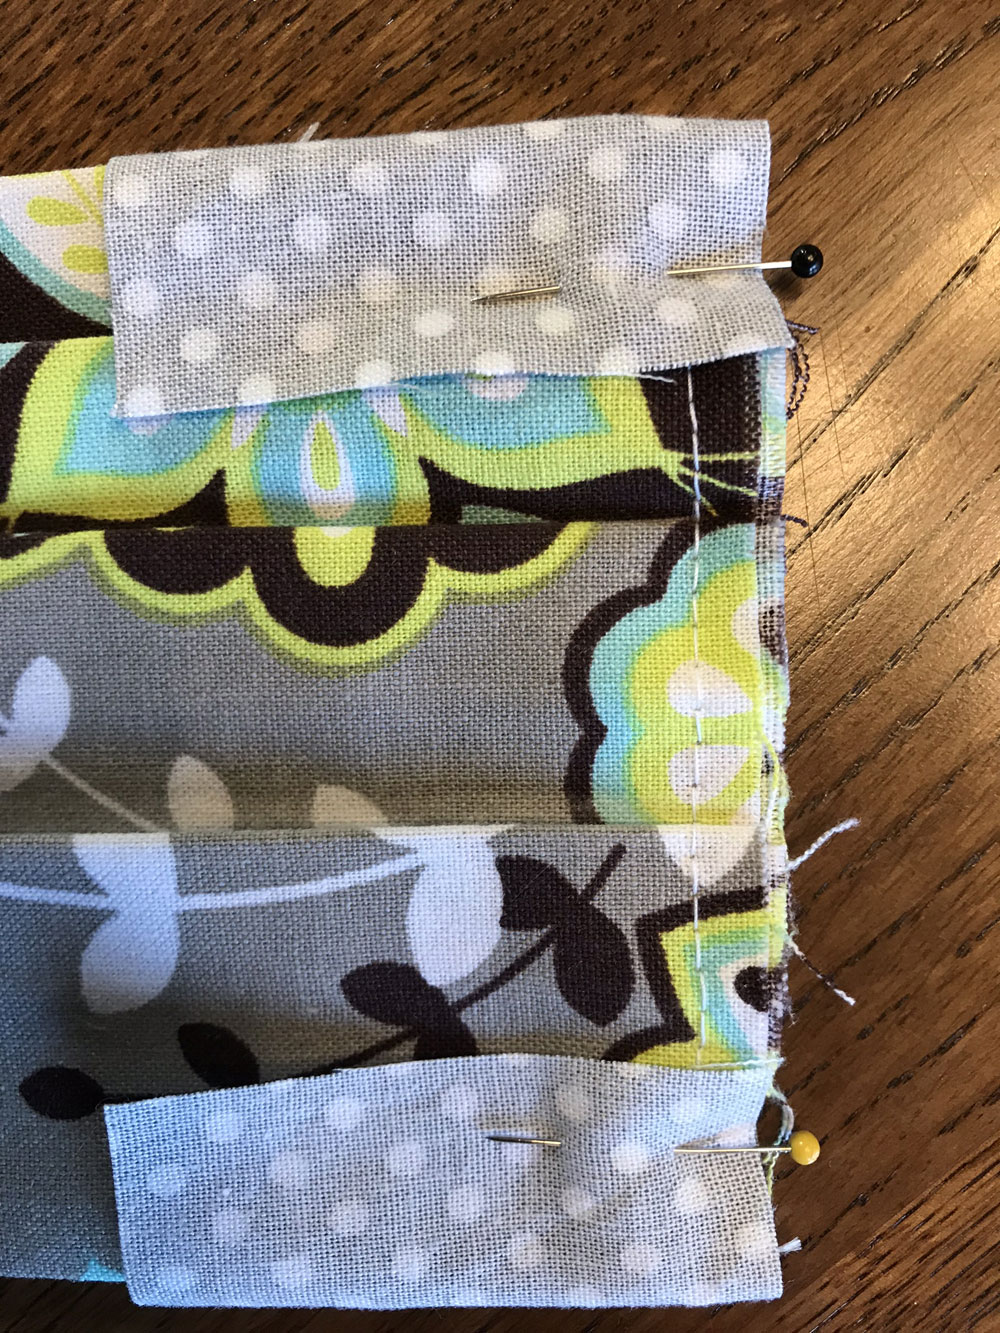
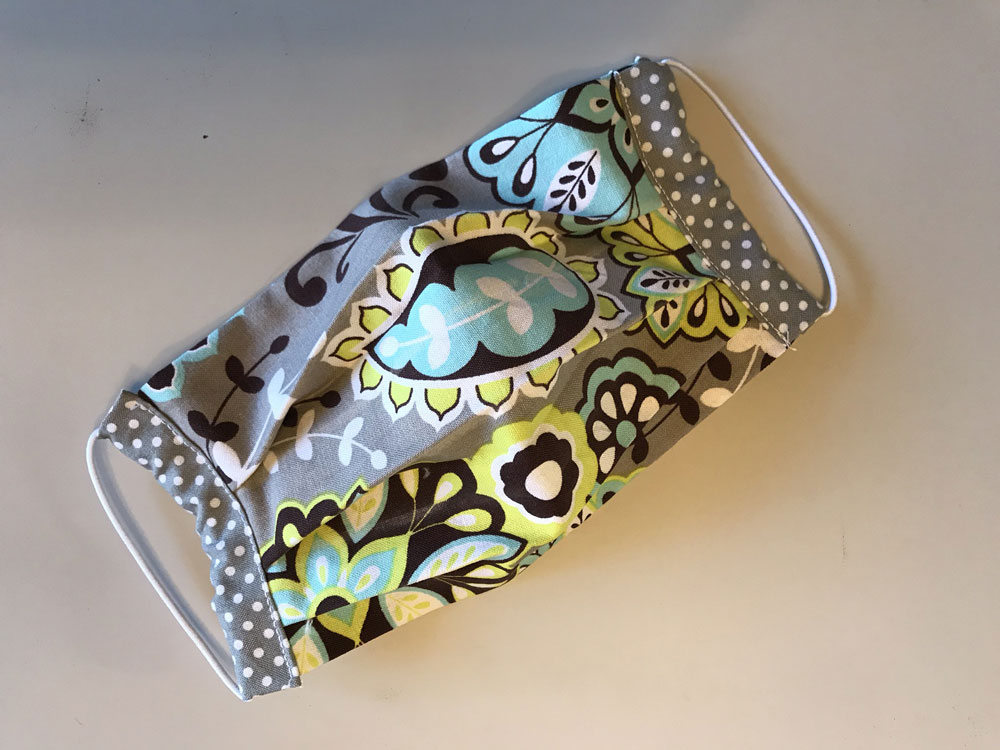
- Unfold the side pieces so that they now extend out past the mask.
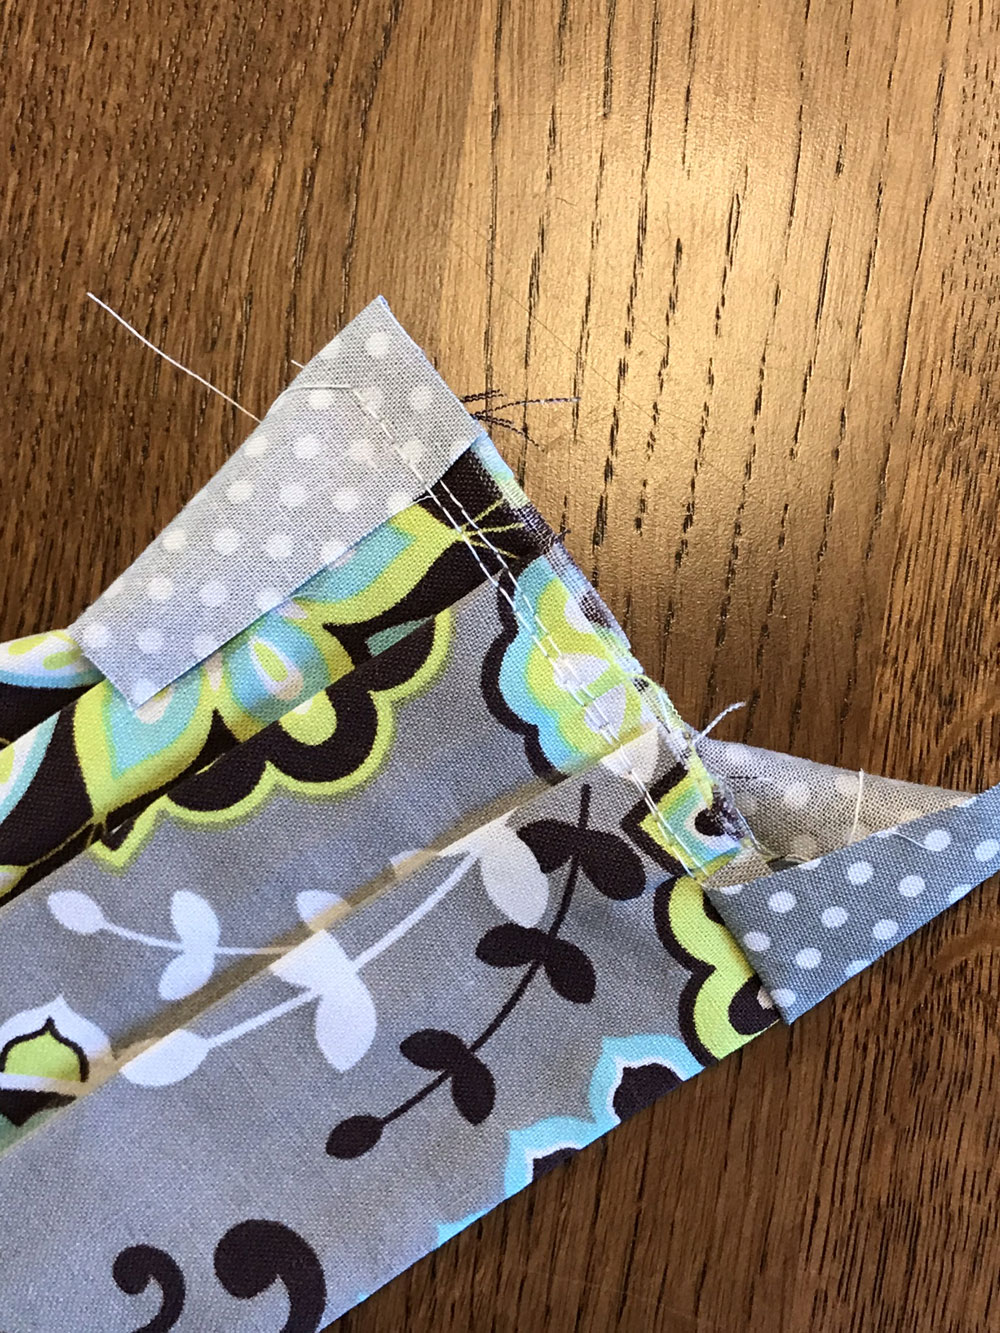
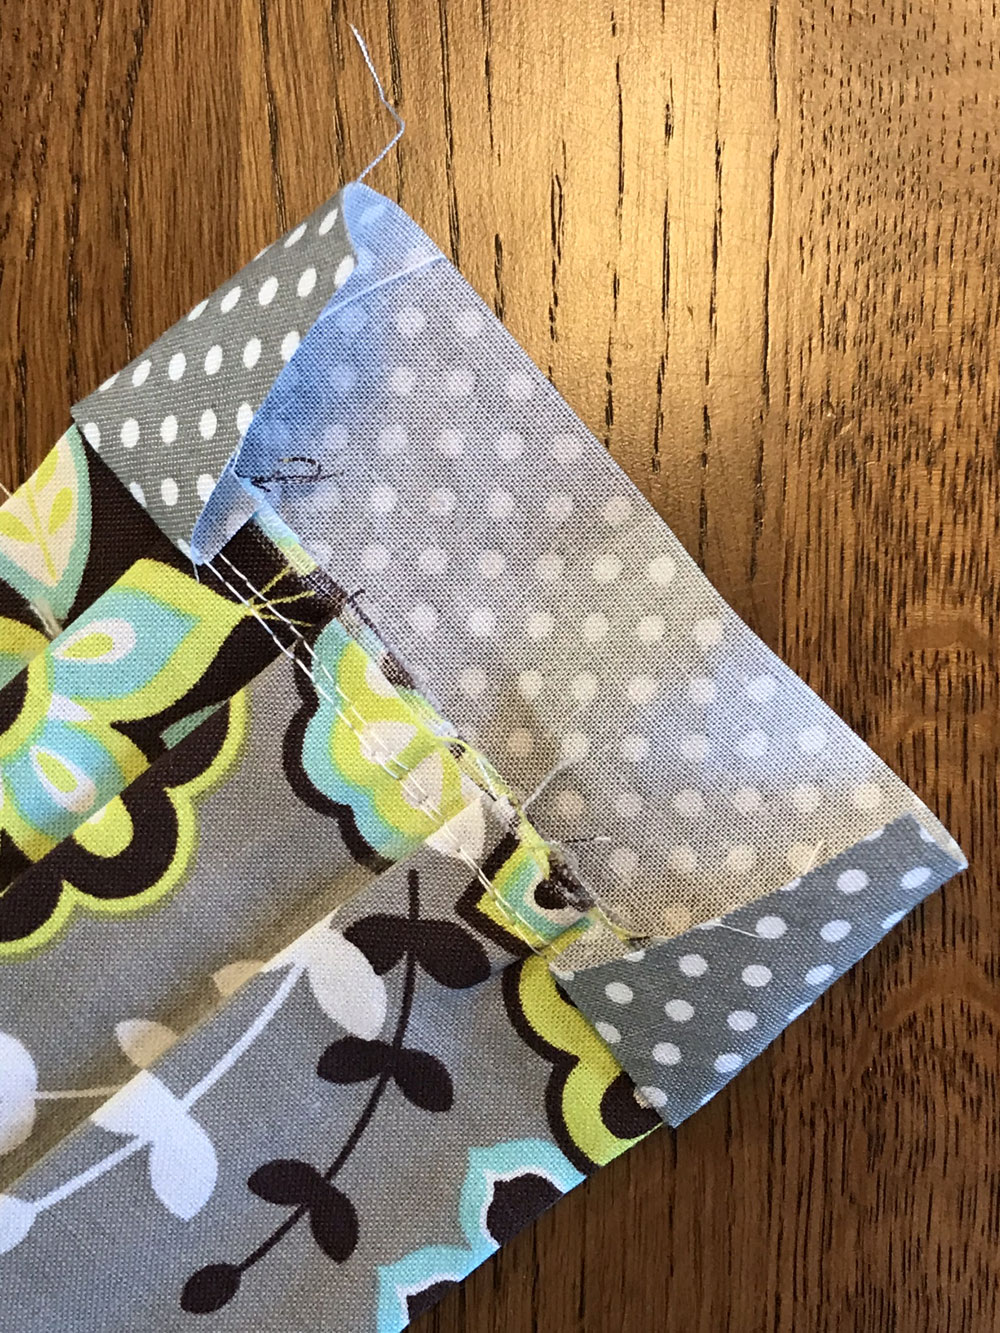
- With the wrong side of the pocket fabric facing you, fold each side piece in toward the mask. Then fold it again to overlap the end of the mask.
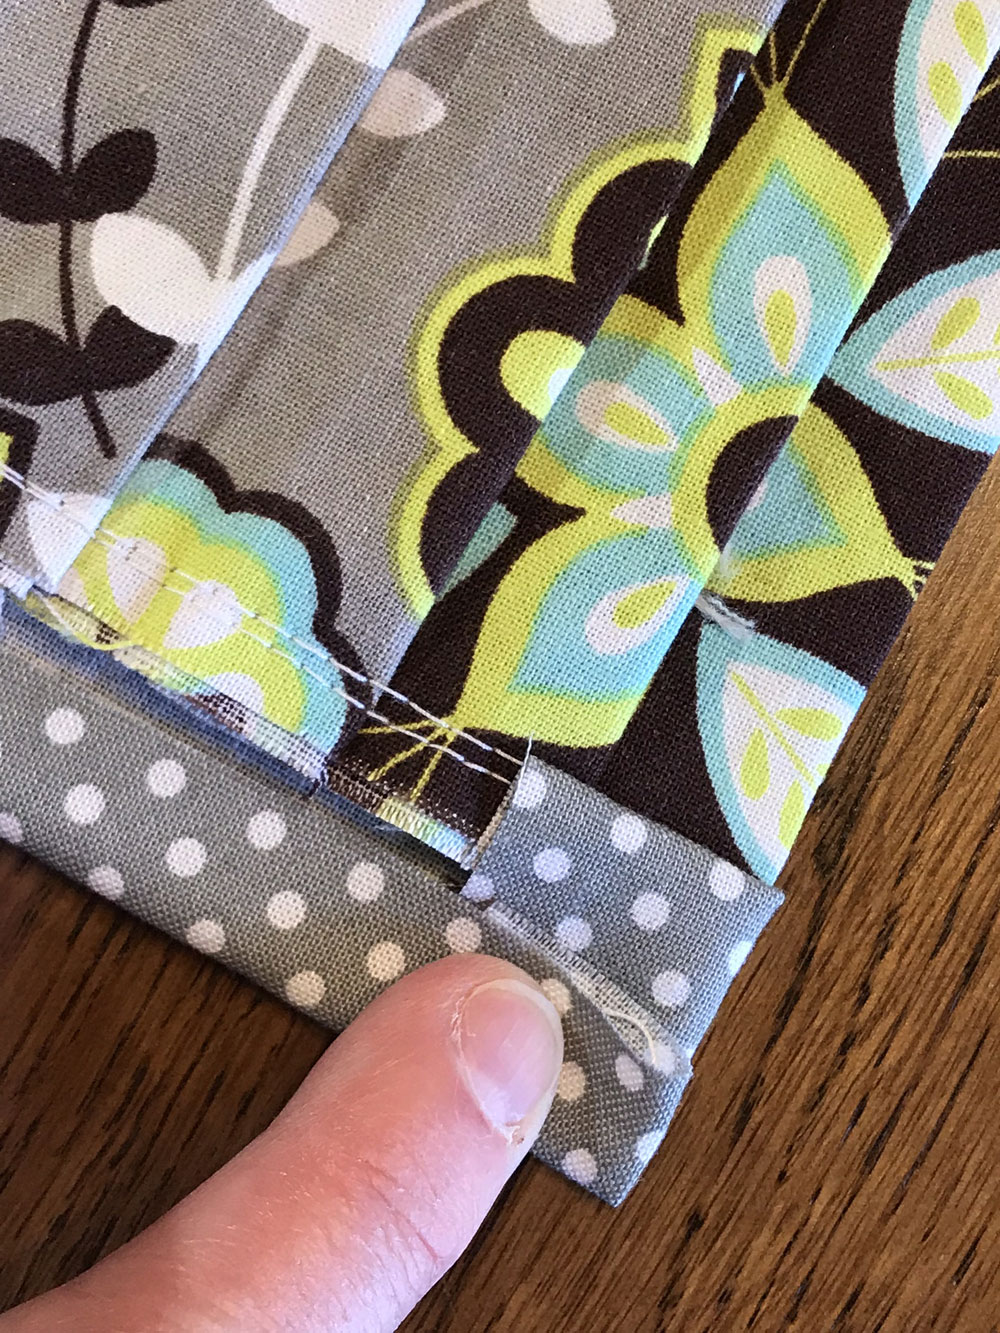
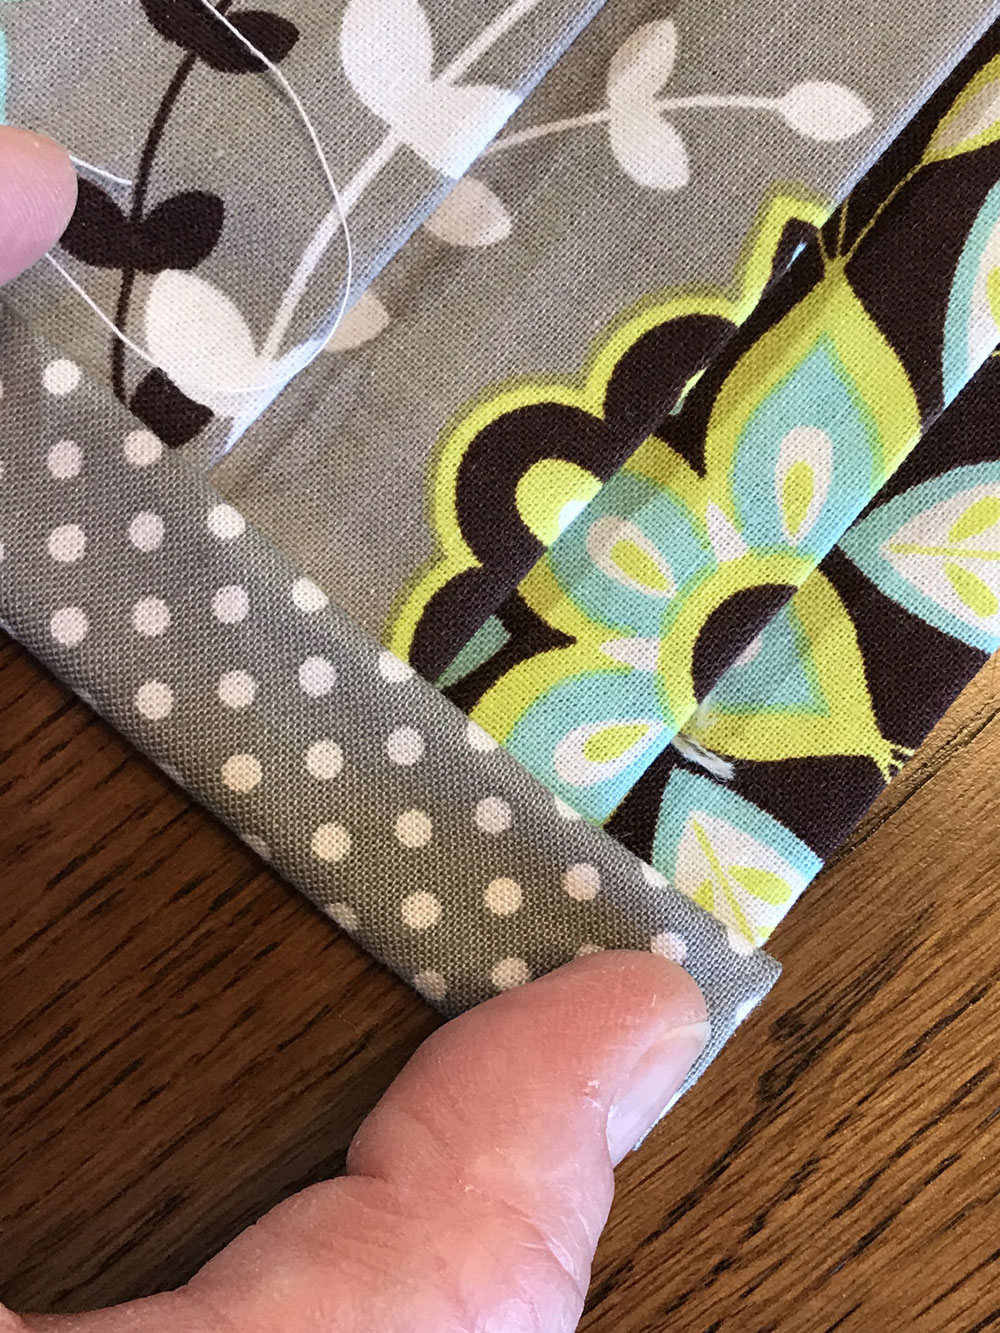
- Sew a seam close to the inner edge of each side piece to create a pocket.
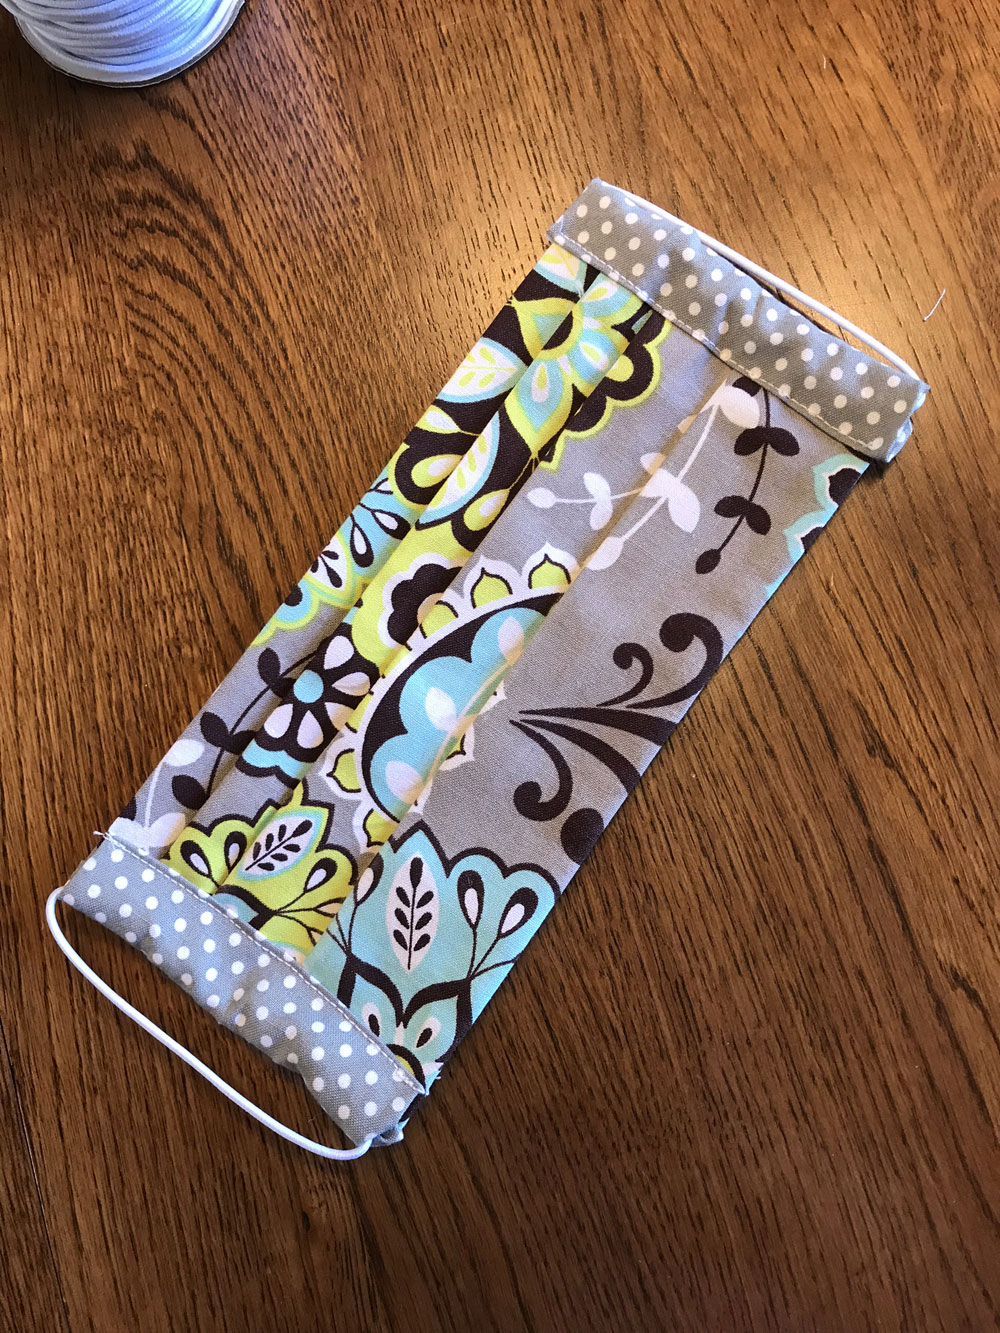
- Cut two lengths of elastic cord measuring anywhere from 9 – 11 inches. Length depends on face size and you will want the cord to stay on your ears without pulling too tightly.
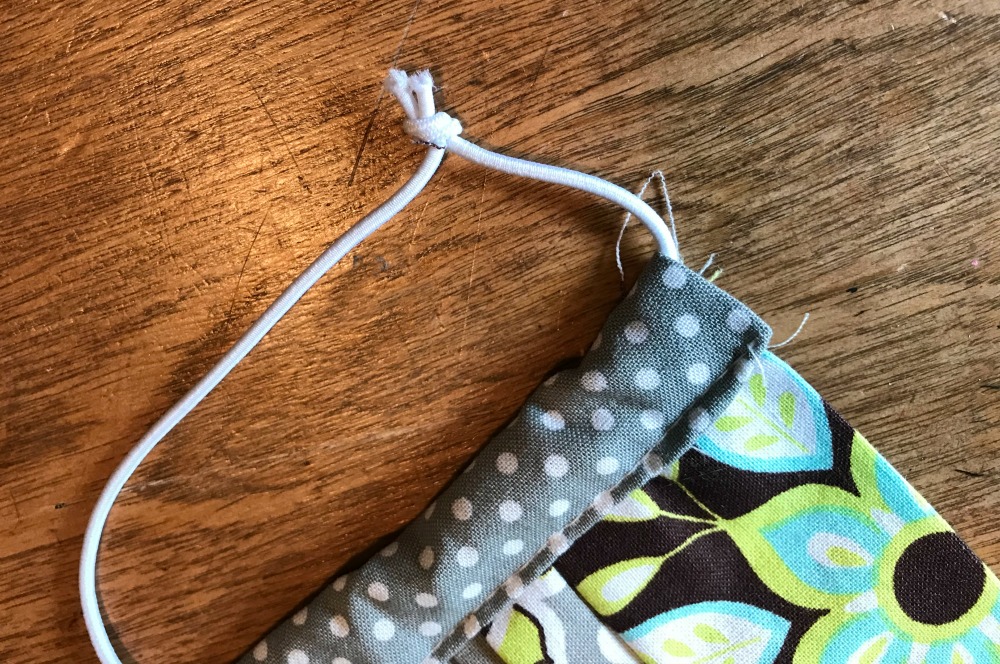
- Thread a piece of cord through each end pocket, tie a knot and hide the knot inside the pocket. According to my sister, this is the hardest part of the whole operation. *wink* You may have to use tweezers and or a poker of some sort to make this task a bit easier, but once you figure it out it goes more quickly.
That’s it folks. It’s actually a pretty simple design that hopefully makes sense if you take it one step at a time. Please feel free to comment if you have questions and if you want to post a photo of yourself wearing a mask you created, I would love to see them.


Most importantly, please take care of yourself, your family and your local caregivers. Stay safe and at home as much as possible.
My design is a combination of these two posts:
Facemask: A Picture Tutorial – I used this post to create the main part of the mask.
How to Sew a Simple Fabric Face Mask (YouTube video) – I used this video to make the end pockets.
Thank you so much for the instructions…I can’t tell you how easy they are and much appreciated. God Bless!
I am so glad the instructions were helpful and easy to follow. Stay healthy and thanks for sharing!