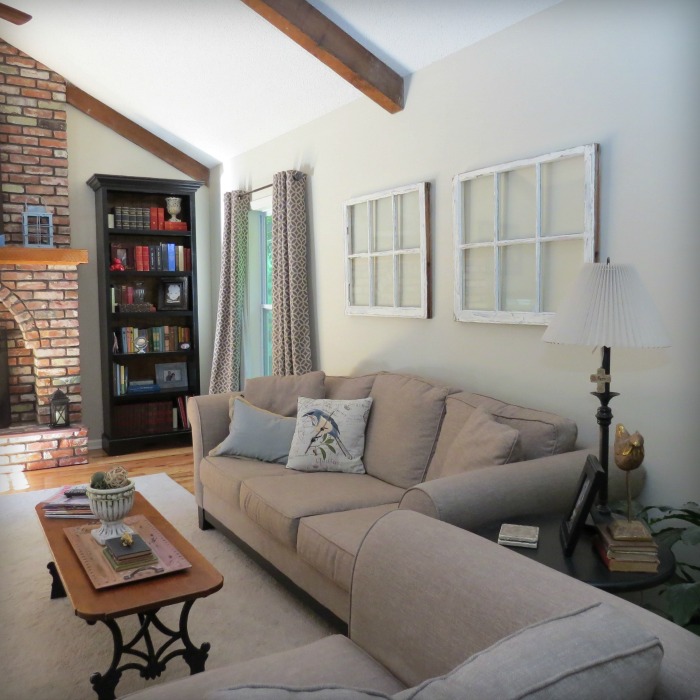
Today I’m sharing my newest décor addition to our living room, and as long as you don’t ask me the same question as my three year old — “Why do we have windows where there are no cracks?” — we’ll get along great.
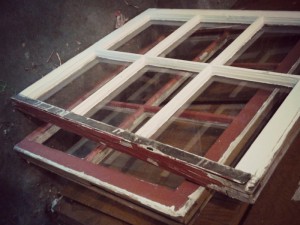
I knew I wanted basic old windows as an accent for the large blank wall above my sofa, but finding the perfect size, condition and price proved to be a bit more difficult than I originally imagined. So when I found these babies at The Rusted Rabbit for $17.00 each, I grabbed them up and carted them home.
Why blank windows? Well, my focal fireplace wall is very busy with lots of photographs and pictures and I’m planning a photo collage for the opposite wall, so I thought simplicity here was best. I didn’t go with a mirror, because I didn’t really care for the reflection and there’s a large mirror in the entryway connected to this room. So there you have it; and here’s how I got it.
Materials:
- black paint
- pale bluish/gray paint
- off-white trim paint
- foam brushes
- electric palm sander with medium grit paper
- razor blade scraper
- dust mask
- old rags
- picture hangers
- Monkey Hooks
What I did:
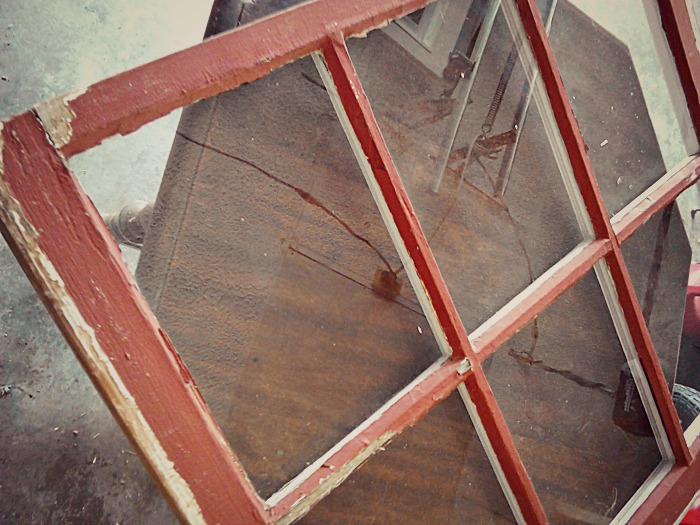
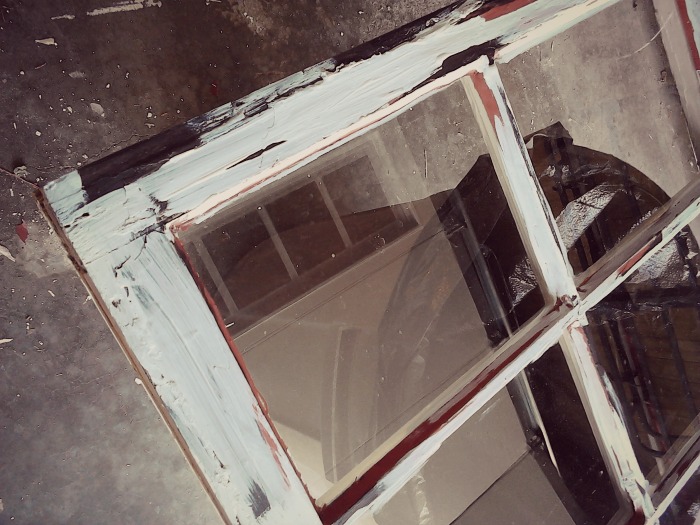
I worked on the red side of the windows, because I didn’t want to see any of that color through the panes and that saved me from painting both sides. To begin, I donned my mask — as hot and uncomfortable as it can be breathing in any dust is not healthy, especially when you don’t know the paint history of old pieces.
With my palm sander, I sanded both windows to knock off the peeling paint and dirt. I then wiped down the pieces with a damp rag and gave them a final swipe with a dry rag. (Tip: Old, holey socks are great for furniture refurbishing.)
Using the black paint and a foam brush, I not-so-strategically painted spots of the window. I didn’t cover the entire surface, because this was just the first of several coats.
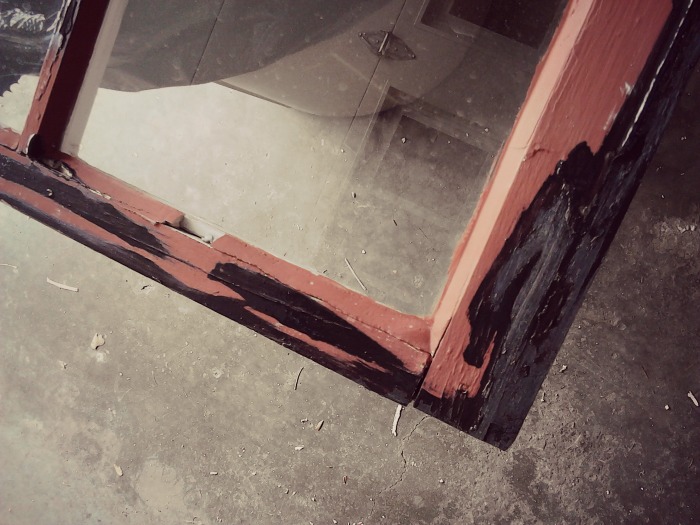
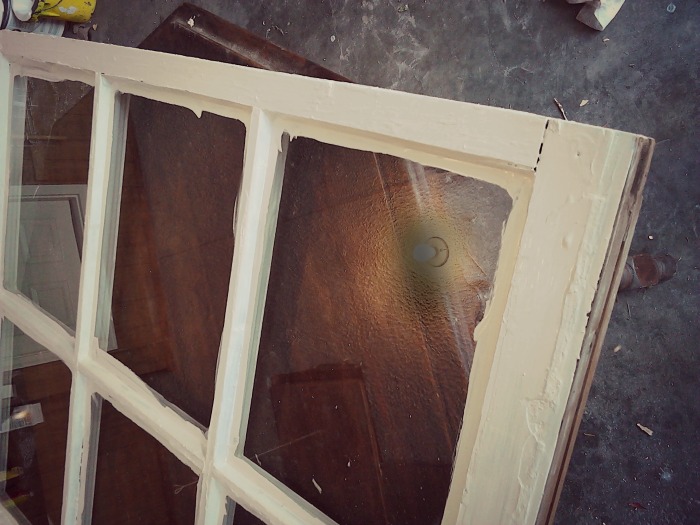
After the black paint dried, I repeated the process with the bluish/gray paint (the accent color of my living room). I still did not cover the entire surface.
After the gray paint dried, I painted a coat of trim colored paint (to match the trim in the rest of my house) over the entire front surface of the window. This is probably a good time to point out that I didn’t paint the edges of the windows, because they were still a beautiful, natural raw wood. After this first coat of trim paint dried, I applied another whole coat to entirely cover any red paint spots still bleeding through in areas.
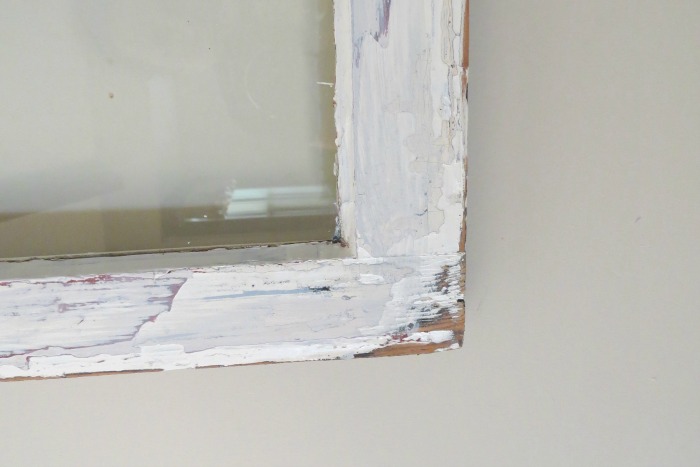
After the last coat of paint dried, the fun began. With my palm sander I started taking off layers of color until I started seeing the many different colors and raw wood reappear.
The red paint was the most durable and the least desirable, so after everything looked as weathered as I wanted, I wiped down the entire thing with a rag. I then dipped a clean rag in some of the gray paint and lightly wiped it on some of the red spots to tone it down a bit.
I then scraped off all the paint on the panes with my razor blade knife, attached two hanging loops to the back of each window and put them on the wall with Monkey Hooks (in my opinion, the best and easiest way to hang heavy items on your wall).
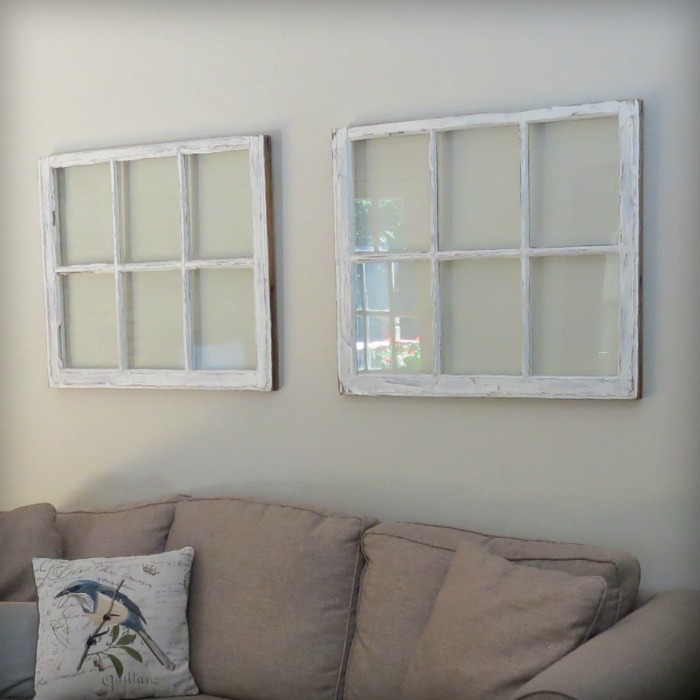
I love how these windows look and think this technique is a great way to decorate a large space without screaming for attention.