Tag: DIY

Bunny Trail Sidewalk Chalk

Bunny Trail Sidewalk Chalk

Oh my goodness, it’s almost Easter and I feel like I’m so far behind. It seems like St. Patrick’s Day was just a couple of weeks ago. . . Oh wait, it was! With Easter’s early arrival and our spring break adventure last week, I’m afraid all the holiday hoopla has simply taken a backseat to life. Not that I’m downplaying the importance of Easter and the resurrection of Christ, but let’s just say that I’ve been a little lax in my outward display of enthusiasm. Anyone else in my shoes this year?

Okay, so enough of my excuses. We all still have time to whip up a few items just in time for Easter, and this adorable little bunny sidewalk chalk definitely fits the bill. I love this craft because it is easy to make, it fits into many plastic eggs and kids love them. Winner, winner, bunny dinner!

Here’s what you need:

  • Silicone Mold (bunnies, chicks or Easter eggs are all good choices)
  • Plaster of Paris
  • Water
  • Tempera Paint
  • Disposable cups and spoons

Here’s what you do:

  1. Mix equal parts Plaster of Paris and water in a disposable cup.
  2. Add paint to the mixture and stir until you get the desired color. Of course, the more paint the deeper the color.
  3. Pour the colored mixture into the molds. Fill it close to the top, but don’t overflow or you will have to trim off the excess (and that definitely would add oodles of unnecessary work to this super easy craft).
  4. Let the mold set on a level surface until dry, which will take several hours. Your Plaster of Paris container probably will give you an estimated time.
  5. Pop out the little chalks and let them continue to dry for at least a day. You will know when they are completely dry when they are no longer cool to the touch (not that you have to wait quite that long).

As a side note, if you plan to package these fun little chalks in a sealed container, you may want to let them dry longer. I plopped mine in mini baggies and they were a bit moist when I handed them out to the kiddos in the Hollow. The kids loved them but the chalks didn’t seem to last as long. Also, make sure you wash your mold immediately or you might have a hard time getting it completely clean.

Okay, I think that’s it. Enjoy your sidewalk chalk and have a happy Easter!

Happy Fall, Y’all

Happy Fall, Y’all

Happy fall, y'all

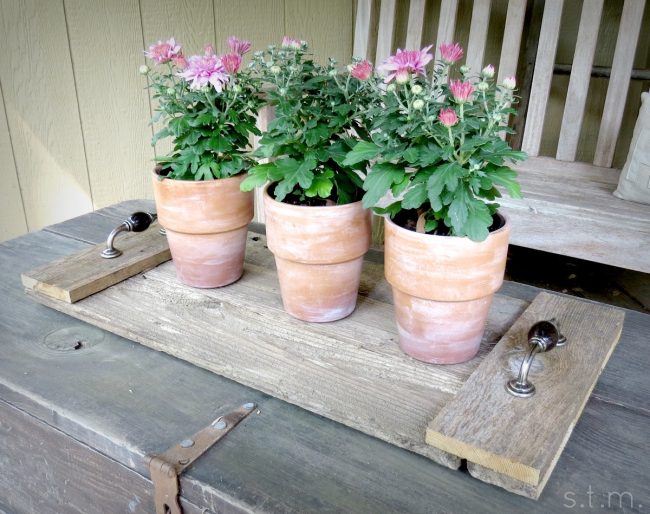
Okay, so it’s not quite officially fall, but I’m so ready to bust open my autumn and Halloween projects that I decided to get going here at Small Talk Mama. And what’s fall without a few mums around the house (honestly, I can’t seem to go to the store without coming home with a new fun color)?

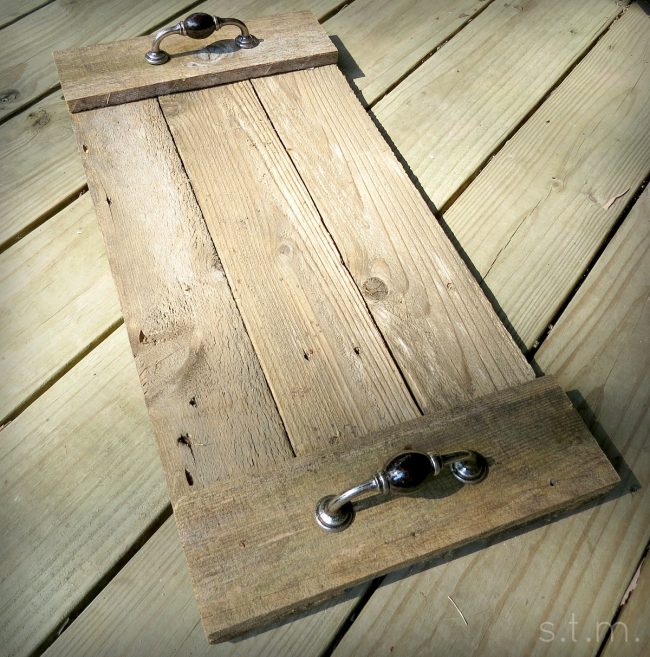
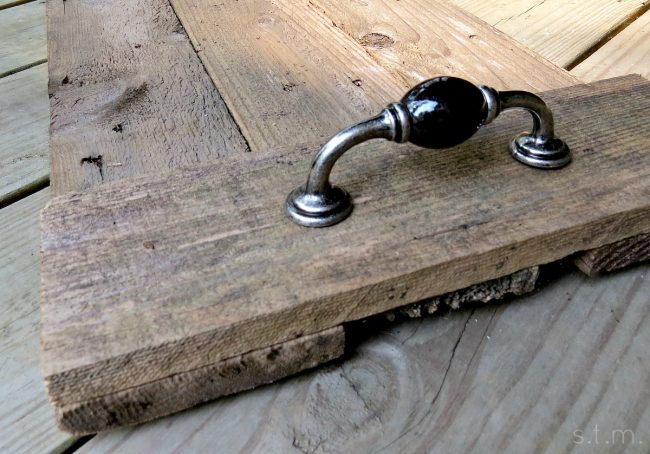
Last week I purchased a small trio of pink mums for my back porch ($1 each) just to show off my latest repurposed project made from two sticks of old picket fencing leaning against a backyard tree. It was the last of some salvaged fence parts and was just enough to create this adorable little rustic wood tray. Considering I had some old drawer pulls that needed a home and nails enough to go around the world twice, this project barely cost a thing, except for the little feet underneath to give the tray some breathing room. I picked up those for a couple of bucks at the hardware store.

happy fall, y'all

Since I only had two four-foot-sticks of fence, I had to make every inch count. I cut both pickets in half and used three lengths to form the base of my tray. Since one of the lengths still had the dog-eared top on it, I placed it in the middle of the other two. You can see the dog ears from one end, but not from either side. I also think it lends a bit of personality to the finished project.

I then measured the width of all three bottom pieces lying next to one another, and cut two pieces that width out of the remaining wood. I had just enough left to go the distance. Whew! I lined up everything and screwed it all together from the backside of the tray, and then added the pulls on the top of the tray at each end.

happy fall, y'all

happy fall, y'all

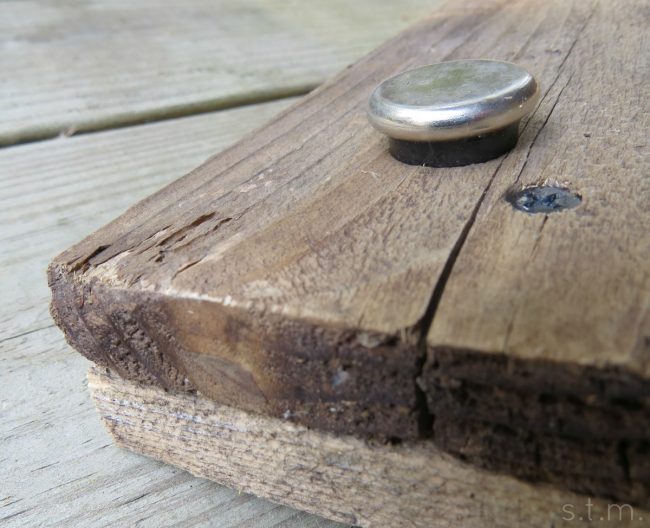
I planned to use the finished tray on the wooden box/table on my back deck, but I didn’t want the tray to trap moisture under it and rot both it and the box. So I purchase some super cheap feet that I simply hammered in from the backside and this gave everything some breathing room. I can’t wait to change out the flowers for the seasons and make good use of my decorative DIY tray!

Okay, folks. I’ve shown you my mums, now I want to see yours. Happy Fall, y’all!

Advent “Wreath” in a Box

Advent “Wreath” in a Box

advent wreath

I was born and raised a Southern Baptist girl and for whatever reason we never observed Advent. Why you wonder? Well I really don’t have a clue, but I can tell you that within the last fifteen years or so the Baptist Churches I’ve attended have started emphasizing the holy days and events on a more regular basis. I like this shift in spiritual focus and since I’m married to a Catholic boy, he appreciates it too.

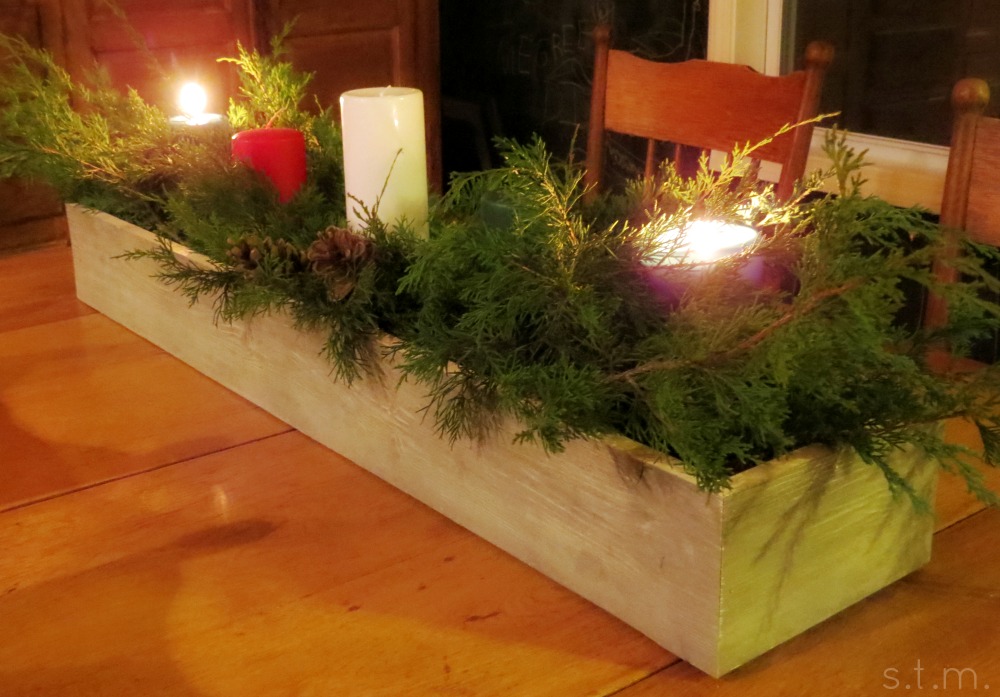
One of my favorite observances this time of year is the Advent wreath and the weekly candle lighting that leads up to Christmas. This year I decided to incorporate this idea into our home and created an Advent “wreath” in a box. I know there is some significance to the round, unending shape of a wreath, but I figured a line of candles was better than no candles at all.

To make my advent box, I purchased some rough finished shiplap at Sutherland’s and asked my husband cut it down to size. We assembled it with our nail gun and added a bottom of plain pine. I then added five candles (four for each week of Advent and one for Christmas day), fresh-cut evergreen bows and pinecones. Other than the size (about three feet long), it’s a very understated display. It’s also a great way to keep the proper focus of the season every time we sit down to dinner.

If you are interested in learning more about Advent, you might want to give it a good search or visit Lifeway’s great Advent resource online. In addition to some basic information, this site also supplies a complimentary Advent worship guide and children’s sermons.

Page 1 of 5
1 2 3 5