 Fall is officially in the air in Missouri with cooler morning temps and beautiful warm afternoons. When we string together a few of these fabulous days, I’m always reminded why this is my favorite time of year. The family also made its first of what promises to be many trips to a local apple orchard yesterday for hay rides, chicken feeding, apple picking and pumpkin gathering. I’m thankful that we have so many great local orchards, pumpkin farms and corn mazes so close to home. It makes fall such a fabulous family time of year.
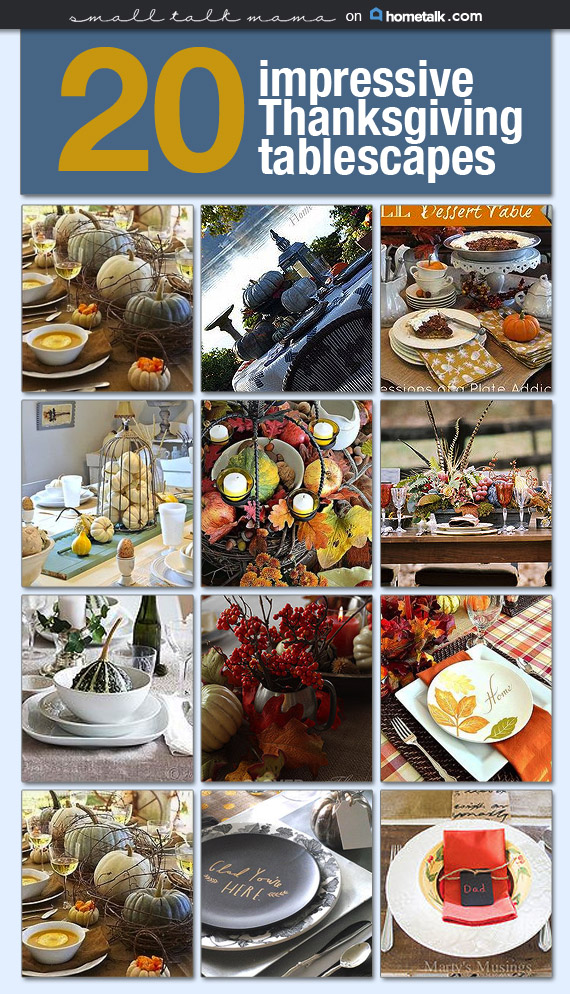
Speaking of autumn and the thankfulness of it all, I’m afraid it’s time once again to look ahead to November and the family-focused holiday of Thanksgiving. If you happen to be hosting this year, why not get a jump on things while the weather is still cooperating and start planning your spectacular gathering today. When it’s our year to host, I like to start with a theme for my decorations and tablescape — the menu can always come later. Will everything be whimsical, woodsy or traditional? Maybe simple or modern is the answer? What’s the color of the day — browns, whites or antique greens? Well, if you need a bit of inspiration for your Thanksgiving table, I have a special treat today.
Hometalk recently asked me to curate a board of Thanksgiving tablescapes to share with readers and I gladly accepted the challenge, which turned out to be easier (and a lot more fun) than I first imagined. Hometalk is simply full of wonderful holiday ideas; but as you’ll see by visiting my board, I tried to pick a plethora of tablescapes to suit several different design tastes and aesthetics. When you visit the board, you’ll see all types of ideas collected from bloggers across the country — some look more professional than others and some are more basic than others, but they are all great jumping off points to help make your personal celebration memorable. So why not visit me on Hometalk, and let me know which one is your favorite.