Black Tutu Easy Halloween Wreath

Black Tutu Easy Halloween Wreath

Halloween wreath

Recently I posted some great Halloween wreath ideas hoping to spark my own creativity in the matter, and I’m happy to report that I actually picked my poison (don’t mind my Halloween reference) and put together my new favorite (and only) Halloween wreath.

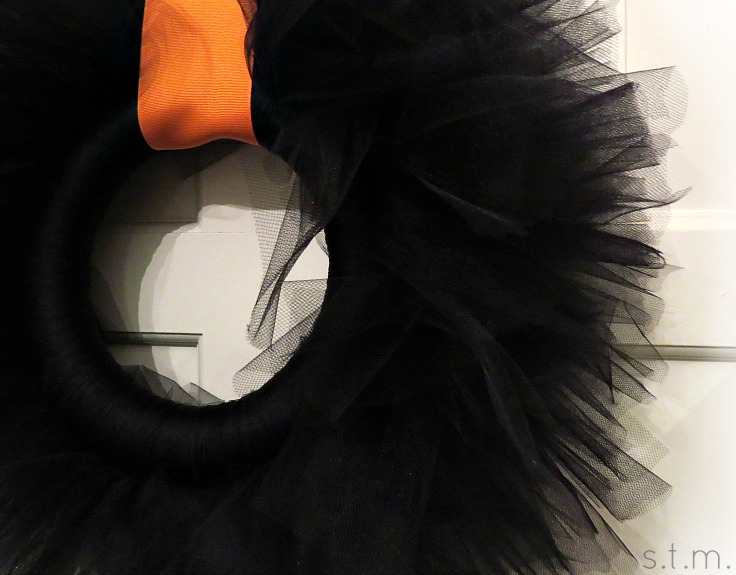
I love this simple black tutu wreath with the pop of orange ribbon and discovered that it was super easy to complete. It only took three ingredients, a pair of scissors and a few hours in front of the TV to make this fun project, and I am super happy with the result.

Halloween wreath

Materials:

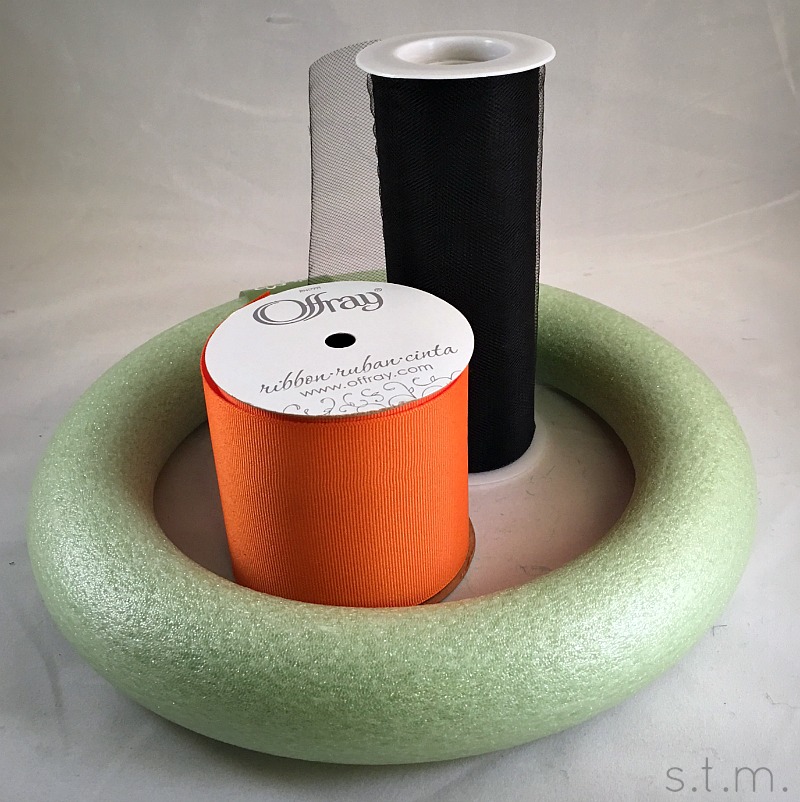
  • 9.8 inch wreath form (or similar size)
  • 100 yards of black tulle (probably won’t use all of it)
  • orange ribbon
  • scissors

Directions:

  • Cut tulle in 18-20 inches long strips.
  • Layer two strips together and tie tightly in a knot around the wreath form. The double layer of tulle helps camouflage the color of the wreath form.
  • Continue to tie the strips around the wreath until the entire form is covered. As you tie on new strips, push the knots together so that the gaps between the knotted strips disappear.
  • When the entire form is covered, add a strip of ribbon to hang the wreath.
  • With the wreath hanging, you can fluff out all the pieces of tulle and trim any long or unruly pieces.

Yes, it’s that easy! I sat on the couch a couple of evenings and completed my cute little tutu wreath while watching football and Mission Impossible with my husband. It really is a no-brainer (the project, not my husband).

Halloween wreath

When Your Child is Not Your Child

When Your Child is Not Your Child

photo credit: *¦·twinderella·¦* Believe in Fairies via photopin (license)

I absolutely love it when I catch a glimpse of my child. . . well, not being my child. It sounds harsh, but I bet you mamas know of what I speak. At home my six-year-old son burps at the table and laughs, he ignores instruction on a whim, “please” and” thank you” are apparently optional and an occasional meltdown for no apparent reason is deemed normal. So imagine my delight when his “other self” appears, usually in public, and he becomes the dearest, most considerate, polite and helpful child you have ever seen. What? It’s on these occasions that I realize, contrary to my popular parenting belief, that my child actually is soaking up some of what I say and do. *gasp*

I love to see my little man say “excuse me,” as he makes his way across a crowded room, or say “thank you” when a child shares his toy, and all this without my mama prompts. Nothing warms my heart more than when I see my son befriend the one kid in the room that no one cares to play with — yup, that will usually be my guy. Now that will put a smile on a mother’s face!

mamaquoteJust this week at church dinner, I asked my son to eat more of his chicken casserole, but instead he ate a green bean (and he doesn’t even like green beans). A few minutes later, he whispered in my ear that he didn’t like the casserole because it was too mushy and that he really didn’t want to eat it. Okay, so on the surface it sounded a little shady, but what his young little brain understood was that the lady who made the meal that evening was sitting right on the other side of me and he didn’t want to hurt her feelings. I was completely touched that he got it! He got the lessons I’ve been pushing for six years, he got the idea of sparing the feelings of others and he got the craft of being subtle. Eureka!

Okay now, this is where it got really weird. Long after he went his way and people were putting away the tables and chairs, my son returned and began folding up chairs (they are as big as he is) and carrying them to the rolling cart. He continued, one at a time, until every last chair was nestled away and he even enjoyed the whole event. Now granted, his favorite playmate wasn’t at church that evening, but still. Honestly, I felt his head for a fever and was slightly surprised when I found none.

So here’s a word of encouragement for you mamas of little ones. Don’t despair; don’t give up. Keep plugging away at those lessons of politeness, caring and social graces. My child has come a long way from blurting out every little thought that pops in his head, and although he isn’t usually on his best behavior at home (and that concept simply just slays me) our words and actions are sinking into their precious little heads — for better or for worse.

 photo credit: *¦·twinderella·¦* Believe in Fairies via photopin (license)

Spooky Life Given to Christmas Countdown Calendar

Spooky Life Given to Christmas Countdown Calendar

count down

Halloween is definitely one of my favorite holidays of the year, running a close third behind Christmas and Easter. I love to decorate, get spooky and celebrate with tricks and treats! I know you’ll think I’m silly, but one of the best things about getting my Halloween on is that this spooky day comes at the very end of the month, which means I can start decorating on the first and enjoy the orange and black all month long. It has a definite beginning and an end, which suits my creative self just so.

Since Halloween is a month-long celebration, it stands to reason that one should count down the days until the climatic celebration, and what better way to do so than with a mini calendar. I mean, we do it for Christmas, so why not Halloween. . . and Christmas is exactly where I came up with the inspiration for these cute little countdown blocks.

count down

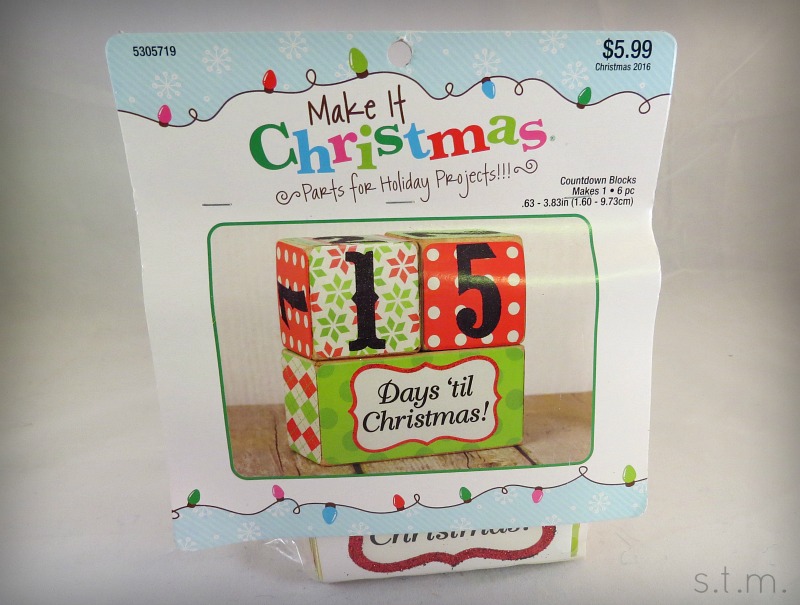
I purchased this Christmas countdown project at Hobby Lobby a few weeks ago and after I got it home I decided I needed to get another for a Halloween version of this project. The regular price for the kit was $5.99 but I purchased mine at 40 percent off, so it was seriously affordable.

count down

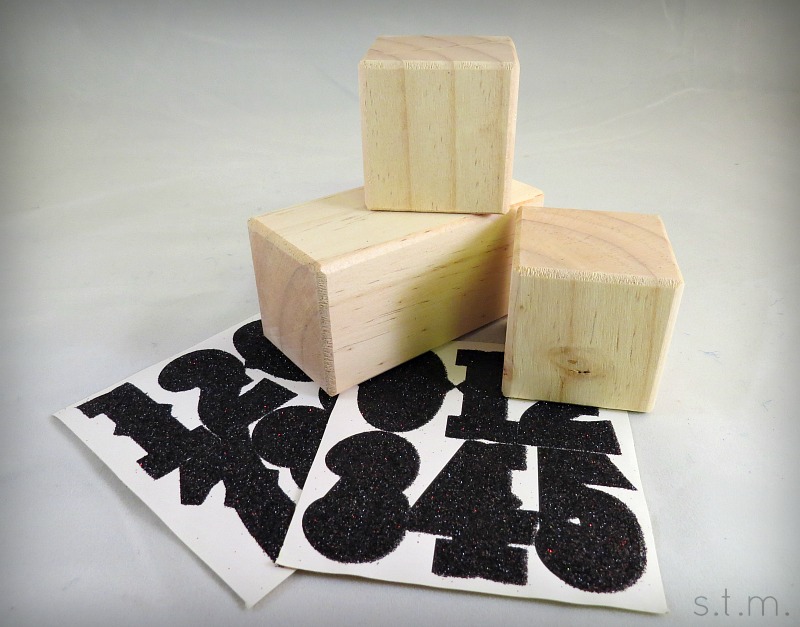
I discarded all the Christmas stuff in the kit, just keeping the blocks and number stickers for the Halloween version of this project. The numbers are glittery black, so they are perfect for this project. One thing I discovered about the number sheets is that each sheet belongs to one block. If you adhere all the numbers from one sheet to one block and all the numbers from the other sheet to the other block, you will be able to count down all the days without a hitch (the number six doubles as the number 9).

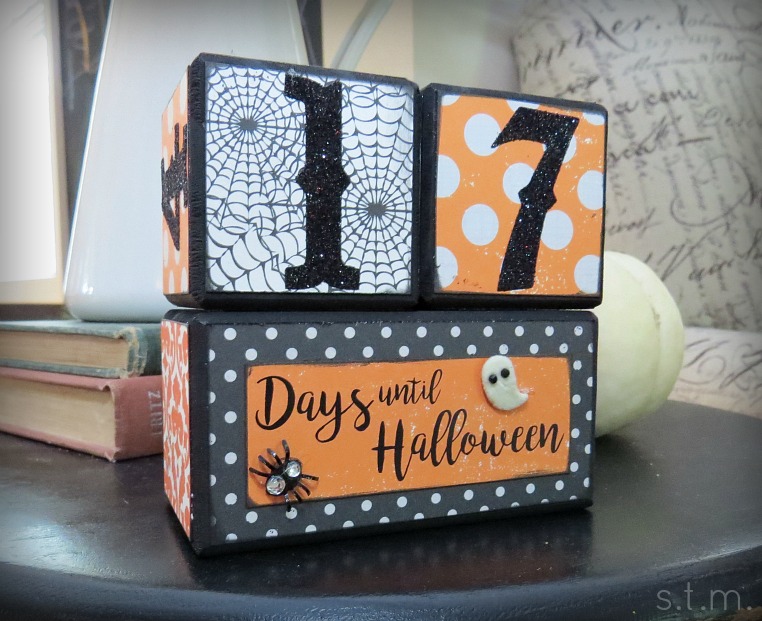
To begin this project, I spray painted my blocks black and then picked out some cute Halloween paper from my burgeoning stash. I measured my blocks, cut my paper accordingly, inked the edges in black, stuck the self-sticking numbers to the paper squares and then adhered those to all six sides of the small blocks.

For the bottom block I used the same method as the small blocks, but instead of numbers I printed out a “Days Until Halloween” saying and stuck it to the front of the block. I didn’t bother with the bottom and back of the larger block because no one will see it, but if you feel the need to finish it all off go for it. I completed this project with a couple of cute do-dads and now we are happily counting down the days until Halloween. The hardest part about this project was deciding where to display it. Go figure.


Page 58 of 144
1 56 57 58 59 60 144