Tag: recipe

A Real Mom’s Kitchen — Cassandra Creates Eclectic Vibe on a Budget

A Real Mom’s Kitchen — Cassandra Creates Eclectic Vibe on a Budget


A Real Mom's Kitchen

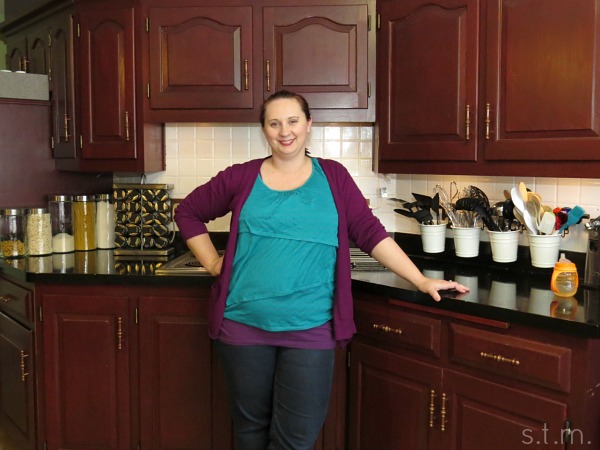
Today’s Real Mom’s Kitchen belongs to Cassandra W. She’s a MOMS Club® friend of mine and I have visited her 50s eclectic vintage vibe home many times so I kind of knew what to expect from her kitchen, but learning the story of its transformation was a lot of fun.

a real mom's kitchen - cassie

A Real Mom's Kitchen - Cassie

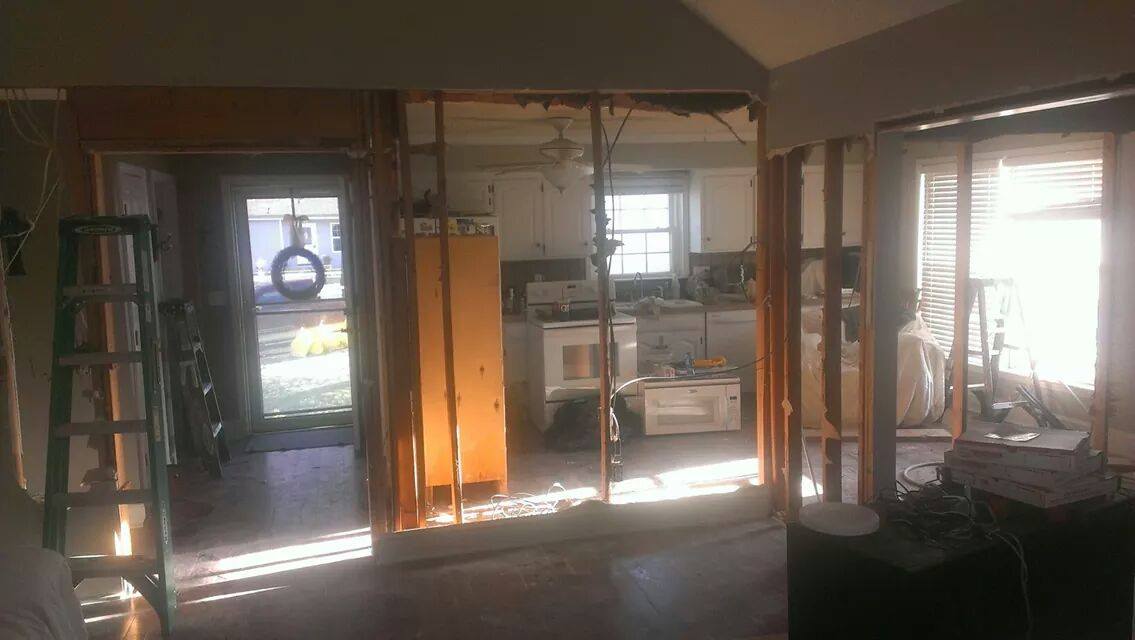
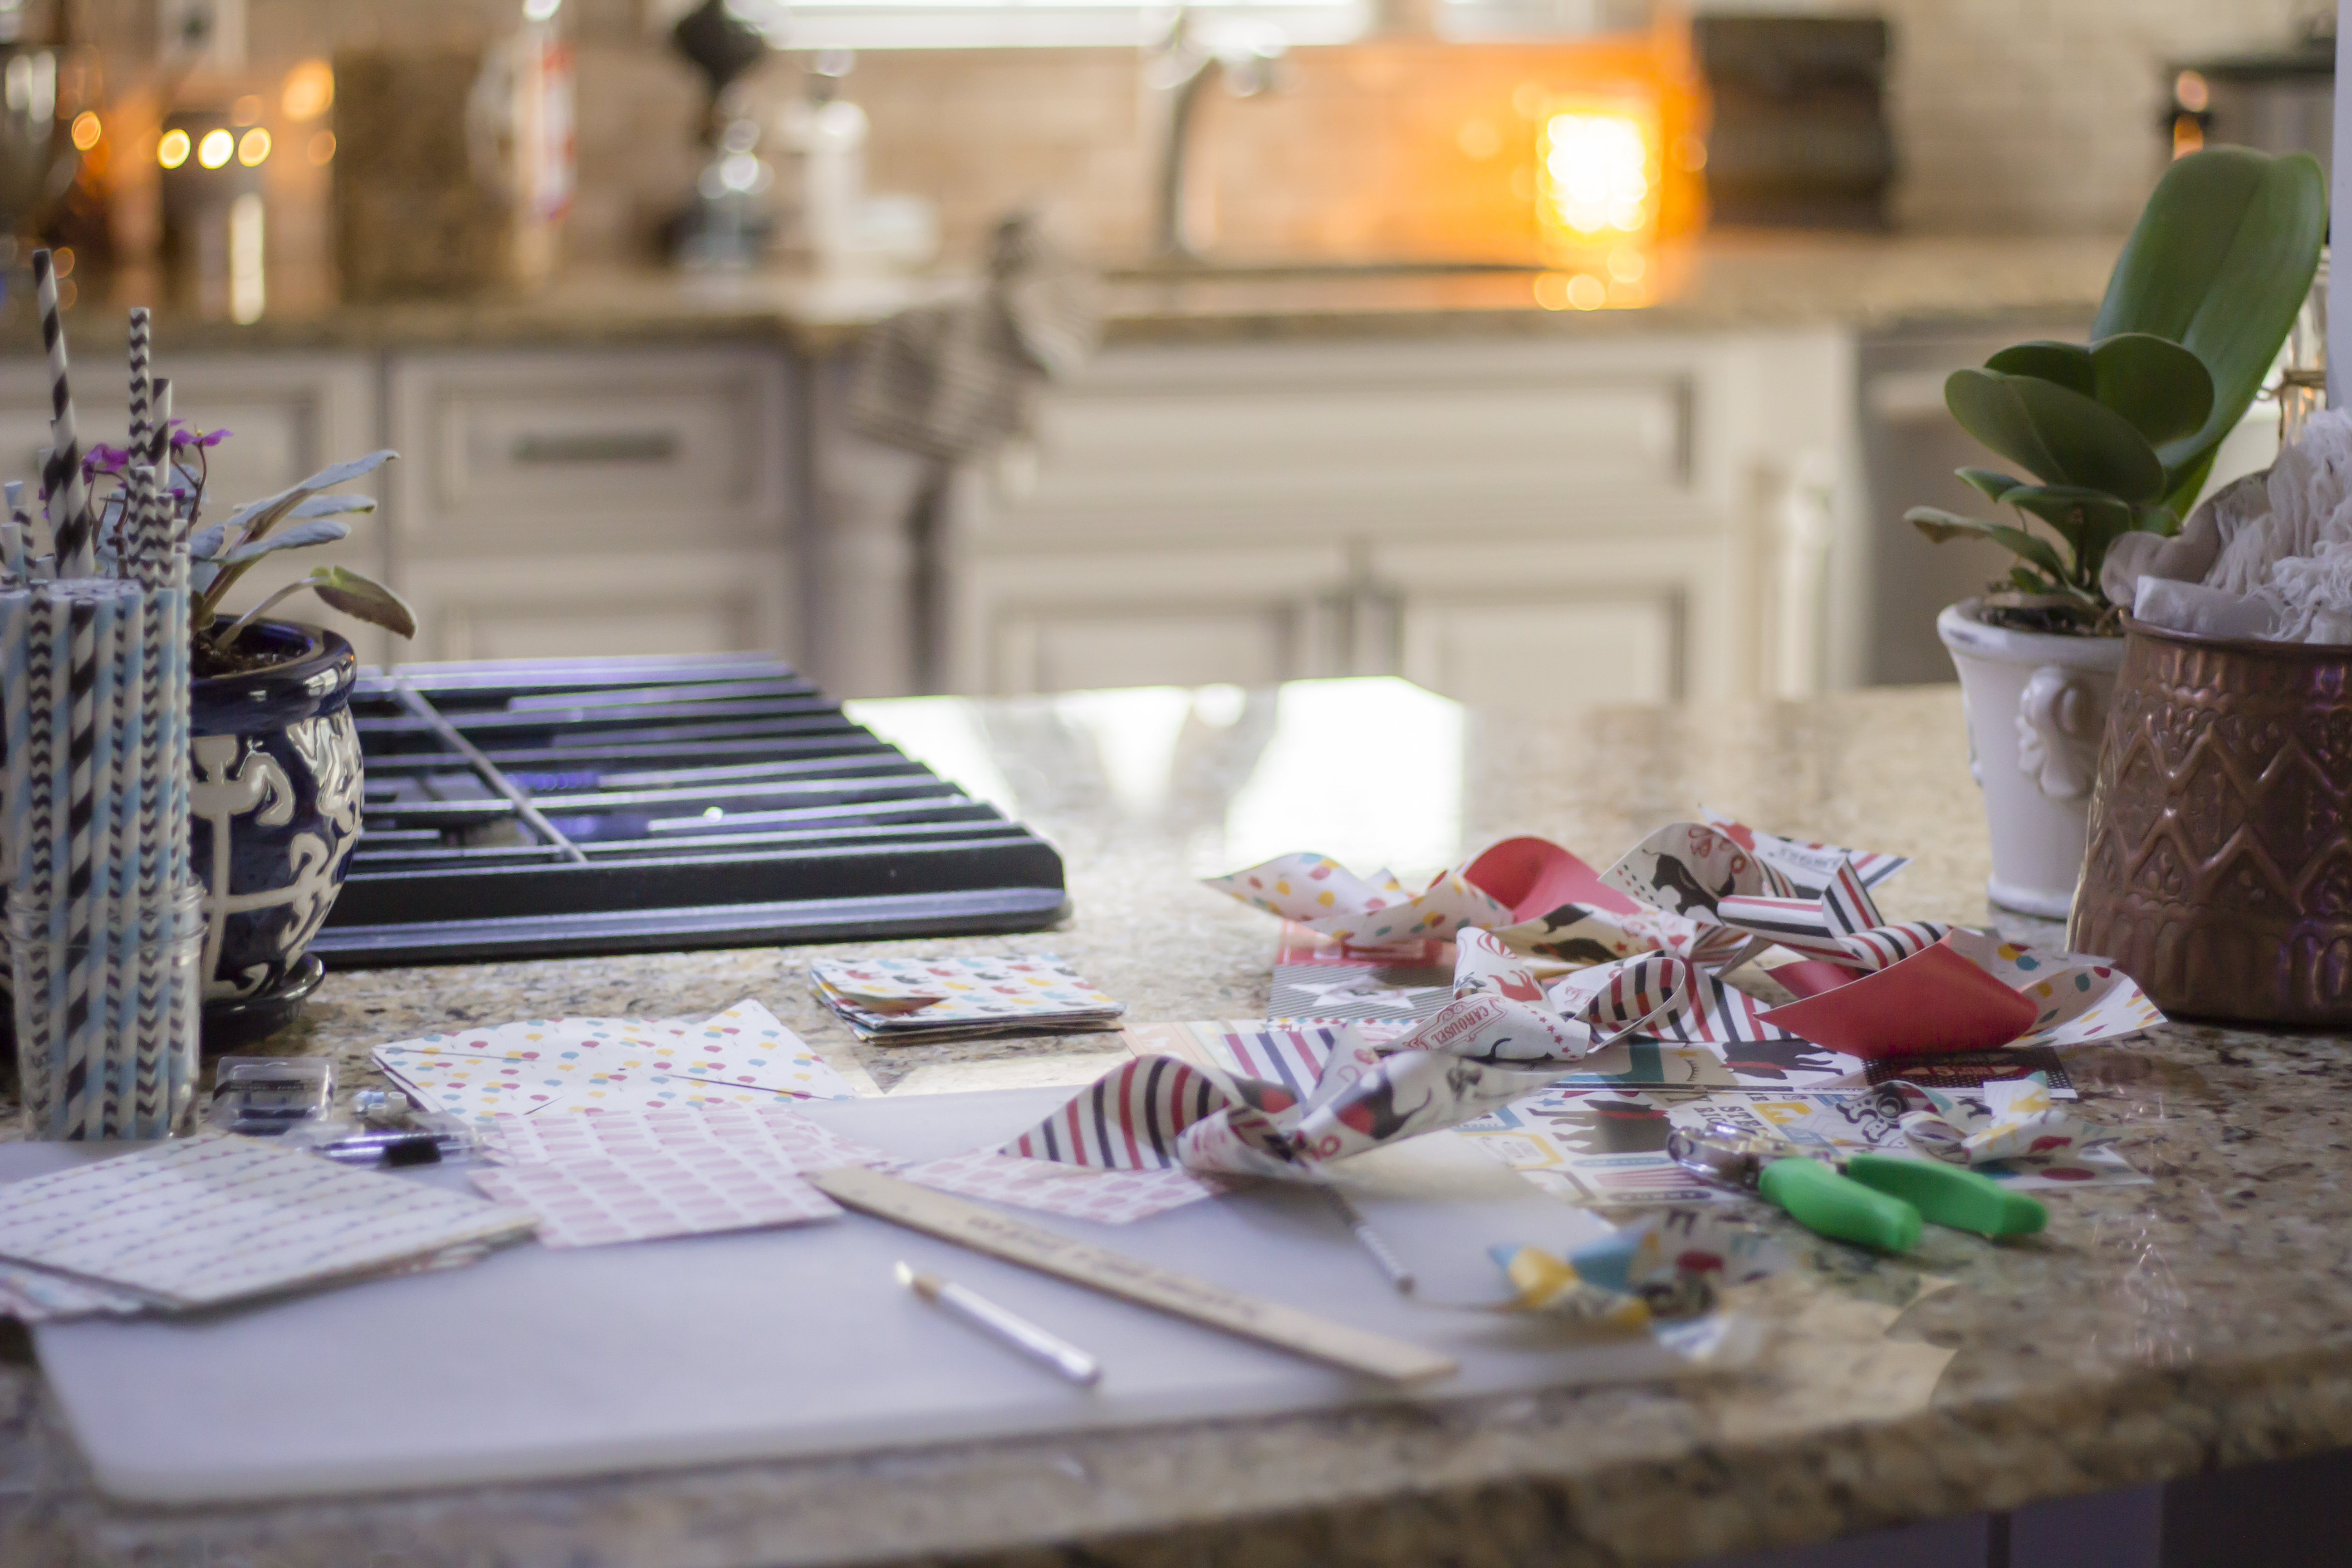
Other than being a stay-at-home (most of the time) mom, Cassandra is an actor, wedding planner, graphic designer, belly dance instructor and adjunct professor. Makes you tired just reading it, doesn’t it? So where she and her husband had the time to remodel anything, I’ll never know; but this kitchen is testament to the sheer will of a do-it-yourselfer. “My whole kitchen is DIY,” Cassandra admits, and from top to almost bottom (because they haven’t yet tackled the floors) this kitchen has felt her creative touch.

IMG_5937

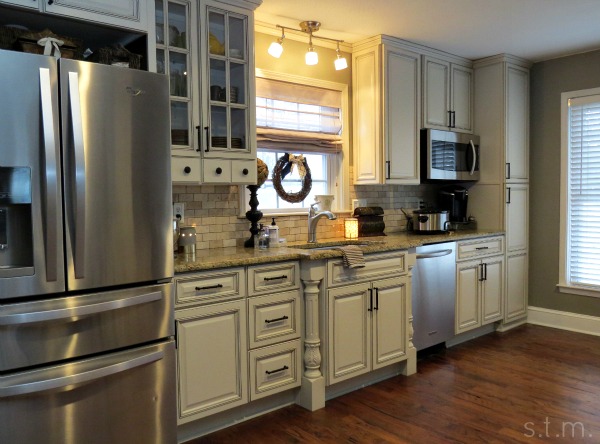
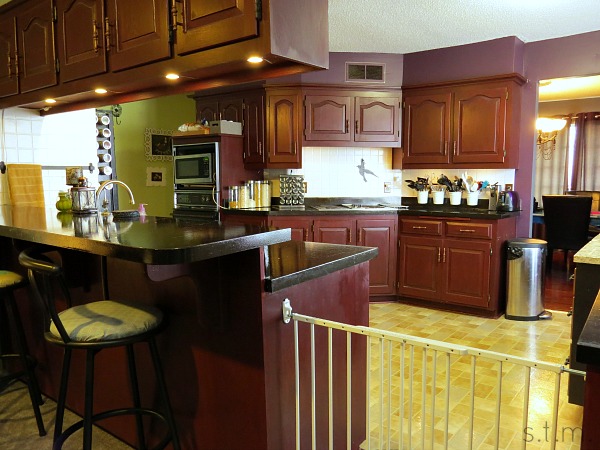
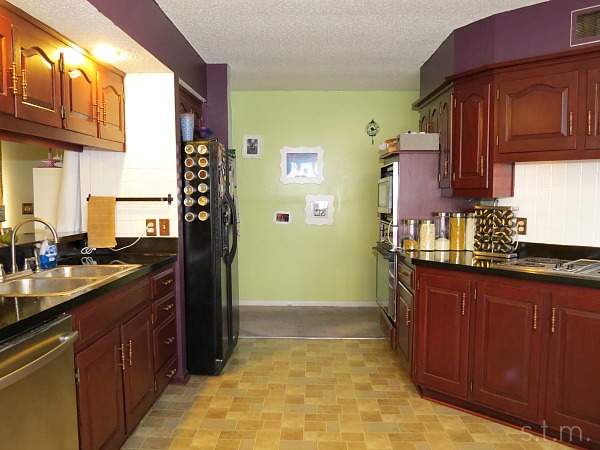
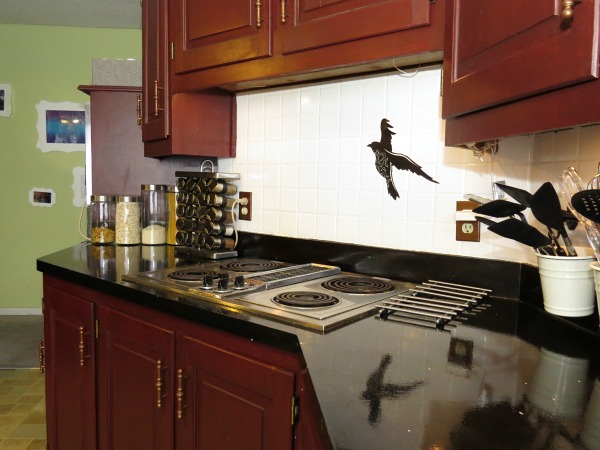
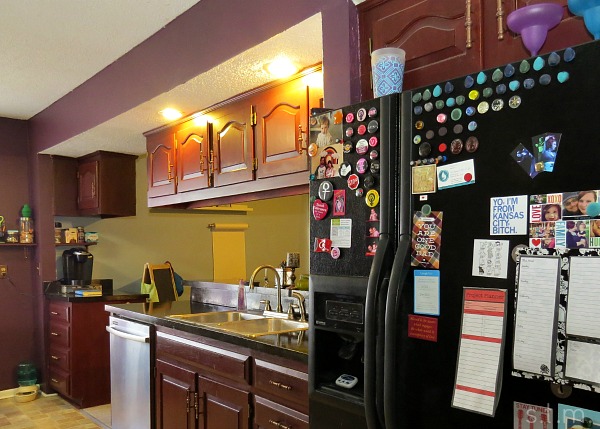
From the deep purple walls, glossy black countertops and once light oak cabinets, this kitchen has seen quite the transformation and hours of sweat equity. The countertops alone received six coats of color and two coats of a poly acrylic. One of my favorite transformations is the back splash, which is painted a nice bright white. Want to know what it looked like before? Just take a good look at the floor. . . yes, I said floor. Apparently the previous owners had painted the back splash to match the floor, but Cassandra rectified that little decorating misstep rather quickly.

IMG_5942
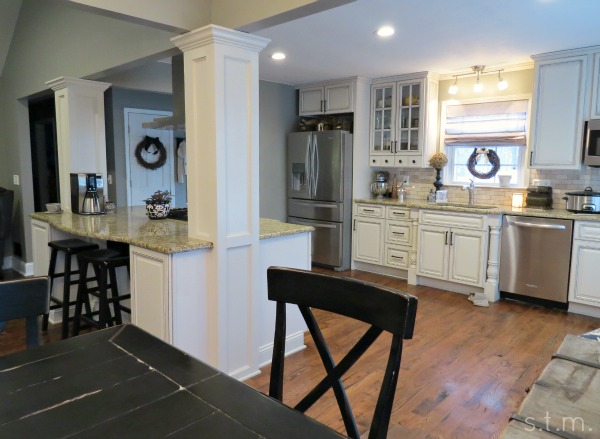
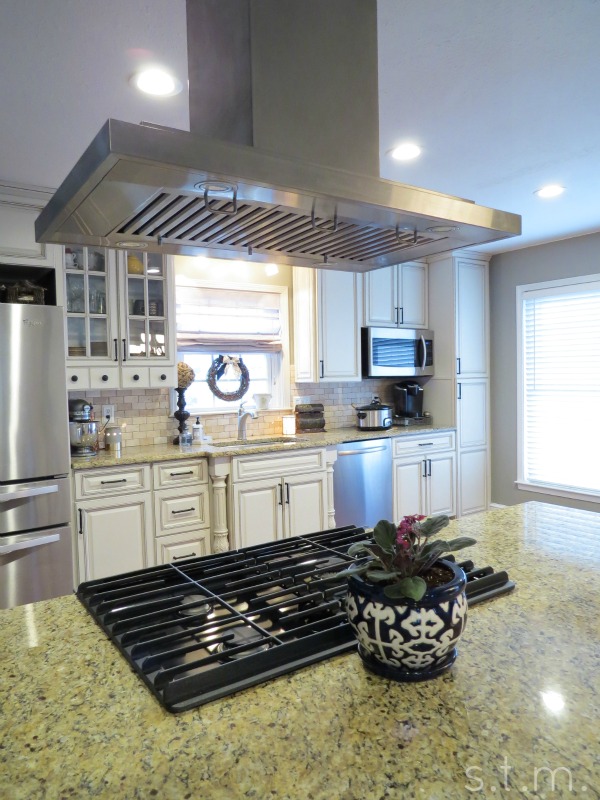
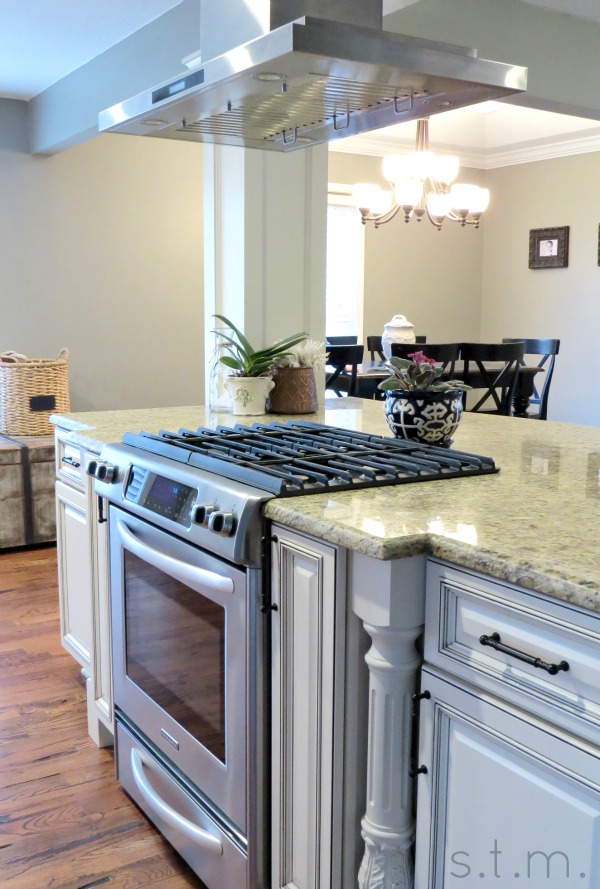
 What I love most about her kitchen is the unusual shape that is so unique and makes for a rather large space, but Cassandra’s favorite thing is the island. This storage and work space at the far end of her kitchen was a complete DIY build from items found at one of her (and my) favorite places, Habitat for Humanity’s Restore. She pieced together a reasonably priced and functional island with a granite top by shopping at this second-hand builder’s warehouse, and the result is beautiful.

IMG_5940

Speaking of granite tops, Cassandra admits she likes the look of granite but the jury is still out on what she will buy when the time comes to replace her current countertops. As far as stainless steel goes, her response was a definitive, “Oh yes;” although she admits that the new black stainless steel is quickly capturing her heart.

“I’m all about unique,” remarked Cassandra, and I’m sure she will build on this decorating approach as she tackles her list of coming projects for this room. She wants new countertops, back splash and knobs, but also high on her list is to remove the old wall oven unit and install a new floor.

IMG_5936
IMG_5922
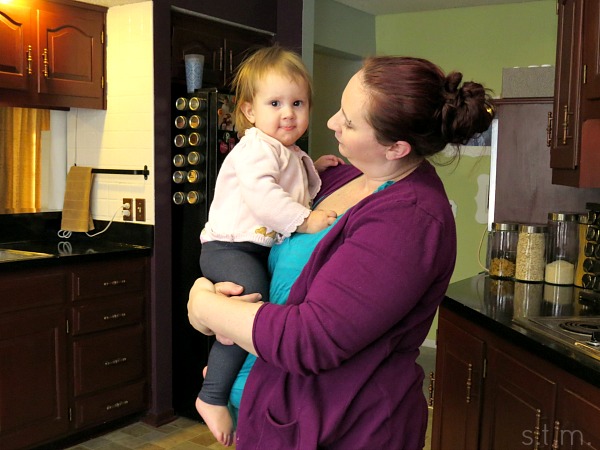
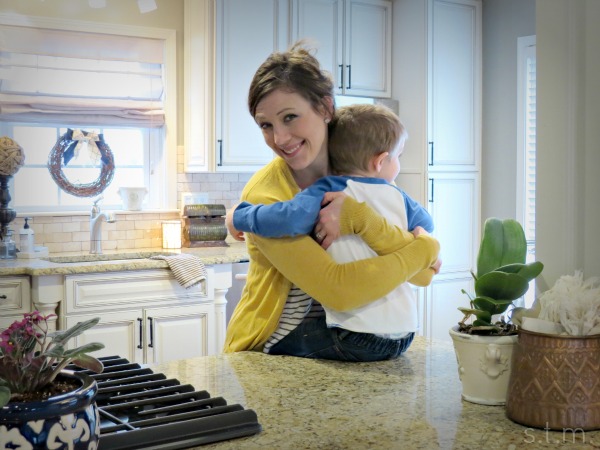
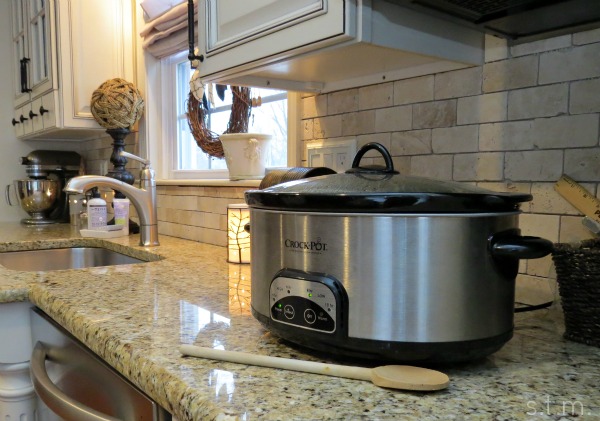
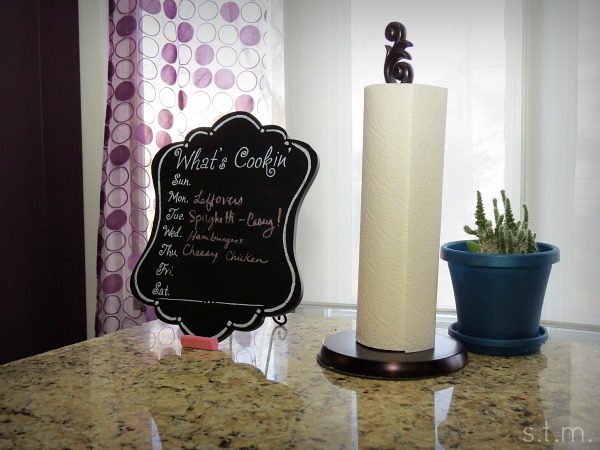
 While this busy mother of one adorable almost two-year-old girl named Dahlia seems to find time to express her creativity in her home and work, she admits that cooking is not one of her favorite things to do. “If we could afford for me not to cook, we would do that more often, ” said Cassandra, but she also added that with a tight budget she has learned to enjoy cooking more than she used to. Making food for her daughter is one of her favorites, but planning meals on a weekly basis has also helped take the “brain power” out of preparing family meals.

Luckily, Cassandra is sharing one of her favorite go-to recipes with us as we wrap up her wonderful DIY kitchen tour. It’s a homemade spaghetti sauce recipe handed down from her grandmother, and Cassandra uses it for everything that calls for a red sauce, like spaghetti, pizza, etc. I personally can’t wait to give this one a try.

Spaghetti Sauce
A red tomato sauce that can be used for spaghetti, pizza, etc.
Write a review
Print
Ingredients
  1. 1 can tomato sauce
  2. 1 can tomato paste
  3. garlic powder
  4. onion powder
  5. basil
  6. oregano
  7. 1 bay leaf
  8. Italian seasoning
  9. 1 tbsp. butter
Instructions
  1. Melt butter in sauce pan on medium heat.
  2. Add tomato sauce and tomato paste to the pan. Fill paste can with water and add to the pan. Stir together.
  3. Add one bay leaf.
  4. Add enough Italian seasoning, oregano and basil to lightly cover the top of the sauce.
  5. Add onion and garlic powder to taste.
  6. Cover and let the sauce simmer on low heat until ready to serve.
Adapted from her grandmother
https://www.smalltalkmama.com/
A Playing Dough Kind of Day

A Playing Dough Kind of Day

playing dough

It was a play dough making kind of day! With a gray chill in the air, my little guy and I decided to hole up at home, crank the heater and have a little fun.  My son requested orange dough the other day, so I snagged a cheap box of said-colored gelatin during my last grocery shopping trip and was thankful to have it on hand.

My little guy loves to mix all the ingredients for this gelatin-based recipe and even stir for a bit, but it doesn’t take long for his little arms to get tired and relinquish the spoon to mama. I really don’t blame him; even my arms get tired before the dough completely cooks. The key to this recipe is to just keep stirring as it cooks — it will set up, eventually.

playing dough

If you’re looking for some creative ways to spend the last several chilly days of winter, you might give this playing dough recipe a go. It’s not cheaper than buying the original stuff at the store, but it is a lot more fun.

Jell-O Playdough
Homemade playdough that feels like the real thing.
Write a review
Print
Prep Time
10 min
Cook Time
20 min
Total Time
40 min
Prep Time
10 min
Cook Time
20 min
Total Time
40 min
Ingredients
  1. 1 c white flour
  2. 1 c warm water
  3. 2 tbsp. salt
  4. 2 tbsp. cream of tartar
  5. 2 tbsp. cooking oil
  6. 1 Jello pack (3 oz.)
  7. extra flour for kneading
Instructions
  1. Mix all of the ingredients (except extra kneading flour) together in a small saucepan until the lumps are gone.
  2. Cook over medium heat, stirring continuously until it thickens into a big ball of dough. (Stir until you can't stir anymore.)
  3. Turn out the dough on a flour covered surface, cutting board or mat.
  4. Let the dough cool.
  5. Add flour and knead the dough until it is no longer sticky (1/2 cup to 1 cup of flour).
Notes
  1. The dough should stay good for a few weeks if placed in an airtight container and kept in the refrigerator.
Adapted from Modern Parents, Messy Kids
https://www.smalltalkmama.com/
&

A Real Mom’s Kitchen — Katie D. Claims Her Calm

A Real Mom’s Kitchen — Katie D. Claims Her Calm

A Real Mom's Kitchen

Welcome to A Real Mom’s Kitchen. This is the first of a monthly series that will take us inside the kitchens of real women to see how they actually use their spaces to keep the family nourished, get the academics done, keep the creative juices flowing and maybe even run a business or two. It’s all about reality, functionality, dreams and getting dirty, and most of these moms actually volunteered to let me through the front door with all my questions and my camera. Oh, and be sure to try the recipe at the end of each post, which is a featured family favorite meal (say that several times fast). One of these recipes might just become your new go-to dish. So, enough of the introductions, how about we start the visit to our very first home.

IMG_5339

Today we are visiting Katie D’s kitchen. I’ve known Katie for a couple of years now, but I had never seen her gorgeous kitchen until the morning I walked in with my notepad and camera. Katie is one of those gals who seems to have so much going on in her world, but never appears dazed, nor confused (hmmm. . . I’m not liking Katie very well right now). No, seriously, she is actually just one of those relaxed moms who will pour you a cup of coffee, grab a bar stool and chat about anything from preschool to Play-Doh.

She corrals a family of six, including her herself, her husband and four children ages 14, 10, seven and three. In addition to the numerous human bodies routinely running through her kitchen, she also shares her space with two very friendly (and very large) Great Danes, and from time-to-time, the family cat. Their home is actually where her husband lived as a child. It was purchased from his parents when they decided to sale.

IMG_5387

Thanks to Katie’s own snapshot, you can catch a glimpse of what the kitchen looked like before the remodel. They knocked down walls, opened up the dining room and created a super large island (thanks to her very handy husband, Patrick). Gone is the 80s; and instead, it has been replaced with a big beautiful traditionally styled room with fine finishes, granite countertops, stainless steel appliances and an openness that capitalizes on the large adjoining great room. According to Katie, she didn’t like her kitchen before it was remodeled, but now it’s the heart of her house.

1795258_10204381743413636_7705680568056850046_o

IMG_5361

A favorite feature of her current kitchen is the island and its open concept. She explained, “It’s the meeting space. When I’m cooking, I can see everyone and everything.” That being said, she would change one thing about the new design — glass-front cabinets. She finds them “charming” and wishes she had more than the single set they installed during the renovation. She definitely likes her choices of granite countertops and stainless steel appliances and think both are beautiful, but she did issue a kid-proximity warning as she pointed to a barely noticeable dent in the fridge.

IMG_5354

IMG_5372

The whole point of this “real life” series is to see how people actually use and abuse their kitchens. Of course when you have camera-toting company scheduled to appear you feel the need to pick up the place at least a bit (I get it), but Katie assures me that what you see is real. She did fess up to the craziness of the family’s routine and the toll it takes on her kitchen most mornings, but she tries to reclaim her space first thing each day. “This is my calm,” said Katie, and her favorite way to relax is by stealing a few moments in her cute blue chair with a cup of hot coffee. Of course those moments can be precious for a busy mom, and even before I left the house, her three-year-old son, Sam, was asking for the Play-Doh and settling into his latest creation at the kitchen island. It’s apparently a favorite spot for mom crafts too.

IMG_5412

IMG_0052e

Katie confessed that she doesn’t really enjoy cooking, but thankfully her husband is quite the meal maker. I can tell you that her family pleasing recipe was simmering in the slow cooker while I was there, and it was smelling quite yummy. Apparently chicken chili is one of her favorite go-to dishes, but she never makes it quite the same way twice, tossing in a bit of this and a pinch of that in the process. Lucky for us, Katie agreed to think on it and somehow assemble instructions for us to follow. So as promised, here is her crowd-pleasing chili recipe for all of you, along with a word of thanks to Katie for the fabulous kitchen tour.

IMG_5341

Chipotle Chicken Chili
Serves 6
Slow cooker recipe for a family-favorite chicken chili
Write a review
Print
Ingredients
  1. 4 cans (15oz) Chili Beans
  2. 2 cans (15oz) Light Red Kidney Beans, drained
  3. 2 cans (15oz) Dark Red Kidney Beans, drained
  4. 1 can Ro-Tel
  5. 1 can Tomato Sauce
  6. 2 lbs Boneless Chicken Breast
  7. Chili Seasoning
  8. Chipotle Seasoning
Instructions
  1. Season chicken with chipotle seasoning and bake, then cube.
  2. In crockpot, add all beans, Ro-Tel, tomato sauce, cubed chicken, and favorite chili seasoning, and let slow cook throughout day.
Notes
  1. All quantities and varieties are by preference. To speed it up for morning prep, bake and cube chicken the night before.
https://www.smalltalkmama.com/
Page 3 of 6
1 2 3 4 5 6