Tag: inside and out

Monogrammed Side Table a Snap

Monogrammed Side Table a Snap


sidetablebeforetable

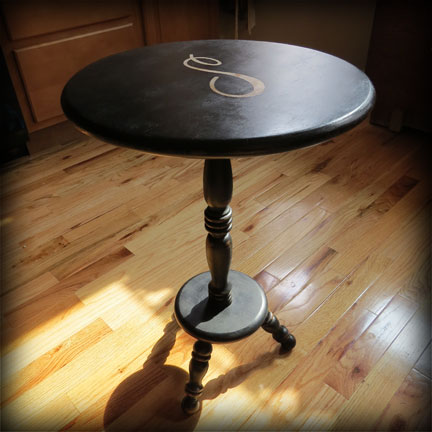
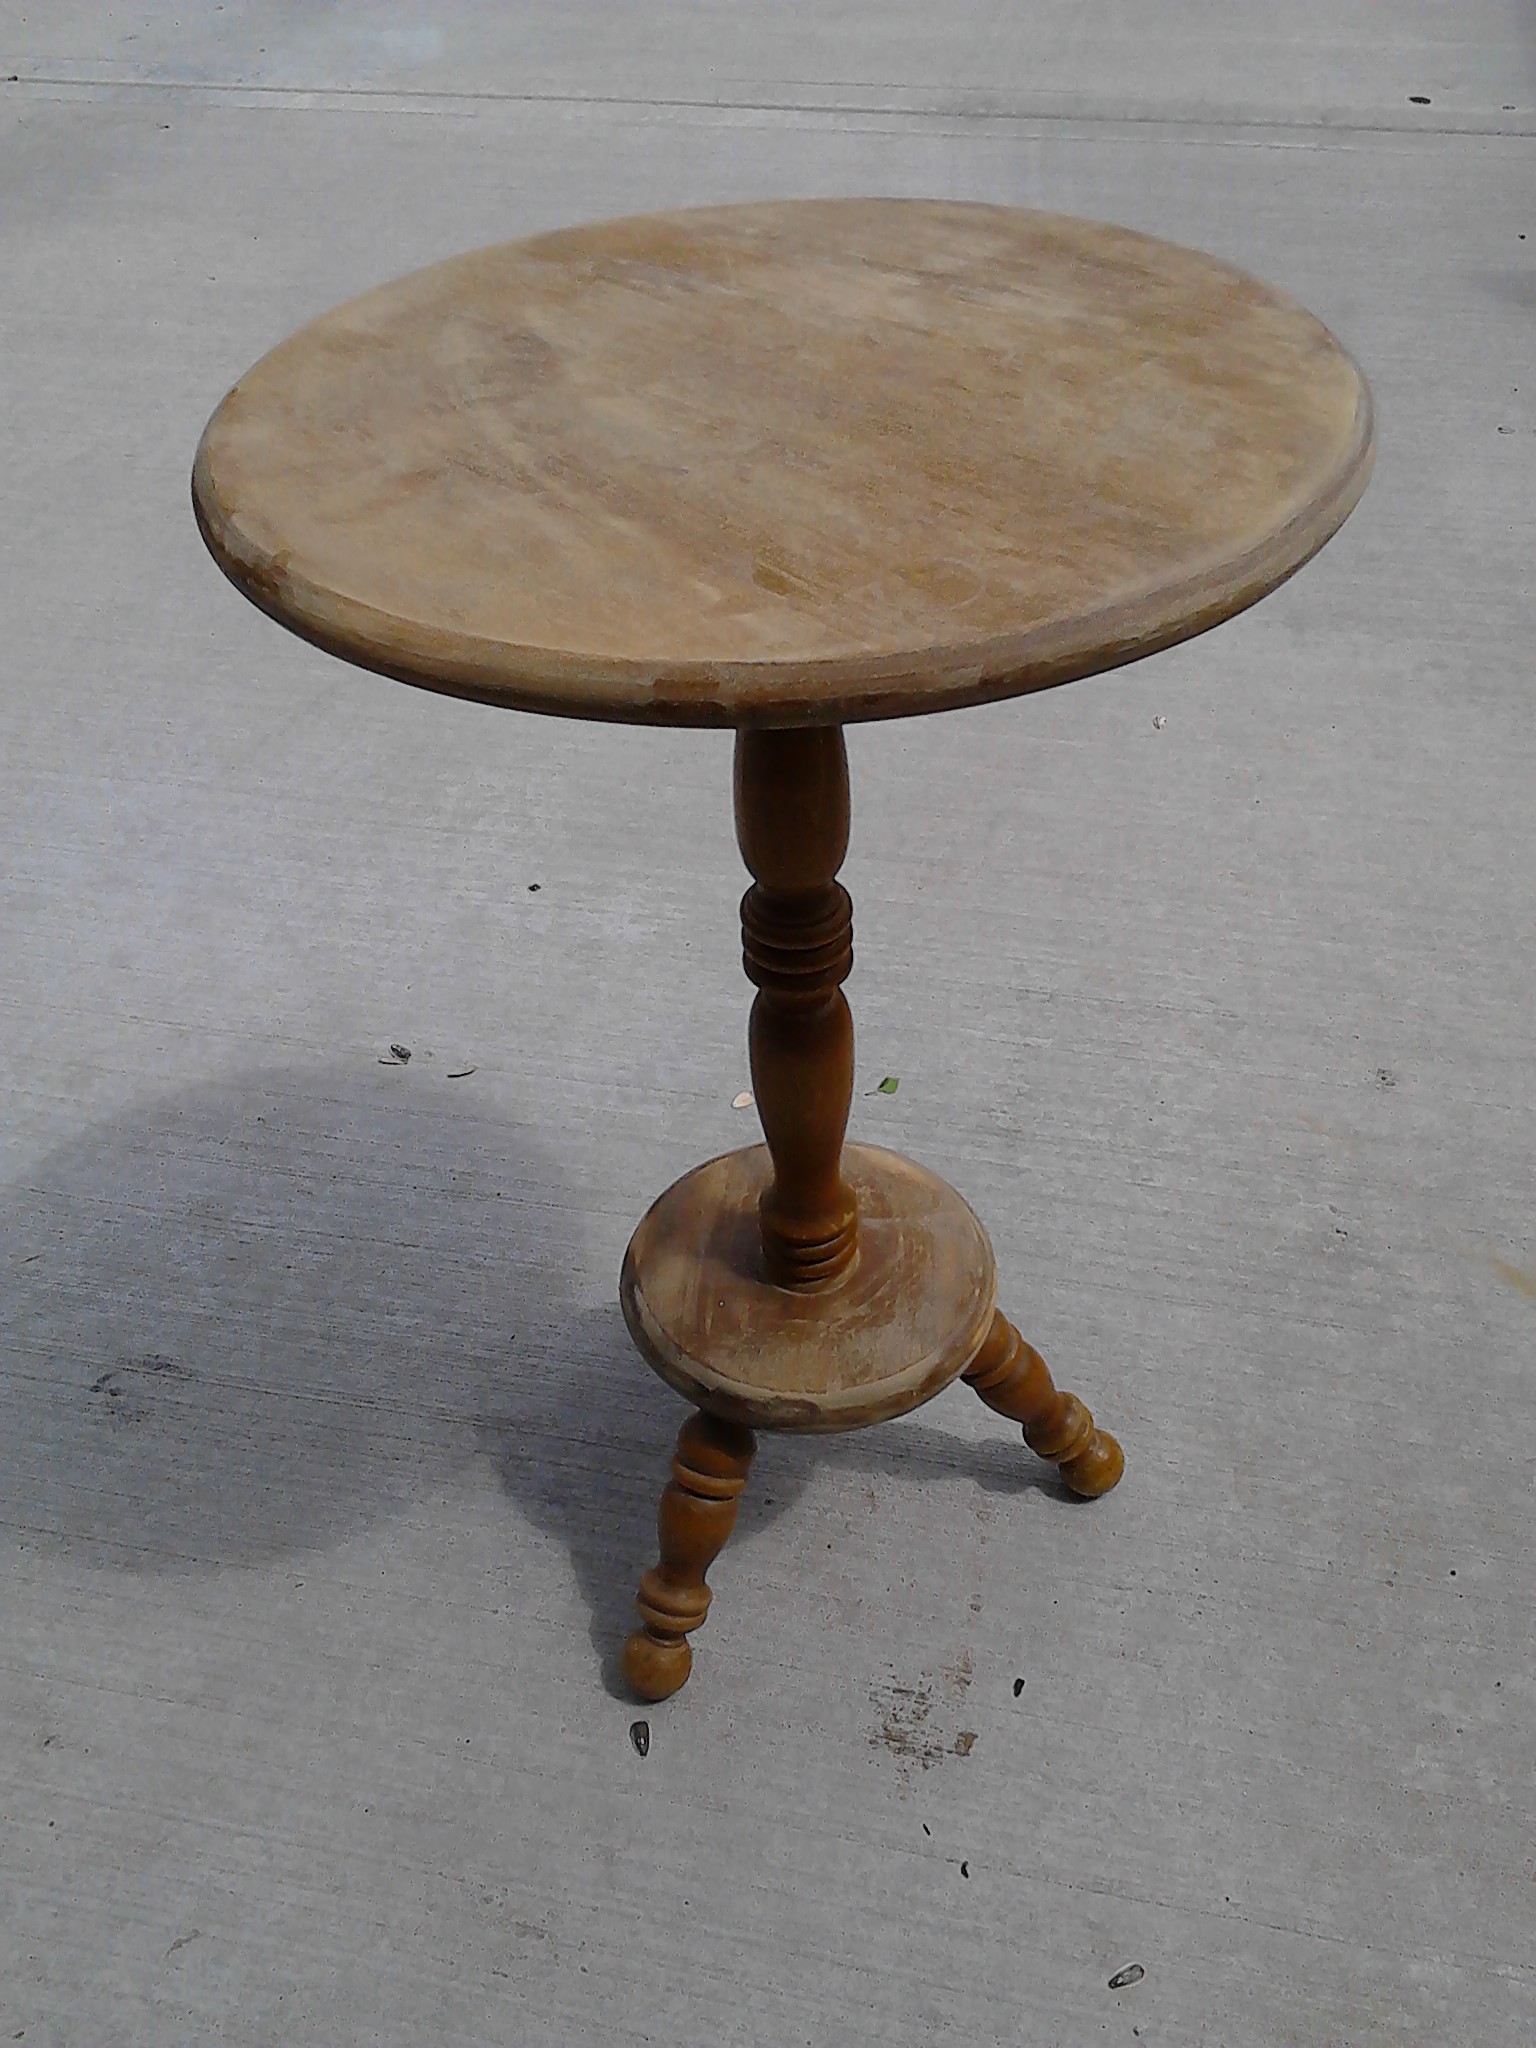
I had this little table hanging out around my house for about a year before I decided to give it a face lift. It had been outside, inside, held pumpkins and mums, and had been just plain ugly the entire time. With the purchase of new living room furniture, I decided it would find a final resting place as a side table (but it still needed major help). I actually used flat black spray paint on this project because of all the spindley things — getting a smooth coat of paint on that was not something I was looking forward to doing with a brush. Before I sanded and painted, I put my Cricut machine to good use and cut a monogram letter out of sticker paper for the top. After spraying the entire piece, I peeled off the sticker, sanded some more and waxed the entire piece. . . and it really was just about that easy, and quick (once I decided its fate).

Chairs Go From Bland to Bumblebee Beautiful

Chairs Go From Bland to Bumblebee Beautiful

k7tbz521cfa77acc68

I just wanted to show off my latest furniture project here at Small Talk Mama and share a bit about the evolution of these cute little children’s chairs purchased at a local resale store. As with all thrift stores, flea markets and resale shops, timing really is everything. I guess that’s how I justify visiting so often.

childchairsb4In the case of this petite pair of chairs, I spotted a gentleman on his way out of the storage room and literally followed him all the way to the showroom floor. I immediately examined the chairs, which were priced at $7.00 each (a steal), and found that the backs were loose. Luckily the manager heard my Mom and I bemoaning the fact that they weren’t sturdy and he offered them to us for half price. I immediately jumped all over the offer.

When I got these little gems home, I realized that there were some bolts that needed to be tightened and they shored up quite nicely. After that I did a quick sanding to knock down a couple of rough spots and began painting with a very pale yellow chalk paint that I mixed up myself (I don’t recommend the recipe I used, but that’s a whole other post). After painting, I lightly distressed some edges and applied a fabulous bumblebee graphic I downloaded from The Graphics Fairy. Another quick sanding over the transferred image and a coat of soft wax finished off this adorable project.

I love the way they turned out; but unfortunately my little boy probably wouldn’t have been thrilled with these cutesy chairs in his room, so I took them to the Rusted Rabbit for resale. Since I already had all the refurbishing supplies, including the paint, I should probably see a good return on this $7.00 deal.

Build a Weed Wackless Flower Bed Border

Build a Weed Wackless Flower Bed Border

pavers4My husband confessed to me the other day that he just doesn’t think he is a yard person. Which I think is ironic since he has done nothing but baby our front yard ever since planting it last year. That being said, I think I understand what he means, so I decided to help him keep our front lawn looking nice and tidy without all the hours of weed wacking that comes with such a task.

I don’t remember where I originally saw this idea, but I’m so glad I did. I just created a large flower bed along the front of the house using “stone” pavers, but I set them into the ground just a bit so that the wheels of the lawn mover roll right across the top, virtually eliminating the need to trim along the edge. (Yes, honey, you may thank me, again.)

The process is simple and I completed the installation by myself in about three hours. Here are the materials I used for this project:

  • pavers
  •  shovel
  •  sand
  •  weed block matting

I chose imitation stone pavers from Home Depot in a variety of sizes to give it a less formal look.  Make sure you buy pavers wide enough to allow your lawn mover blade to cut your grass along the outside edge. I laid out my pavers exactly like I wanted them and left them their for a couple of weeks until the grass under them died, but you don’t have to wait that long. It might make digging a bit more difficult, but it shouldn’t be too bad.

pavers2pavers1Working in small sections to keep the integrity of the border shape, I pulled up the placed pavers and laid them to the side (keeping their original order). With my shovel I dug a shallow trench the width of the pavers and the shape of the border. Make sure you only dig down far enough to make your pavers the same height as your lawn. I laid down the weed block mat and a shallow lining of sand to level out the trench. One by one, I replaced the pavers in order, using the sand to keep things level (you may have to add sand along the way). After I finished replacing all the pavers, I continued with the next section and so on.

After all the pavers were placed, I back filled (behind the black matting) any necessary spots with dirt and filled the gaps between the pavers with sand. I gave everything a good watering and voila! It really was a simple project that makes it so much easier to maintain a crisp flower bed edge. Unfortunately it’s too hot to finish planting that beautiful space I just created, but it’s ready for just the right day.

Shared with:
The Scoop @ Cedar Hill Ranch
Wow Us Wednesdays @ Savvy Southern Style
Page 13 of 14
1 11 12 13 14