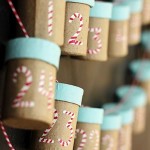
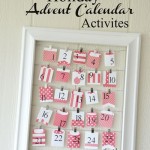
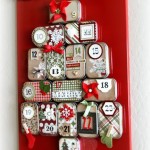
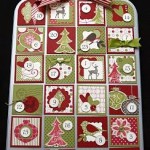
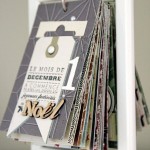
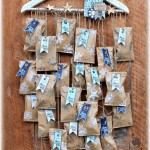
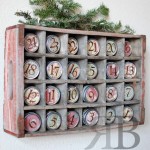
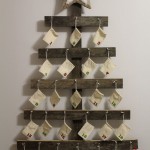
Okay, so I know I gave you a glimpse into my fall home décor just yesterday and although I’m not advocating the legitimate switch to Christmas I do know that if you (or I) have any hope of getting crafty for the coming season without the procrastination and stress, we probably should have started last year. . . but where’s the fun in that? Okay no, not all homemade crafty hope is lost, so let’s talk Advent calendar ideas. I’m making this my top priority, because it’s an item that needs to be ready to roll on December 1 so my son can start counting down the days to Santa’s arrival. You can see that I have compiled a great group of advent ideas, some super simple and some that require a little more time (did I mention time is probably not a luxury right now). Any who, I hope this compilation of calendars sparks a bit of Christmas creativity in each of you.
Fall Home Tour at The Quarter-Acre Wood
So I know the fall decorating season will be drawing to a close with the rapidly approaching Thanksgiving holiday, but I wanted to share my little touches of autumn with you as a “better late than never” thought in mind. I tried to keep things very simple this year, because I went all out for my son’s fifth birthday pirate party in October and Christmas will be upon us at warp speed. So here are a few touches around the house that hopefully let guests know that I didn’t completely ignore my favorite time of year.
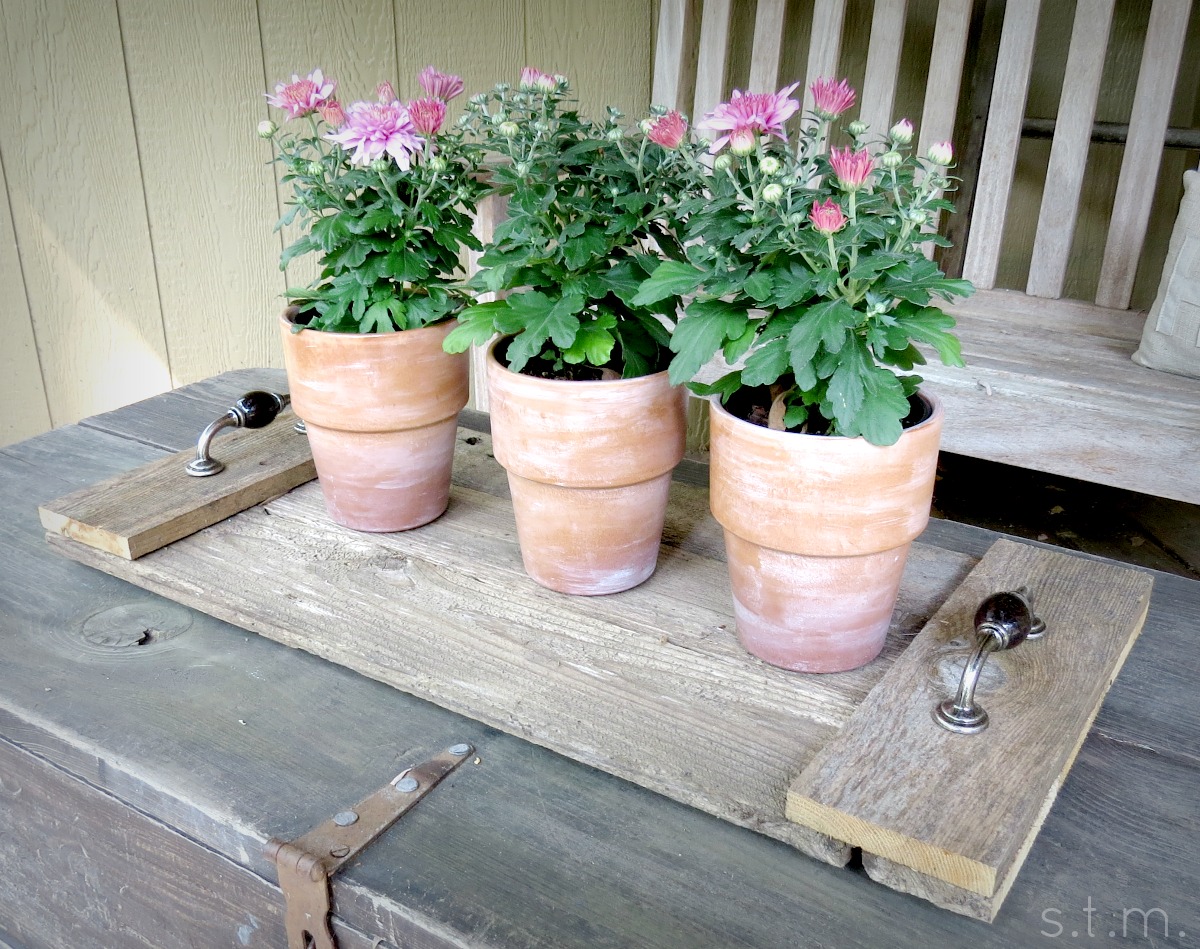
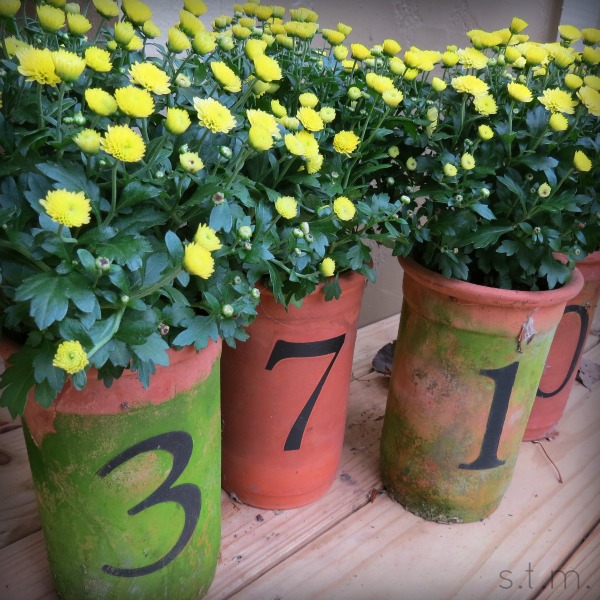
I love to change out my house number pots for the season, and these beautiful mums were just the thing to brighten the front porch. . . until the little deer decided to come all the way up to the house and chew off every last bloom. *sigh*
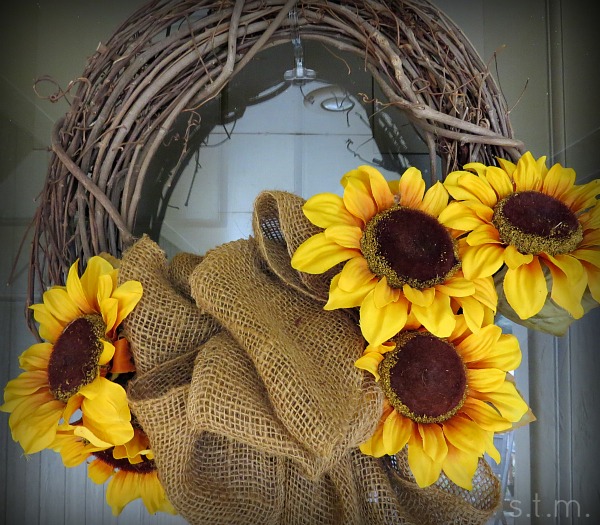
This was such a super easy wreath to create with large sunflowers and burlap ribbon. I hang it on my door every fall to welcome my guest to the door.
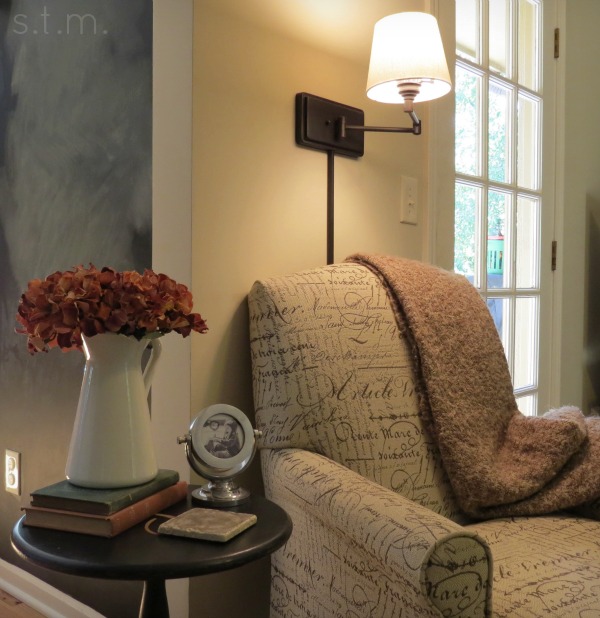
Inside, I simply added some hydrangea blooms to my IKEA metal pitcher and the brown throw to the chair. This spot is so cozy, and I love to curl up here with a book.
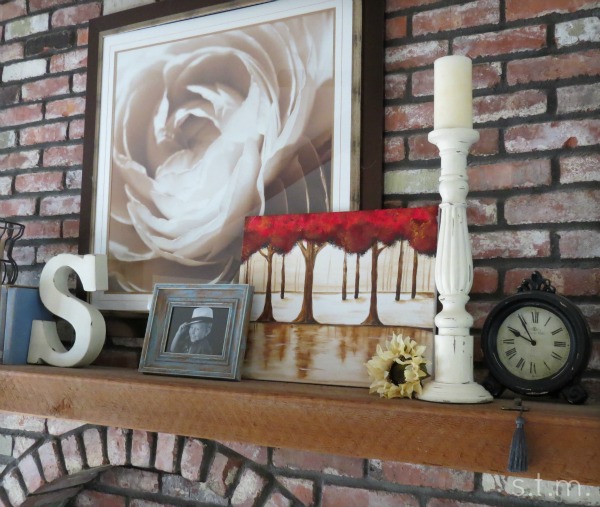
This year I changed out a couple of items on the mantel for a fallish touch, including the addition of the “original” work of art you see here. My moms group had our monthly Mom’s Night Out at a local paint-your-own-art place called Happy Trees Painting in Kansas City. I was surprisingly happy with the outcome, and of course the subject was perfect for this time of year.
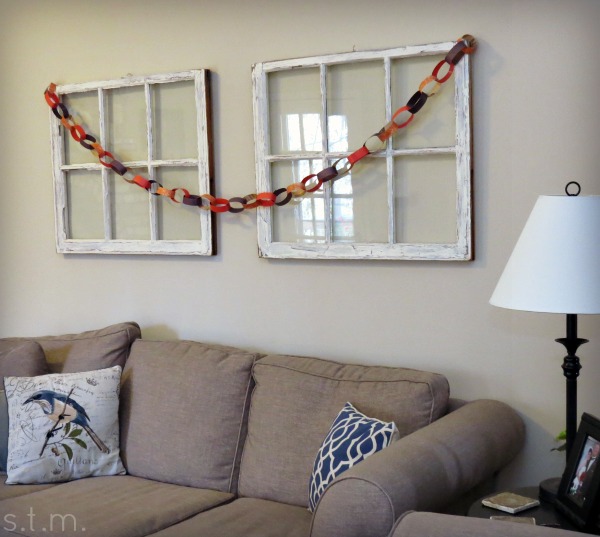
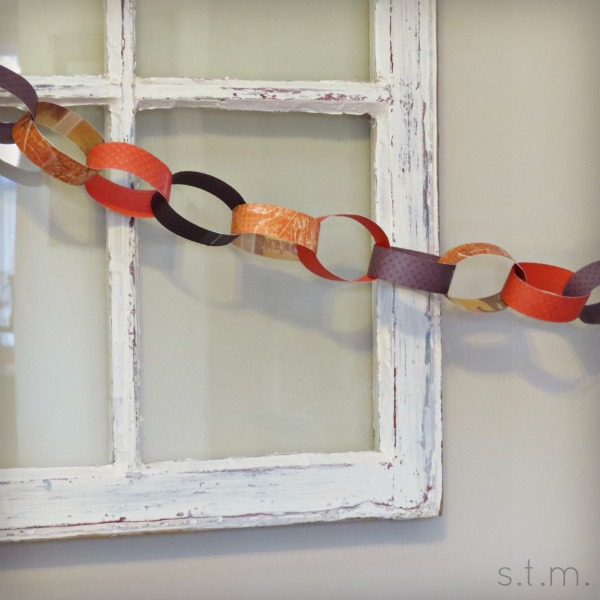
Here is the last little touch of fall in my living room. It’s a little chain garland my son and I made before Halloween using strips of scrapbook paper. If you remember my post about keeping it simple between now and the end of the year, I suggested making something easy with your kids. So I did just that. My son loves to use the paper cutter when I have it out, so I let him cut the strips (under my direct and constant supervision) and then we linked them all up together. We both enjoyed this super simple craft, and I love the added autumn touch!
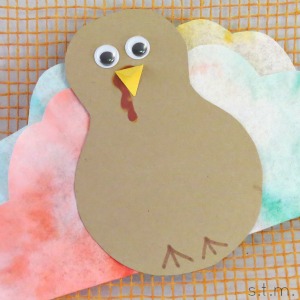
Talking Turkey with Crafty Coffee Filters
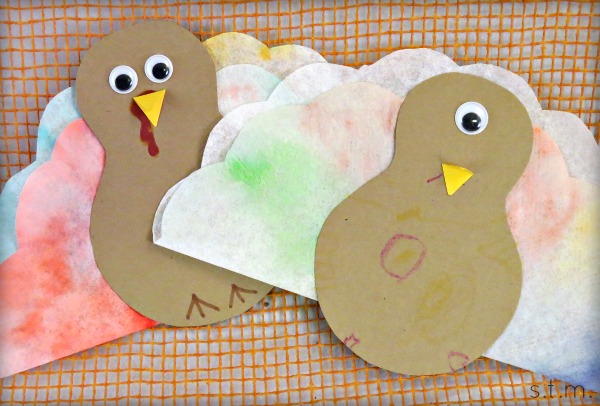
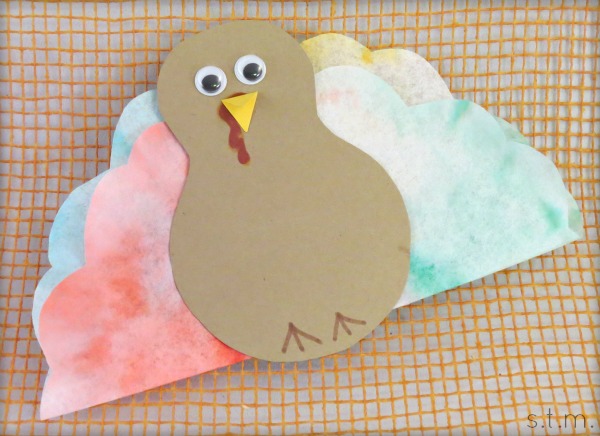
My son and I had a great time making these cute little coffee filter turkeys (or in his case, cyclops turkey monster) last year right before the holidays, so I wanted to share this quick, colorful and child-friendly craft with all of you this year. I hope you and your little one(s) have fun too!
Materials:
- Non-permanent magic markers
- coffee filter
- scissors
- glue
- google eyes
- brown and yellow construction paper
- downloaded turkey body pattern
- spray bottle with water
- iron (optional)
- small magnet circle or strip (optional)
How to make it:
- Flatten a coffee filter, then fold it in half four times so that you end up with a wedge. Using scissors, cut a curve at the top of this folded filter.

- Unfold the cut filter completely and let your child color all over it with markers. The more color the better.
- Lightly spray the filer with water and set aside to dry. This will mix and mute the colors on the filter. If the filter doesn’t dry quickly enough, you can use a hot iron to speed up the process. (Parents, please use caution with hot irons around children. This optional step is best left to the grownups.)
- Fold the dry filter in half so that one side is slightly lower than the other and the curved parts of the edges don’t quite line up. This will be the finished turkey tail.
- Using the downloaded turkey body pattern, cut a body from the brown construction paper.
- Next use markets to color a red wattle (for you city folks, that’s the red wrinkly thing that hangs around the beak) and brown or black feet on the body.
- Cut a beak from the yellow construction paper and glue it on.
- Glue on two (or how ever many your child might like) google eyes so your turkey can see.
- Lastly glue on the folded turkey tail. It’s best to put a dab of glue between the two tail layers also.
- If you want to proudly display your turkey on the fridge, simply add a magnet to the back after everything else has dried.

