It has a busy season (as usual) at the Three-Acre Wood and I’m quickly becoming thankful for the slower pace of this year’s Thanksgiving festivities. Since we didn’t travel, it gave us a few extra days to get Christmas in order and roll into the holiday season without being completely behind. Oh, I’m still behind; just not completely. On top of everything else, my husband found himself on a temporary restricted diet, so I got a little creative with meal prep and discovered a few new delicious recipes. Although hubby is back to eating normal, our family decided to keep one of our new dishes in the regular breakfast lineup — Fizzy Water Pancakes.
I wanted to pass along this recipe because I think it might be helpful for people with several different types of dietary restrictions, especially folks with a milk allergy or intolerance. Instead of dairy products, these fluffy pancakes get a lift from carbonated water, but one would never know. Our son has gone as far as claiming them as the “best pancakes ever.” He’s ten. Take his culinary review with caution, but I do have to agree that they are quite tasty.
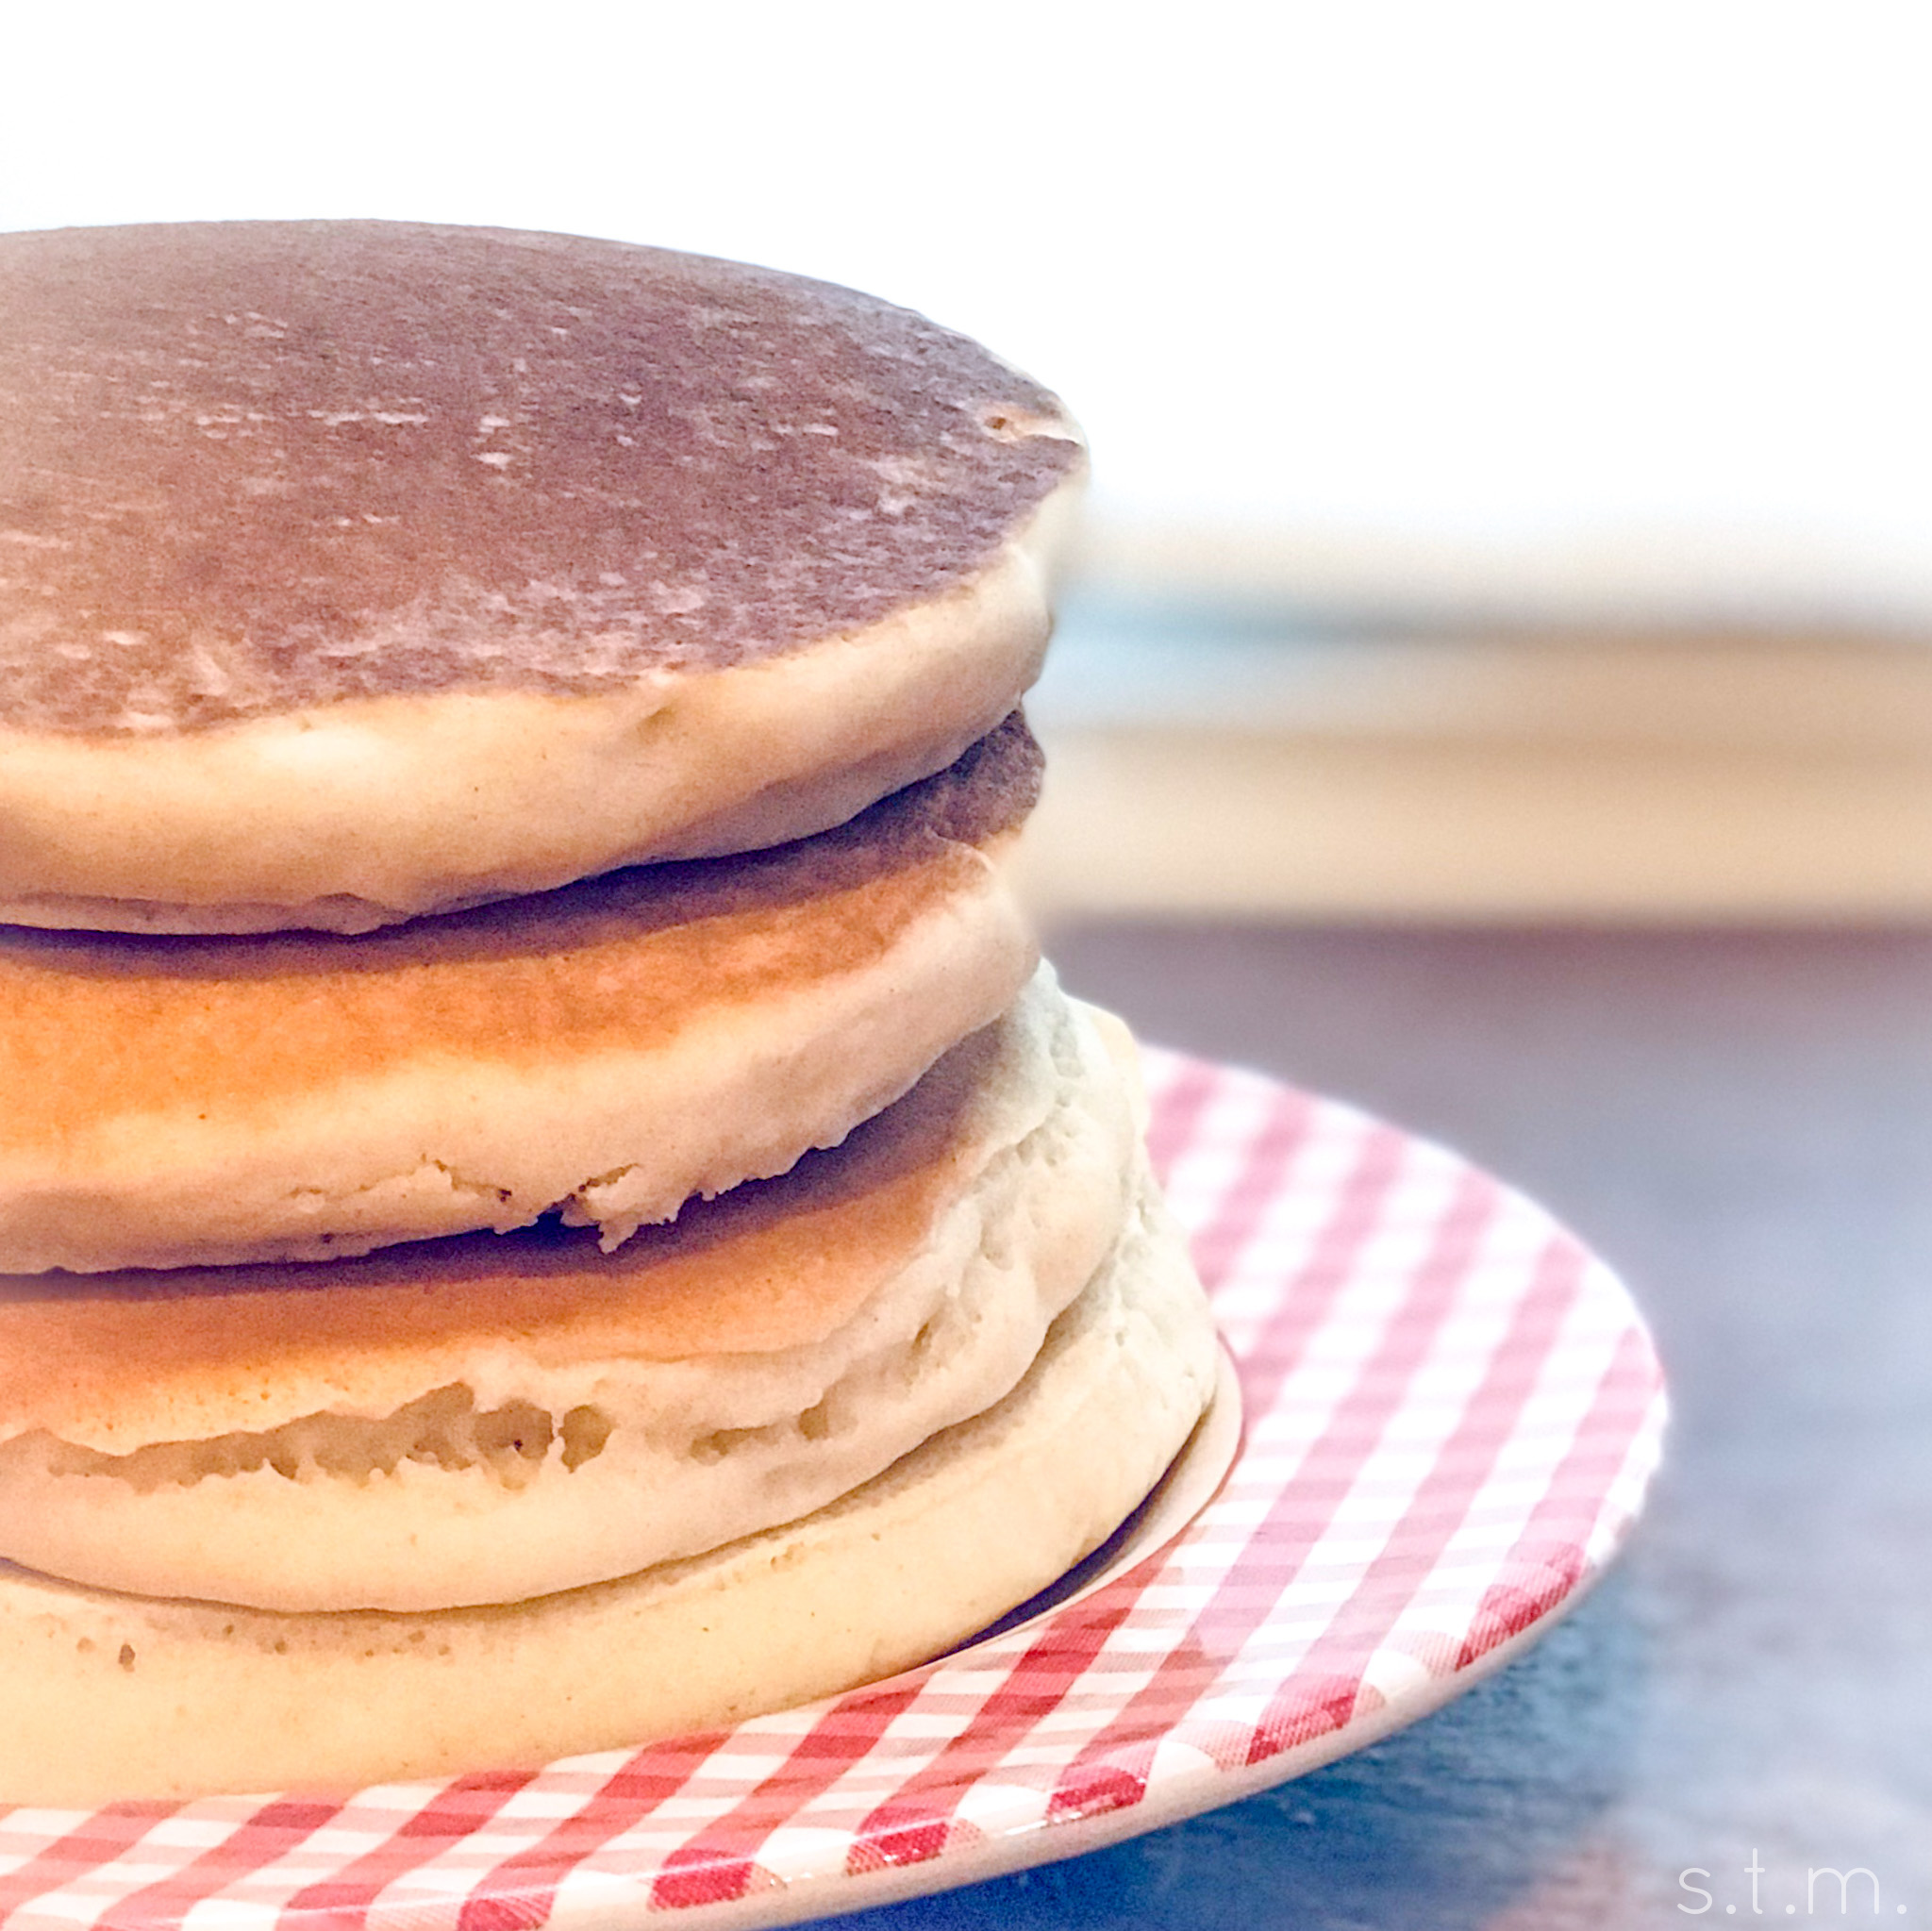
Fizzy Water Pancakes
Ingredients
- 2 c all purpose flour
- 1/4 c sugar
- 4 tsp baking powder
- 1/8 tsp baking soda
- 1/2 tsp salt I use non-iodized
- 2 egg whites
- 3 tbsp oil I use canola oil
- 2 tsp vanilla extract
- 1 1/2 c carbonated water (unflavored) I use Sanpellegrino
Instructions
- Warm a skillet to medium heat.
- In a large mixing bowl, combine all the ingredients in the order listed.
- Mix together well, but don't over do it. The batter should be a wee bit lumpy.
- Wipe warm skillet with oil or a nonstick spray.
- Pour batter into warm skillet, brown, flip and brown the other side.
- Serve warm with butter, syrup, peanut butter, fruit or toppings of choice.