Tag: kid crafts

A Playing Dough Kind of Day

A Playing Dough Kind of Day

playing dough

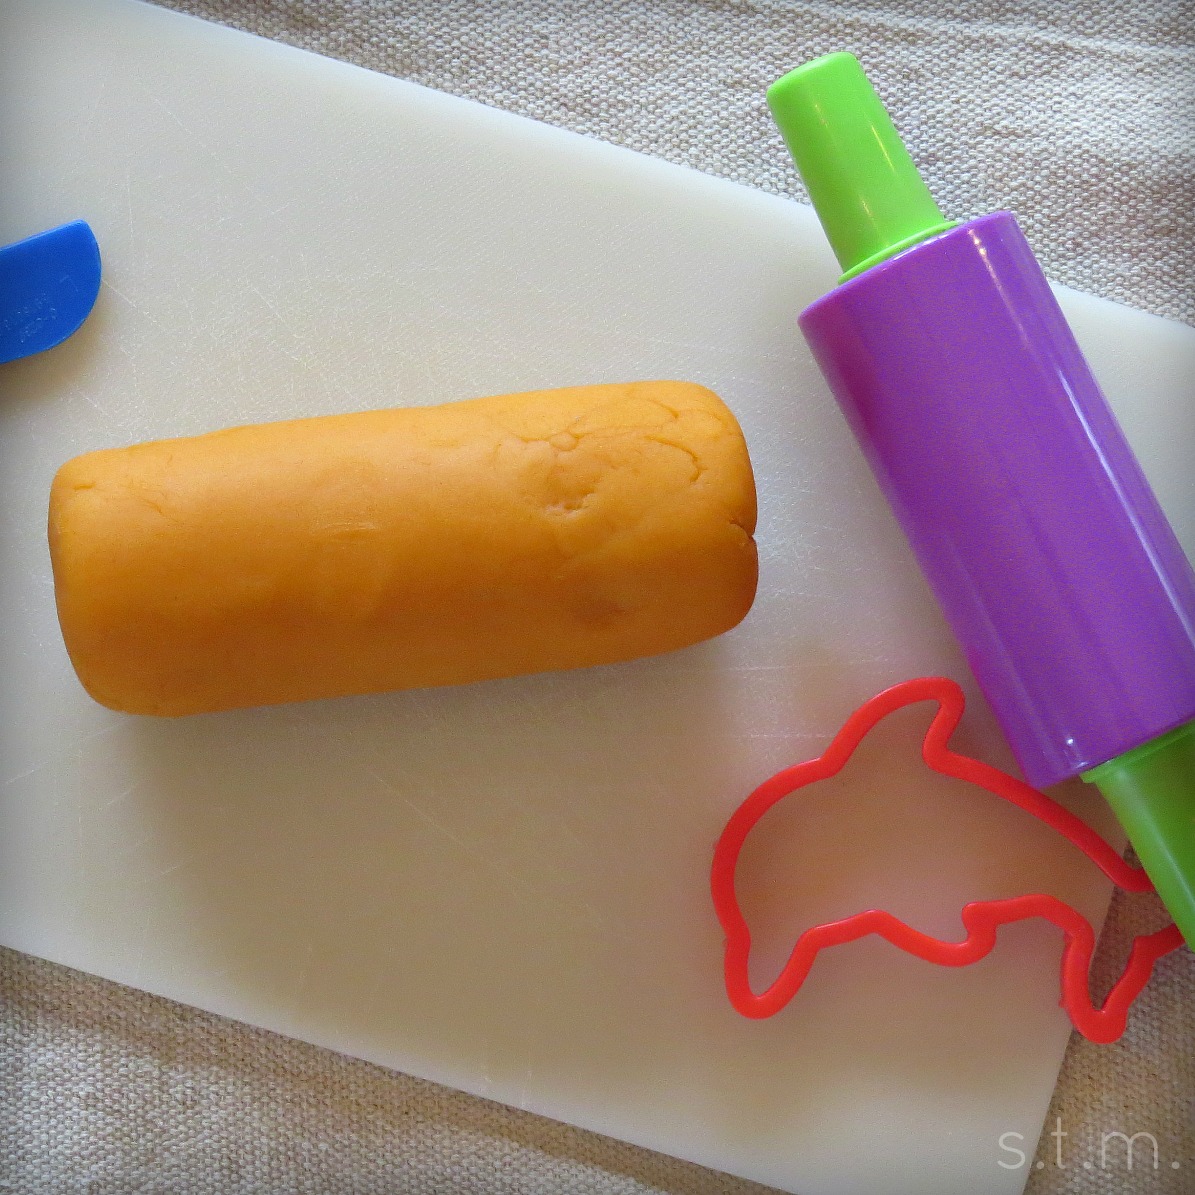
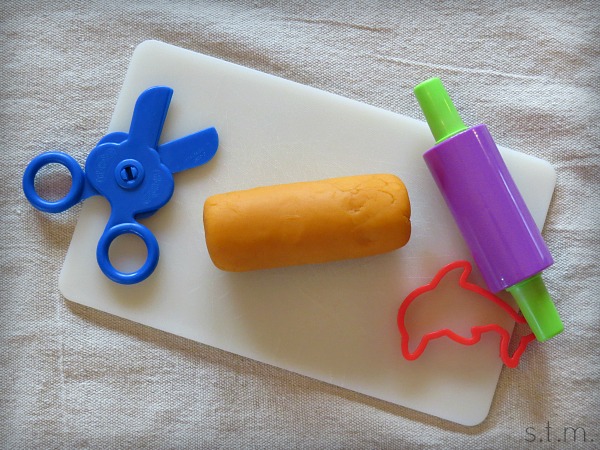
It was a play dough making kind of day! With a gray chill in the air, my little guy and I decided to hole up at home, crank the heater and have a little fun.  My son requested orange dough the other day, so I snagged a cheap box of said-colored gelatin during my last grocery shopping trip and was thankful to have it on hand.

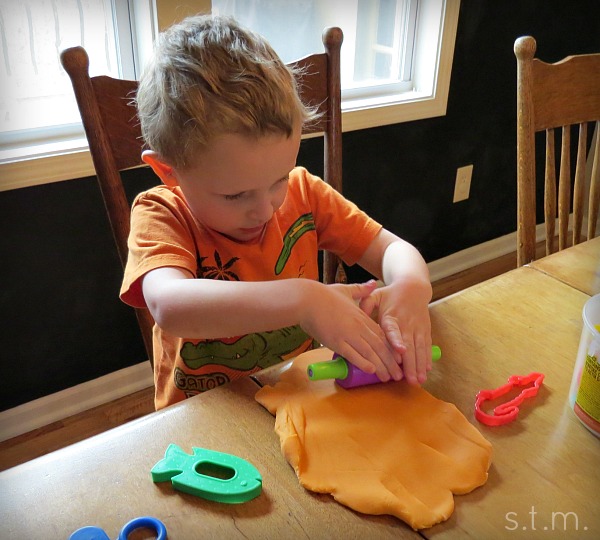
My little guy loves to mix all the ingredients for this gelatin-based recipe and even stir for a bit, but it doesn’t take long for his little arms to get tired and relinquish the spoon to mama. I really don’t blame him; even my arms get tired before the dough completely cooks. The key to this recipe is to just keep stirring as it cooks — it will set up, eventually.

playing dough

If you’re looking for some creative ways to spend the last several chilly days of winter, you might give this playing dough recipe a go. It’s not cheaper than buying the original stuff at the store, but it is a lot more fun.

Jell-O Playdough
Homemade playdough that feels like the real thing.
Write a review
Print
Prep Time
10 min
Cook Time
20 min
Total Time
40 min
Prep Time
10 min
Cook Time
20 min
Total Time
40 min
Ingredients
  1. 1 c white flour
  2. 1 c warm water
  3. 2 tbsp. salt
  4. 2 tbsp. cream of tartar
  5. 2 tbsp. cooking oil
  6. 1 Jello pack (3 oz.)
  7. extra flour for kneading
Instructions
  1. Mix all of the ingredients (except extra kneading flour) together in a small saucepan until the lumps are gone.
  2. Cook over medium heat, stirring continuously until it thickens into a big ball of dough. (Stir until you can't stir anymore.)
  3. Turn out the dough on a flour covered surface, cutting board or mat.
  4. Let the dough cool.
  5. Add flour and knead the dough until it is no longer sticky (1/2 cup to 1 cup of flour).
Notes
  1. The dough should stay good for a few weeks if placed in an airtight container and kept in the refrigerator.
Adapted from Modern Parents, Messy Kids
https://www.smalltalkmama.com/
&

Make a Love Bug With Your Little One

Make a Love Bug With Your Little One

love bugs

love bugMy five-year-old son and I have been getting a little crafty for Valentine’s Day this year, and I just had to show off these cute little love bugs we made for his classmates. They were super simple to assemble, but you do have to factor glue-drying time into your crafty equation.

Materials:

  • small foam hearts
  • medium pom-pons
  • small google eyes
  • faux flower stamens
  • craft glue

Instructions:

  1. Glue a pom-pon onto a foam heart. Let the glue dry.
  2. Fold a flower stamen in the middle. Put a dab of glue at the middle and poke into the top of the pompom. Let the glue dry.
  3. Place two dots of glue on the front of the pompom and stick on the google eyes. Let the glue dry.

I told you to factor in the glue-drying time, didn’t I. Other than that timely process (and I did use a faster drying tacky glue), this craft project really is quick and easy. Why not create a mini love bug with your little ones, or make a whole army of them today.

Saturday Sparks — Kid-Made Christmas Ornaments

Saturday Sparks — Kid-Made Christmas Ornaments

Somehow we have found ourselves with an entire unscheduled weekend in the heart of holiday season. Go figure. So after doing a quick round-up of some fun ideas on Pinterest this morning we decided to take at least part of the day to create some homemade Christmas ornaments. I came up with some rather festive ideas during my search, all of which are kid-friendly, which means they should also be appropriate projects for the man in your life if the whole family wants to join the fun (It had to be said). While some of the ideas may be a bit difficult for younger children and adult supervision should be used with all these projects, I think you’ll find most of these ideas to be very kid friendly. In fact, I remember making some of these Christmas crafts when I was a little girl.

imageimage35cbc530a94dc6c0672c5461bc3bdfc342d55ff80fbd58ce90a2de63c6e6810c954506aff82d1b3d43f4ef7f52f51d4a1e41e086dc854c31812136e237fe687751c292eab1e9b7b0dcf524abf318f4fd31efde6f3ab198c0376280272843212df65322df917c50b29918d4aadc85b3033c82e08f6c71394be2a548488fb2c963993f7be63b23e683b656a428baf342af186de6521d97251c4f2dce1840dad1cebe7415bd85e21a0fae87e64464d4fd32ff7754a4fd22f56cfedceec5eafabdbb12ca69fdc0750453d38c4011717ffeb0bcec0c9691e30d5ae8c1978981033cafb306a46377c1e0865654c152f2a8989f4e107ec8934fb2669de90bb64fe64996

Page 1 of 2
1 2