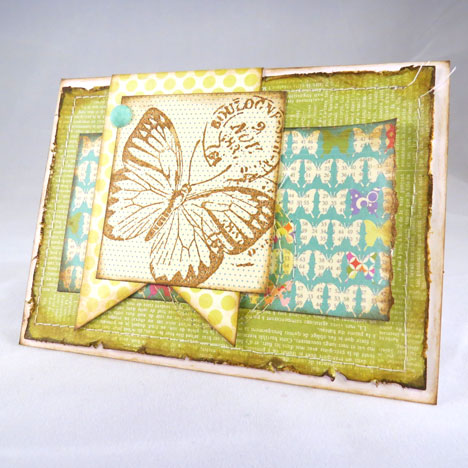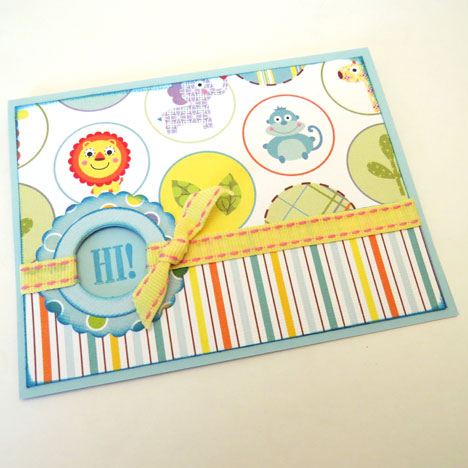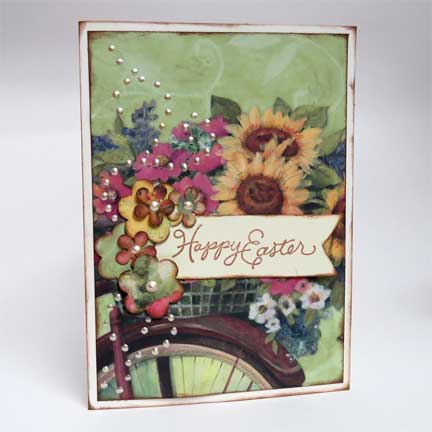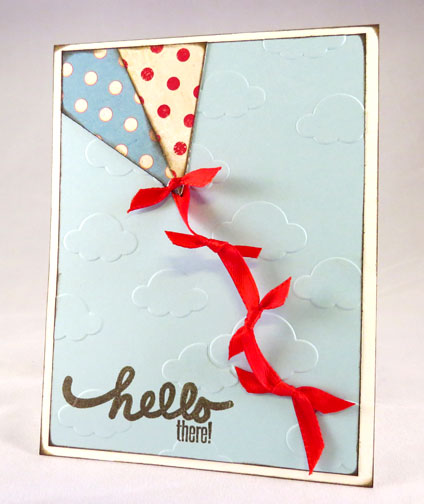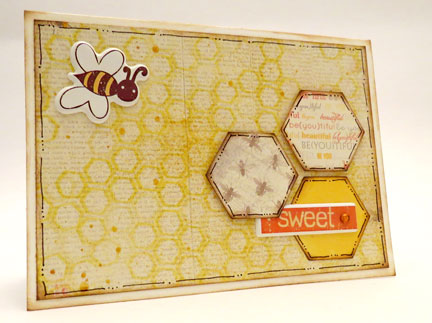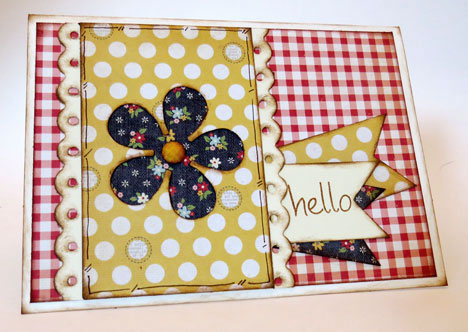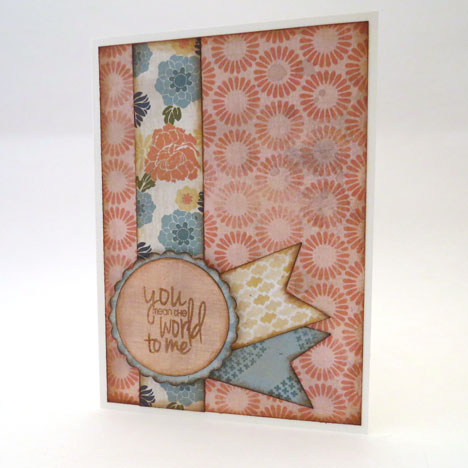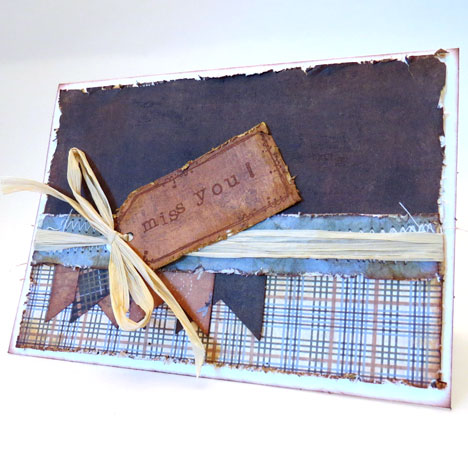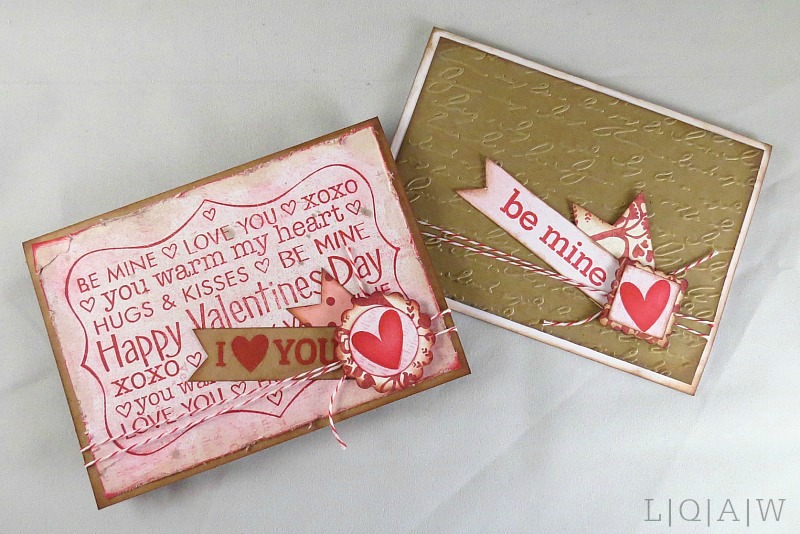
2014 was an interesting blogging year for me. My original blog, Small Talk Mama, completely crashed and burned in October and I lost lots of information associated with it. I consequently began Life at the Quarter-Acre Wood and decided to slow down my posting lifestyle and enjoy the process a bit more. But alas, I felt the pull to rebuild Small Talk Mama and so here I am again. . . While this blog may still be a bit under construction, it hasn’t stopped me from constructing cards for Operation Write Home. I believe in this organization, am thankful for the heroes it supports and love the creative outlet OWH gives me for creating cards.
So without further ado, let me wish you a “Happy New Year” and let you take a look at some of my favorite OWH cards of 2014 (compiled from Small Talk and Quarter-Acre Wood — they’re both me). May you and our country feel God’s blessings this year.
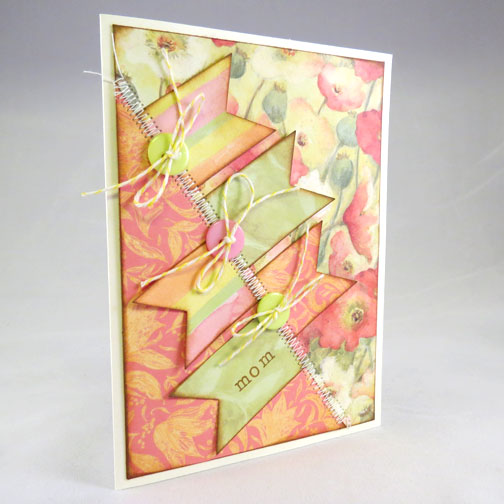
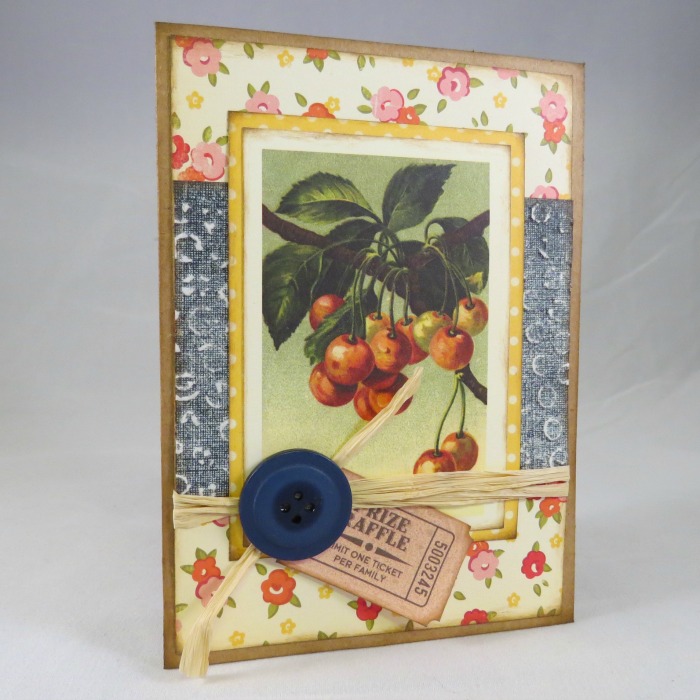
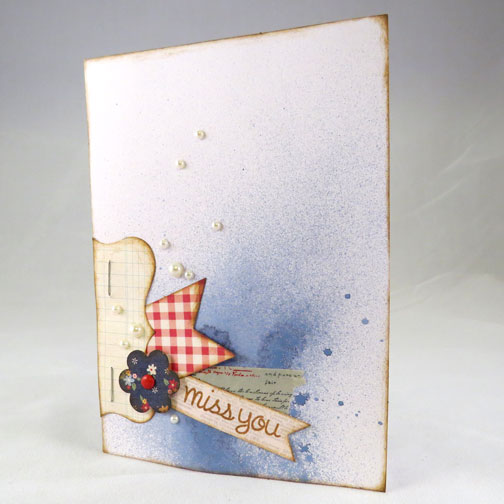
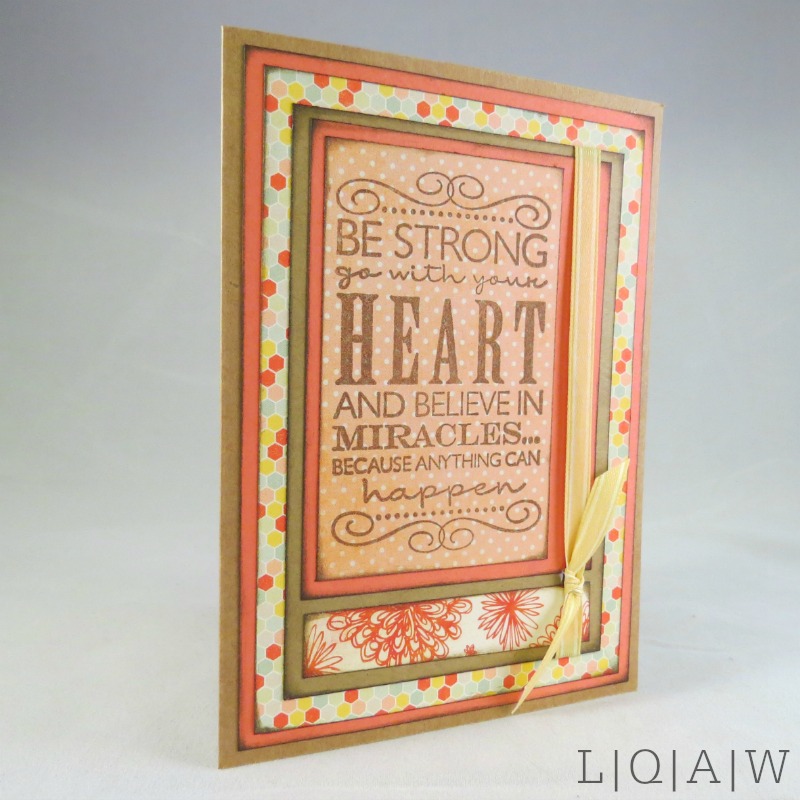
Click on images to enlarge