A couple of years ago some ladies from my mom’s group decided to get together and learn how to knit. We had a few talented knitters in the group and several of us were very envious and willing to give this new hobby a go.
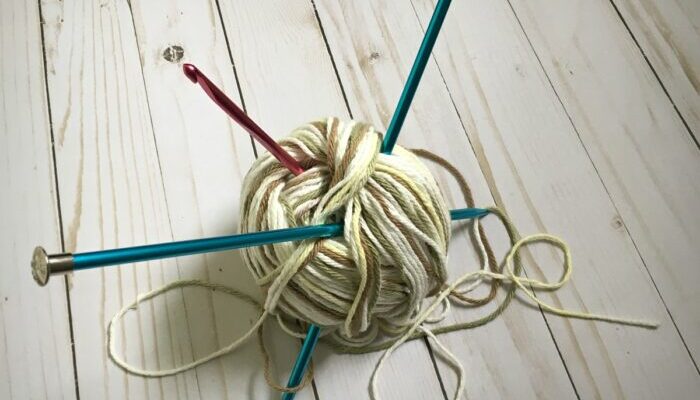
I generally think I’m pretty talented when it comes to crafting and I love to try new things, so making something useful out of a ball of string seemed like a good idea. . . So I bought a ball of yarn, a pair of basic knitting needles and showed up ready and willing to learn this new art while visions of warm sweaters, cozy blankets and those awesome little dish clothes (I love those things) danced in my head. But that’s right about where this good idea went all wonky. Continue reading “Bitter Knitter and Crochet Quitter”