Tag: family fun

The Coolest Man-Made Place on Earth

The Coolest Man-Made Place on Earth

Visit St Louis

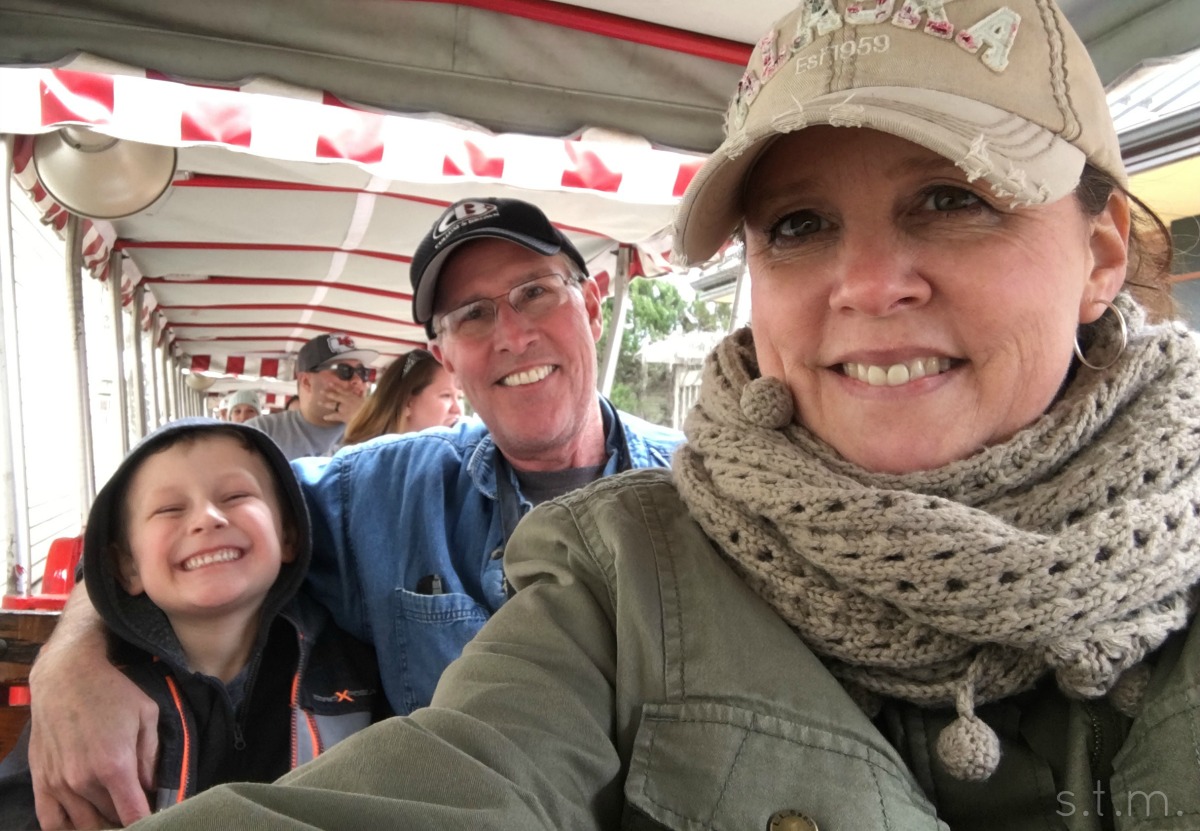
Spring Break is officially finished and yesterday was back to business as usual — my husband went to work, our son went to school and I did our taxes. Sounds like fun, eh? I actually didn’t mind the shift back to real life, because our family adventure to St. Louis last week was a perfect three-day respite for the early spring blues.

Our son had never been to the far side of the state, so St. Louis was a fun trip for our youngster (and a Mom and Dad who hadn’t been in many years). We had originally planned to visit this summer, but it seems like we are always in a dead sprint when school lets out so we decided to move up the date a bit. We knew the weather would be iffy in March but we decided to risk it, and the cold and rain cooperated for most of the outdoor parts.

visit st louis

visit st louis

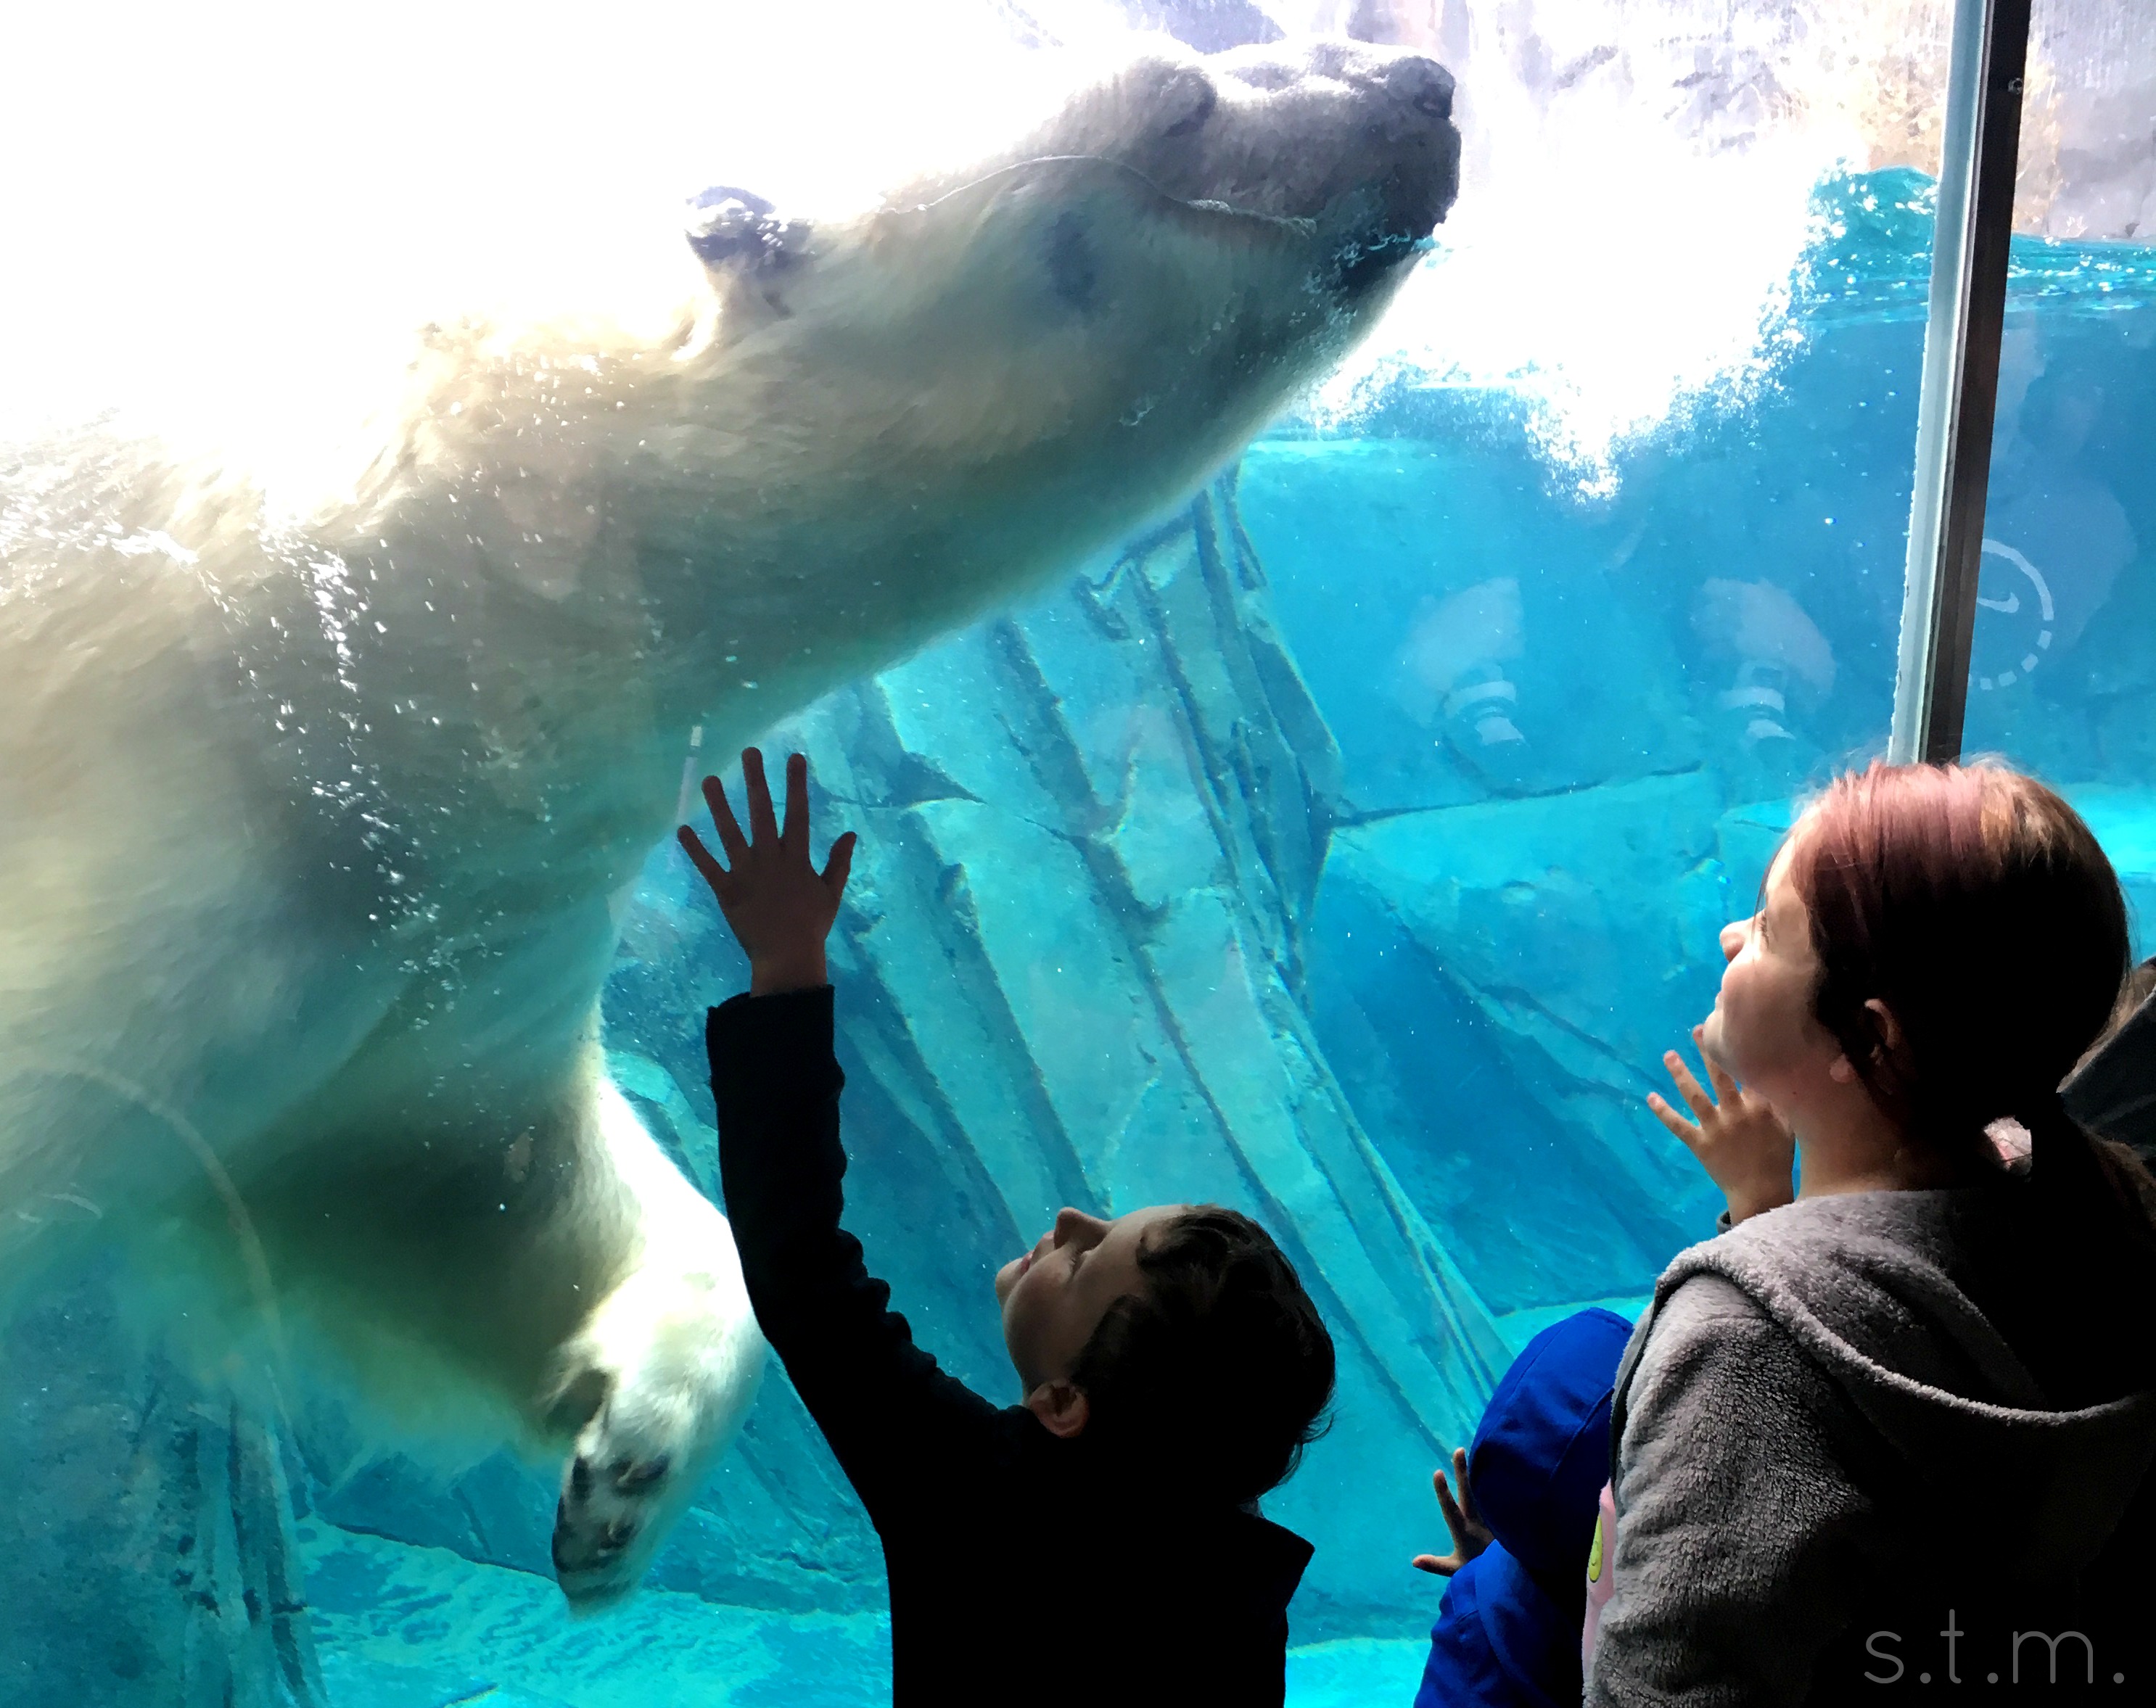
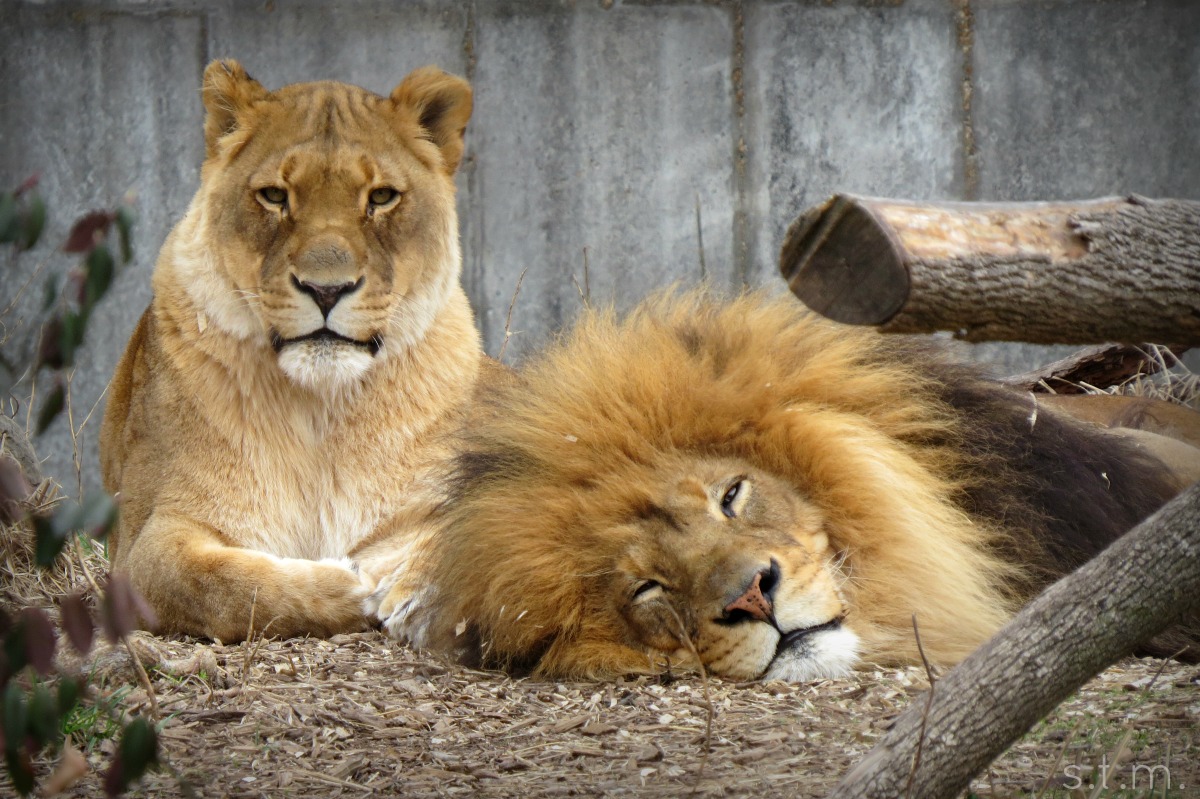
We visited the St. Louis Zoo the first day, with its playful polar bear, butterfly garden and oodles of other cute and/or ferocious creatures. Admission to the zoo is free, but it costs $15 to park (oversized vehicles cost extra), and an Adventure Pass is also an additional fee. The pass covers all the fun stuff like the train, petting zoo, sea lion show and carousel, and you can definitely save money by purchasing the pass instead of paying for each event individually. We received an additional discount on our passes because we are season ticket holders at our local zoo, so make sure you ask about that.

visit st louis

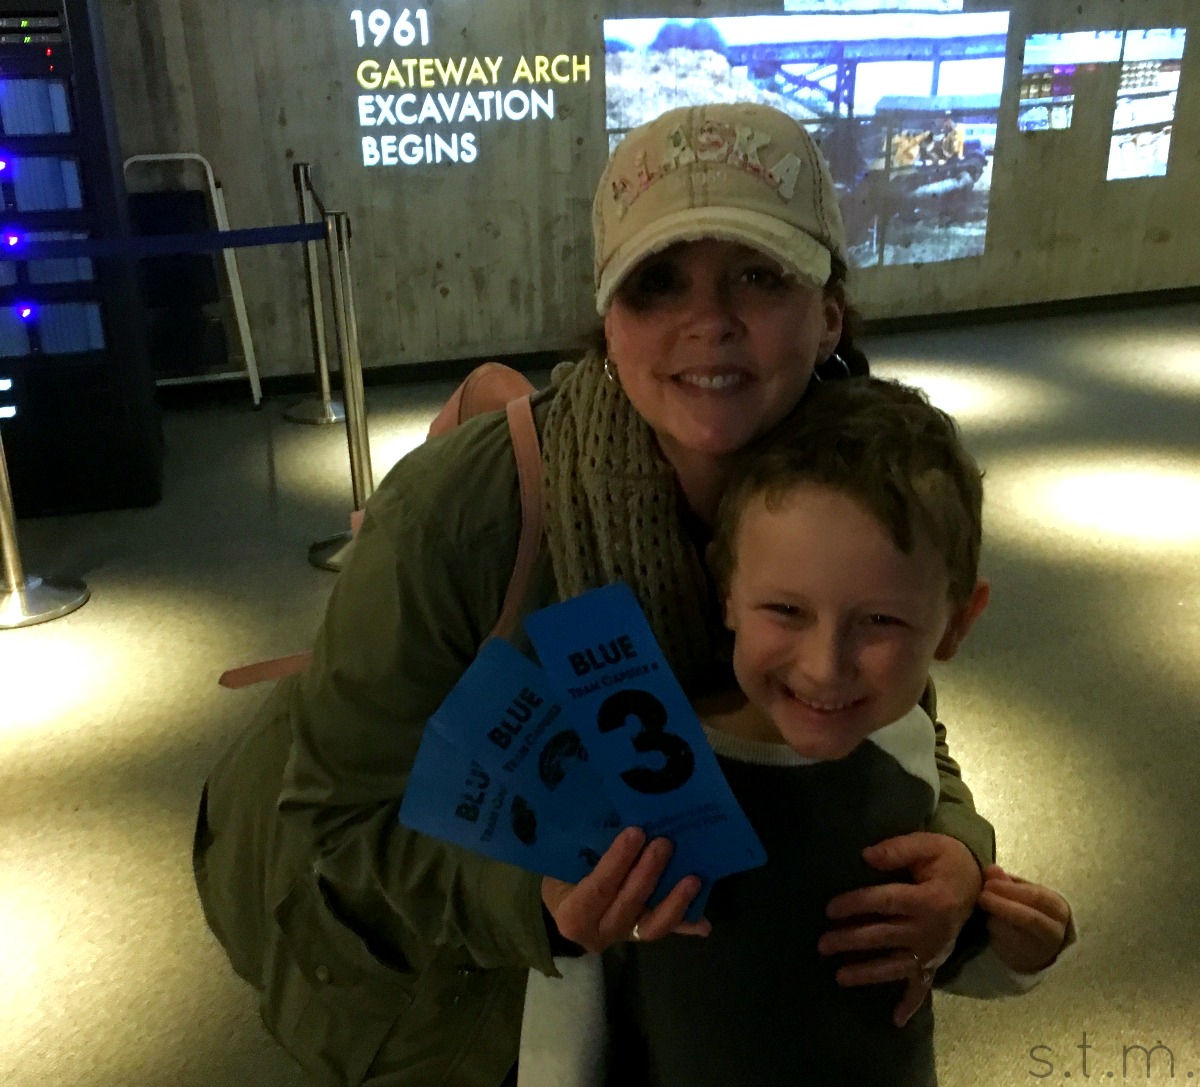
The third day we visited the Gateway Arch and took a riverboat ride along the mighty Mississippi. It turned off cold and rainy that day, but other than the walk from the parking lot we were inside most of the day. We couldn’t see much from the top of the Arch because it was so cloudy, but that gave the view from there its own sort of mystique. I remembered the cramped egg-shaped tram to the top from my teenage years, but this time it was so much fun to see the thrill of adventure register in my little guy’s eyes! Thankfully I purchased tickets online weeks ahead of time, or we might have been tempted to skip the day’s activities because of the gloomy weather. . . and it was certainly worth braving the elements.

visit st louis

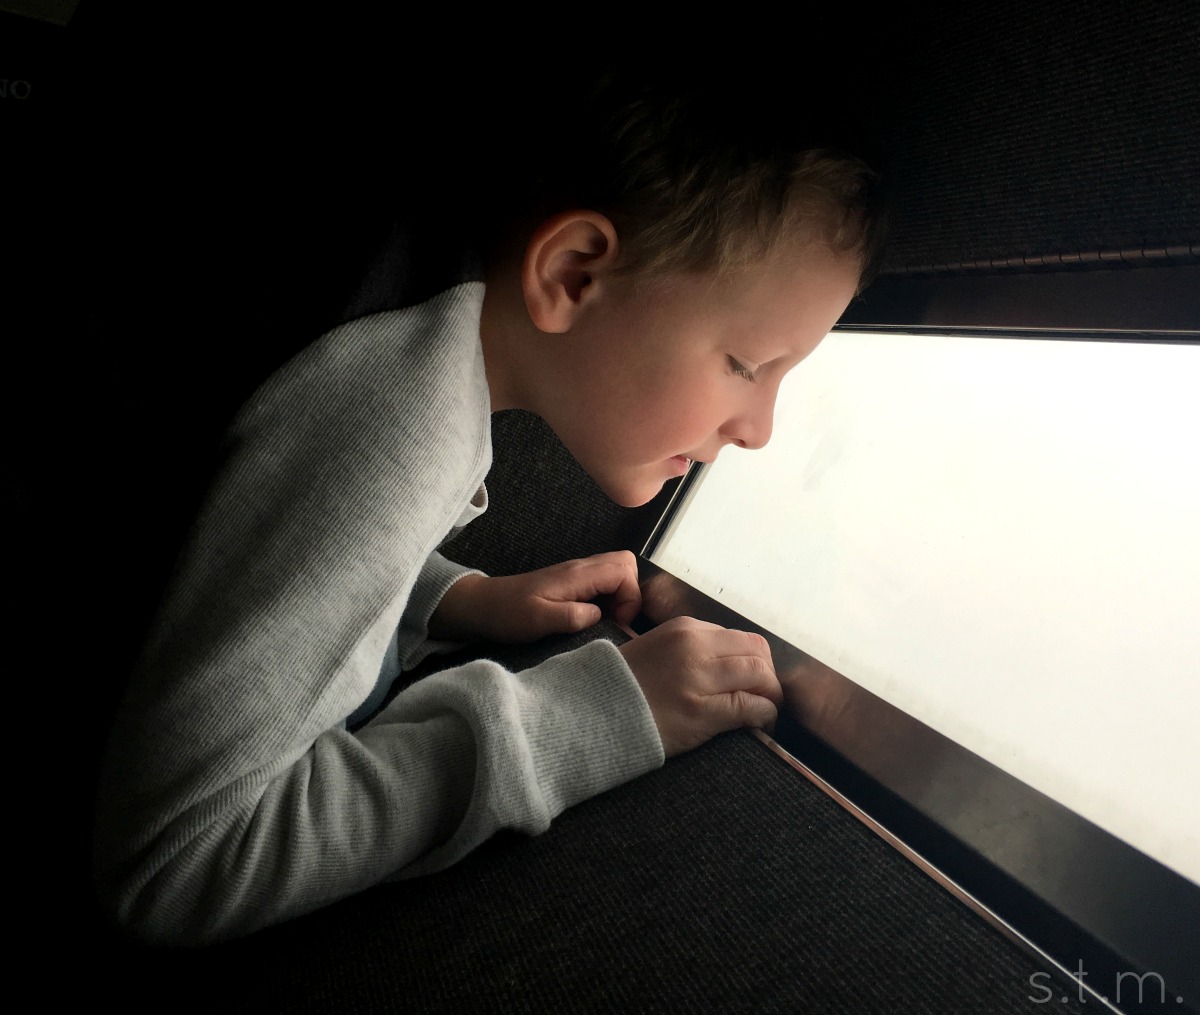
You can purchase combo tickets for the Arch and the riverboat ride, which will save you a few dollars and give you a set time to start both activities. It cost us $30 per adult and $19 per child for the combination tickets. Our ride on the river was a dry and warm endeavor, because let me tell you, the “Becky Thatcher” has a heater that will keep you toasty! We didn’t spend much time on the cold, wet deck, but we did nab a table by the large windows, perfect for city viewing and hotdog eating.

visit st louis

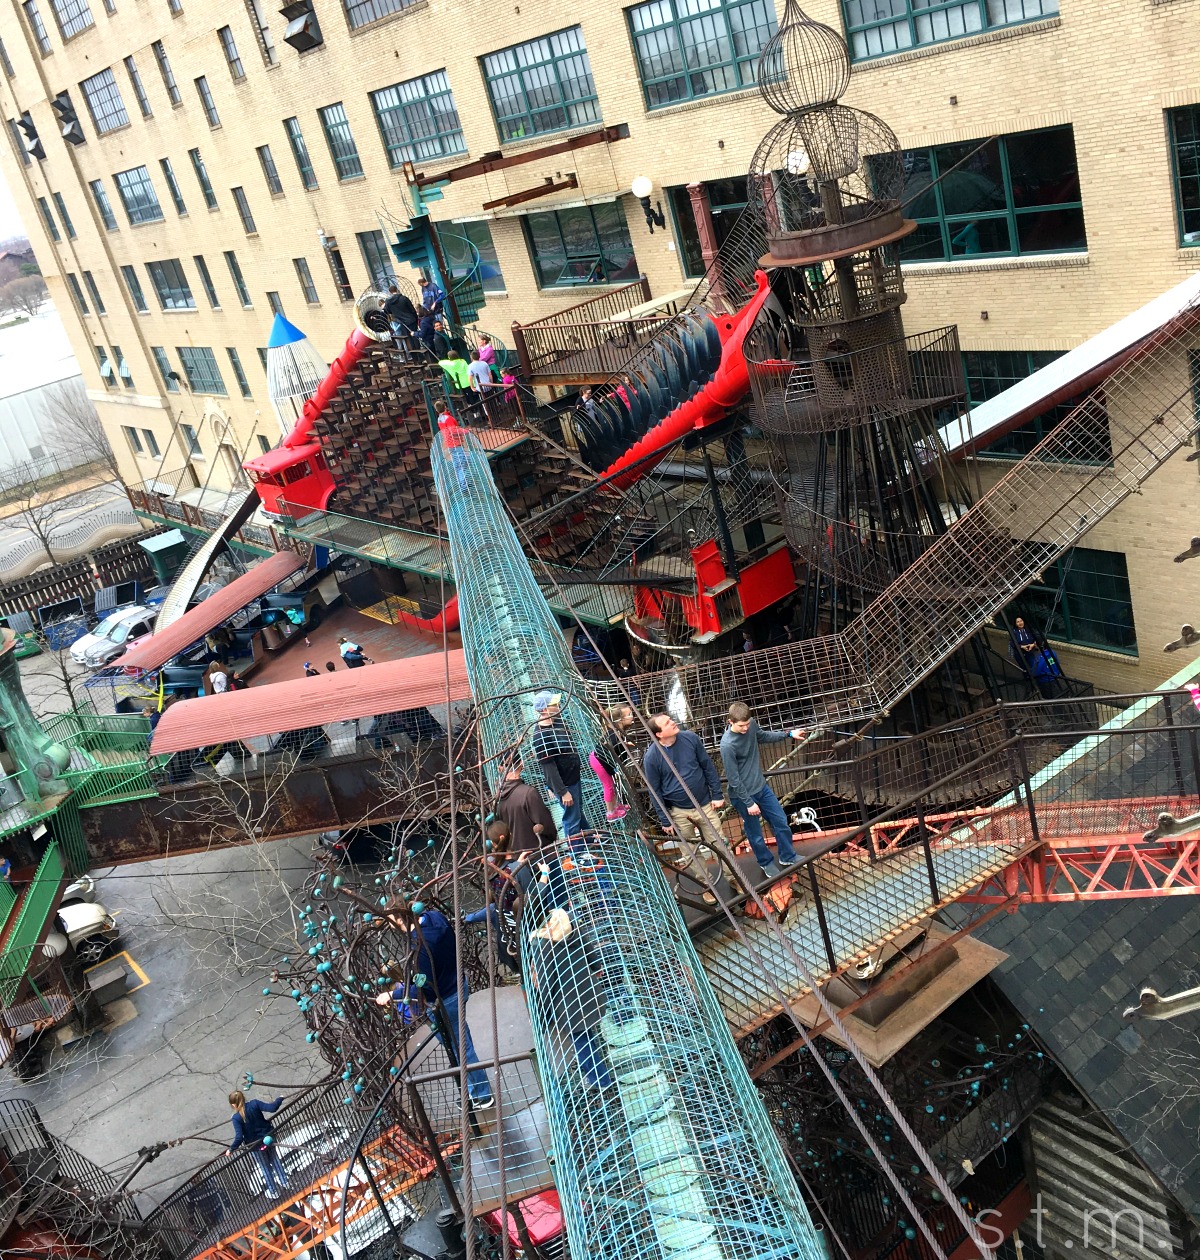
Yes, I know I skipped day two, but only because I wanted to save our favorite adventure for last — the City Museum! While it’s not really a museum in the standard sense of the word, it must be one of the coolest man-made places on Earth! I’m not even sure how to describe this place. . . It’s like a rabid welder crossed Carlsbad Caverns with the rabbit hole from Alice in Wonderland and created an incredibly insane multi-storied play place for children and their adults. This place is soooo cool! I’m not sure who had the most fun? Wait, yes I do; I think it was me!!!

visit st louis

visit st louis

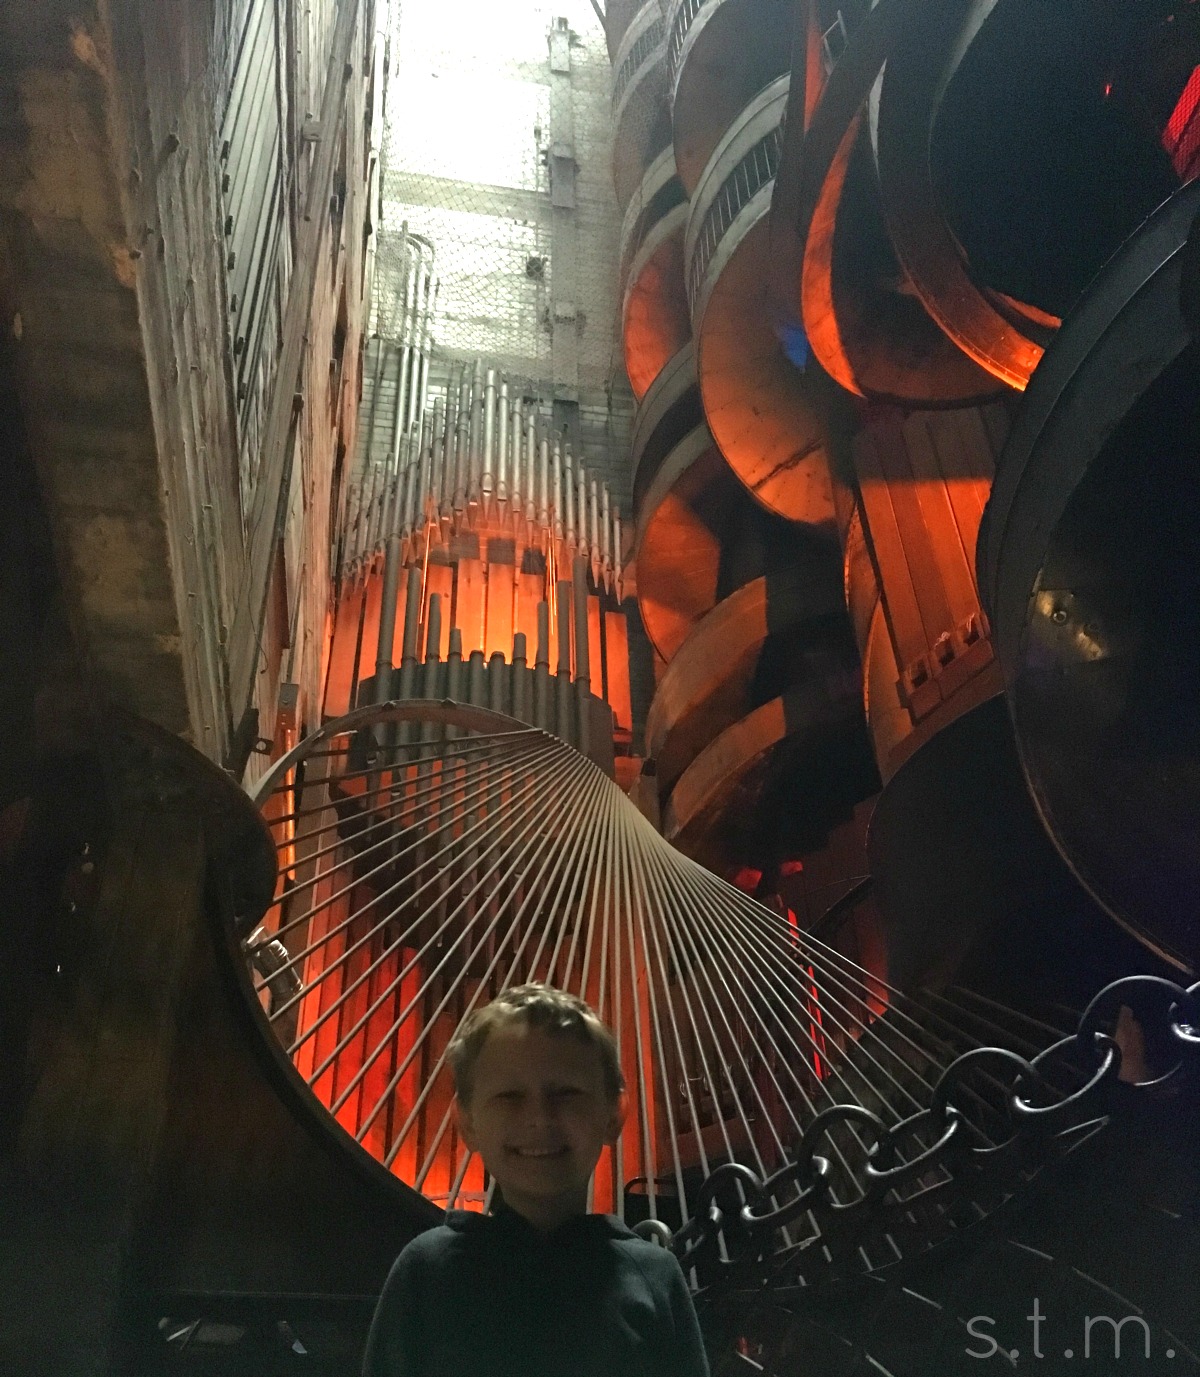
Admission is $14 for anyone three and up, but there are special rates after 5 pm or Fridays and Saturdays. When the roof is open (it wasn’t while we were there), access costs an extra $5. Don’t bother trying to pick a less busy day to visit, because according to a couple of workers the place is very popular every day between March and October. I do recommend you go on a day it isn’t raining, because there is a huge outdoor area that shuts down during inclement weather. We got lucky the day we visited because the rain didn’t start until we were walking to our car. It was another cooperative weather day for the family vacay!

As you can see, St. Louis was an awesome and energetic adventure for our little clan of three and you might understand why it wasn’t so difficult to slip back into the usual routine. Okay, so completing the taxes and discovering a refund didn’t hurt my Monday either.

Tear-Free Gingerbread Building

Tear-Free Gingerbread Building

gingerbread building

Along with a new year came the fulfillment of a fun family tradition here at The Three-Acre Wood — the eating of the gingerbread! As my boys commenced with the destruction and consuming of a weeks old gingerbread house (good thing we have dental insurance) I couldn’t help but think I should have written this post sooner rather than later, but as I’ve poured through so many plights of gingerbread making sob stories across social media I decided late is better than never. Maybe you will find your way back here before you embark on your next gingerbread building adventure.

We started building gingerbread houses, trains and other things several years ago, because it seemed like a fun family activity for the Christmas holiday. We then complete the tradition each year by eating the gingerbread on New Year’s Day. I’m not a fan of gingerbread anything, but I do manage to pick my way through a gumdrop roofline and sweet flavored shingles. 

gingerbread building

I always pick up a kit at a local craft store complete with cut cookie shapes, frosting, decorative candies and instructions. I’ve never baked a house from scratch, because. . . well, this is an article about a tearless tradition and a kit just seems like a better way to go. Even with a kit in hand, many of you can attest that building a gingerbread house can be a frustrating and tear evoking task, especially when the kids are eagerly waiting to adorn it with editable windows and sugar-covered roofs.

Through the years (and trial and error) I came up with a tear-free solution to building our beautiful brown baked houses, and it all comes down to planning. I’ve accepted that gingerbreading is not a spur of the moment task and so I peruse the calendar and plan ahead. The day before we plan to decorate, I assemble the house using the supplied frosting and house pieces. My little guy enjoys this step and it builds anticipation for the fun part of the process; besides, I can always use an extra hand to hold up walls and steady a roof.

gingerbread building

Before I begin, I select a sturdy structure on which to build, i.e. an upside down cookie sheet, stiff cardboard or, as in my case, the bottom to a Tupperware cake keeper. I start with a large end piece of gingerbread and slather it with enough frosting to stick to my platter. I then add frosting to two side pieces along the bottom and two ends. Don’t be stingy with your frosting, because it is the glue that holds this thing together. I then frost the bottom of the second large end piece and stick it in place to form the whole house without a roof. There should be frosting along all the bottoms and between every joint, except along the tops where the roof will meet the house (that will come later). If the house doesn’t seem secure, you might need to add a bit more frosting to firm it all up. Leave your house like this in a secure spot to dry for 2-3 hours.

Next comes the roof. Pipe a generous amount of frosting along all the tops of the house pieces and along one of the edges where the two roof pieces will meet. Carefully place your roof onto your house and have your family members run around wildly looking for something to wedge under the eaves to hold the roof in place. This year we used a tea cup with a small stack of business cards on one side and a Lincoln Log piece wedged against the mixer on the other. It’s not rocket science and anything that works is great; but if you don’t wedge the roof, the pieces will likely slide off before the frosting glue hardens. . . and someone (perhaps you) will shed those tears. Leave everything all rigged up like this over night and by the next day your gingerbread house should be solid enough to withstand gumdrops, peppermints and lots of little hands, without the wet eyes and frustration. Happy gingerbreading!

gingerbread building

Campfire and S’mores — Family Favorites

Campfire and S’mores — Family Favorites

s'mores

Making s’mores in the backyard is one of our favorite family activities each fall, because there’s just something about a bonfire and melted marshmallows that makes autumn feel all official.

We finally picked a new campfire spot out on our three acres, not too far from the house but not to close either. I wanted it to be somewhat secluded but still convenient for hauling out all the fixin’s. I also have this very healthy respect for fire (thanks to Smokey the Bear), and I need to make sure (my husband makes sure) every ember is doused before I can sleep at night.

s'mores

Sometimes it’s not super convenient to start a fire and collect all the ingredients for s’mores and there is always something else less fun that needs to be done, but every time we push to make a campfire happen we are totally rewarded with a bit of relaxing family time around a roaring fire and bellies full of sweet goodness. It really must be one of my favorite things on this earth.

s'mores

Of course, one doesn’t need three acres to create a great family outing. We used to build a fire and roast marshmallows in the backyard of our half-acre lot. Some parks also have fire pit areas for day use that make for a great adventure. Heck, you can even whip up some s’mores over the charcoal grill on your back deck. If you live in town, it’s also wise to check city ordinances before lighting up.

Okay, so now that I’ve just encouraged you to go play with fire, here’s my safety disclaimer. Please use all proper safety precautions before, during and after lighting a fire, Adult supervision (some husband’s probably don’t qualify 🙂 ) is required.

Happy (quickly fading) fall, y’all!


Page 2 of 3
1 2 3