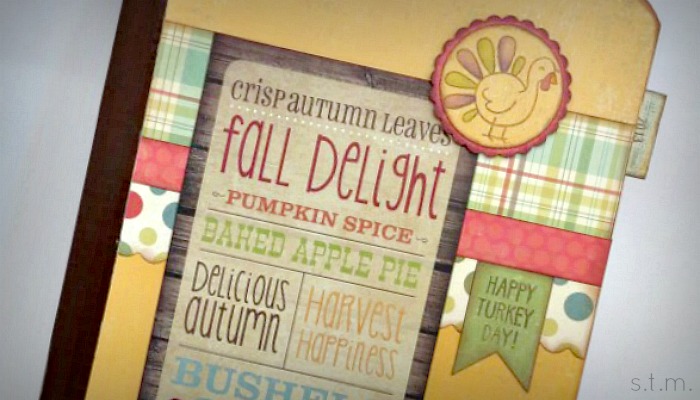
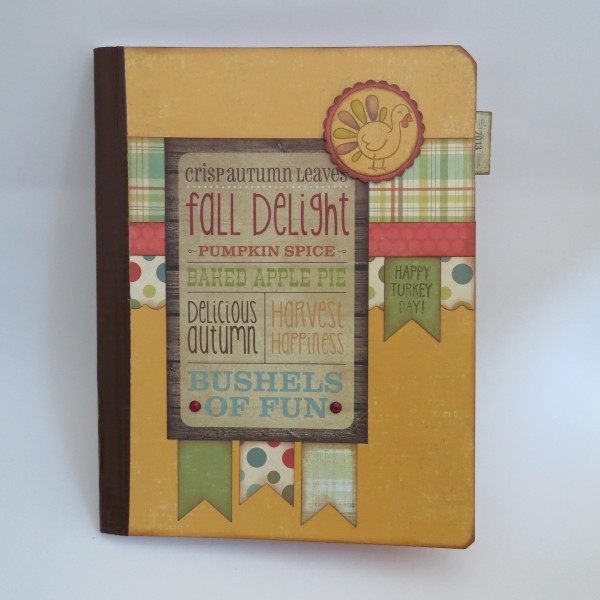
Last year I created this fun little turkey journal in which all our family members could write words of thanks on Thanksgiving day. I was pleased to see how many folks actually put their thoughts to pen and I had a great time rereading all the entries this evening as I applied the “2014” tab.
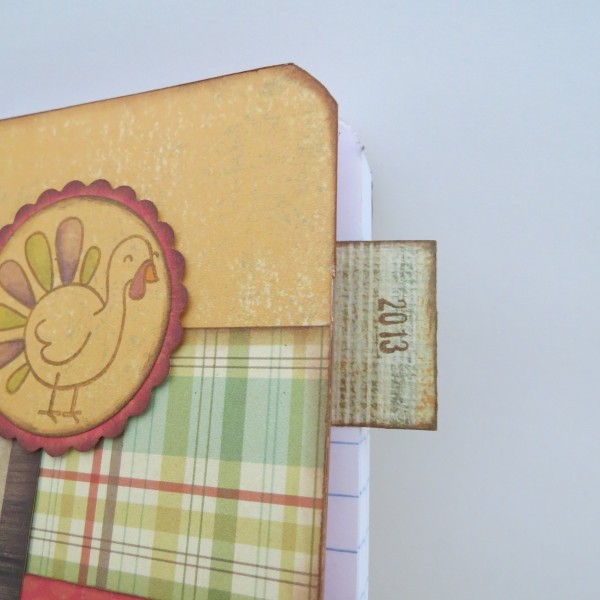
To create the journal, I simply covered a cheap composition book with coordinating papers and decorated the cover using a cute Simple Stories 4×6 card, stamps from where I can’t remember, paper dies and a bit of bling. I created the tab by cutting a 1.25 x 2″ piece of cardstock, folding it in half, stamping the year and gluing it to two pieces of paper (just to add a bit of sturdiness). Of course I inked all my edges to give everything some depth.
I just added my 2014 tab this evening using a coordinating piece of paper and can’t wait to see what everyone is thankful for this year. I think I might also add a few fun pictures in a couple of bare spots. Hopefully by the time this thing is full, there will be no way it will ever come close to lying flat.
Click on image to enlarge.