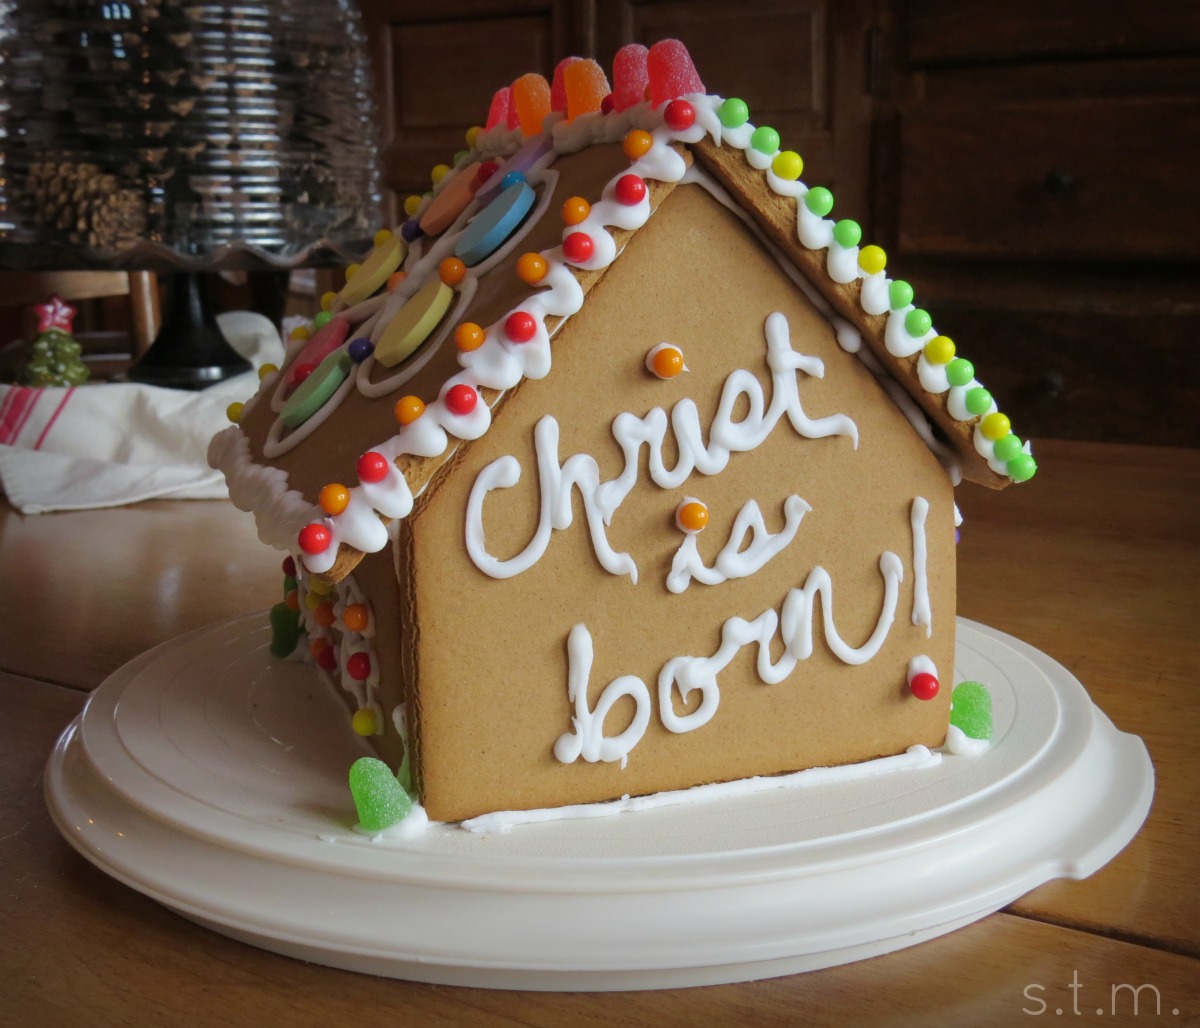
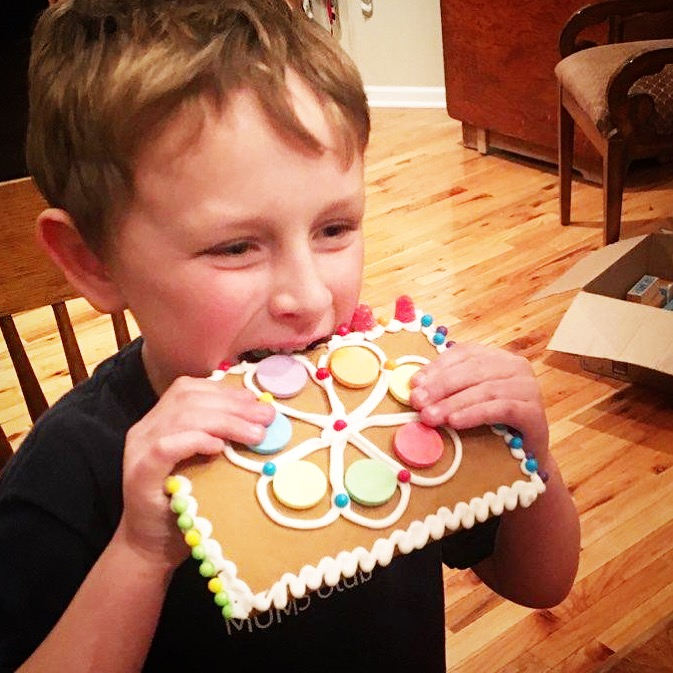
Along with a new year came the fulfillment of a fun family tradition here at The Three-Acre Wood — the eating of the gingerbread! As my boys commenced with the destruction and consuming of a weeks old gingerbread house (good thing we have dental insurance) I couldn’t help but think I should have written this post sooner rather than later, but as I’ve poured through so many plights of gingerbread making sob stories across social media I decided late is better than never. Maybe you will find your way back here before you embark on your next gingerbread building adventure.
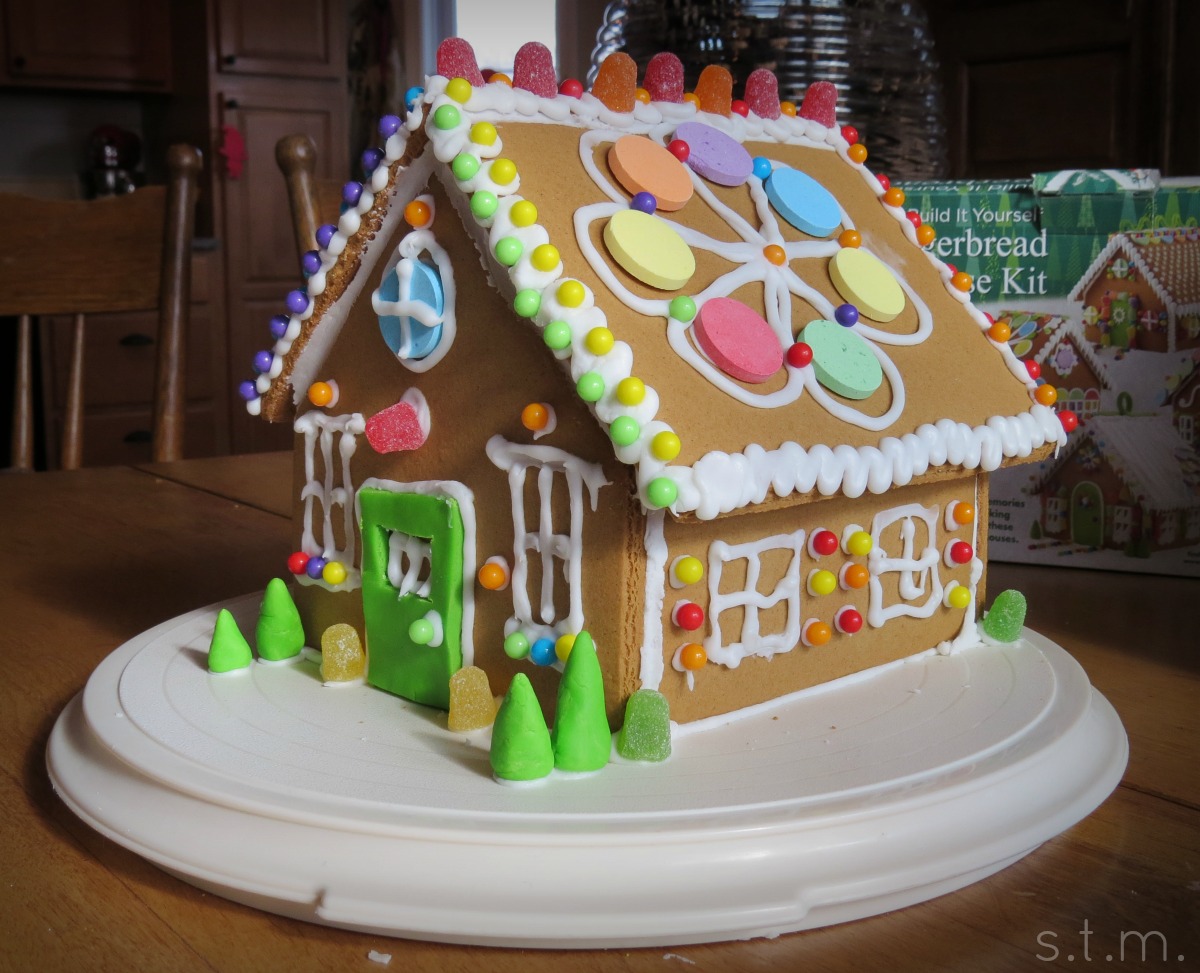
We started building gingerbread houses, trains and other things several years ago, because it seemed like a fun family activity for the Christmas holiday. We then complete the tradition each year by eating the gingerbread on New Year’s Day. I’m not a fan of gingerbread anything, but I do manage to pick my way through a gumdrop roofline and sweet flavored shingles.
I always pick up a kit at a local craft store complete with cut cookie shapes, frosting, decorative candies and instructions. I’ve never baked a house from scratch, because. . . well, this is an article about a tearless tradition and a kit just seems like a better way to go. Even with a kit in hand, many of you can attest that building a gingerbread house can be a frustrating and tear evoking task, especially when the kids are eagerly waiting to adorn it with editable windows and sugar-covered roofs.
Through the years (and trial and error) I came up with a tear-free solution to building our beautiful brown baked houses, and it all comes down to planning. I’ve accepted that gingerbreading is not a spur of the moment task and so I peruse the calendar and plan ahead. The day before we plan to decorate, I assemble the house using the supplied frosting and house pieces. My little guy enjoys this step and it builds anticipation for the fun part of the process; besides, I can always use an extra hand to hold up walls and steady a roof.
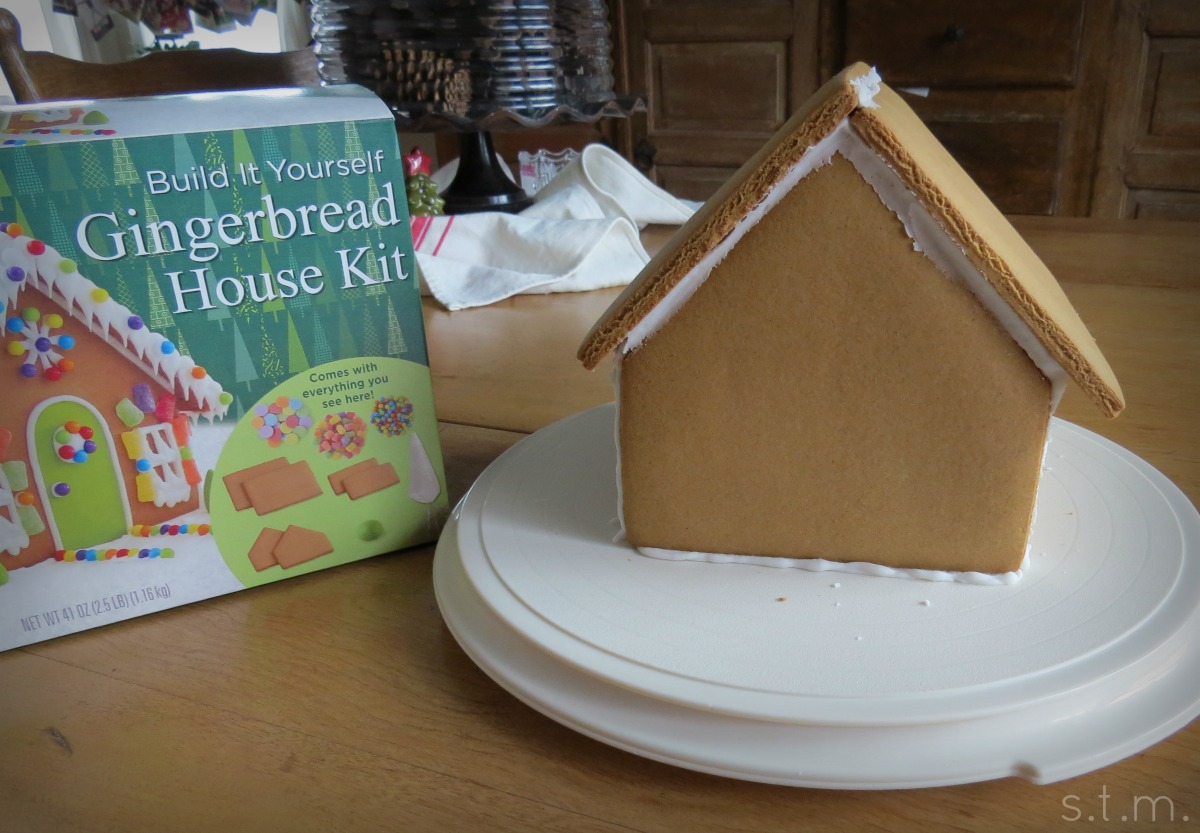
Before I begin, I select a sturdy structure on which to build, i.e. an upside down cookie sheet, stiff cardboard or, as in my case, the bottom to a Tupperware cake keeper. I start with a large end piece of gingerbread and slather it with enough frosting to stick to my platter. I then add frosting to two side pieces along the bottom and two ends. Don’t be stingy with your frosting, because it is the glue that holds this thing together. I then frost the bottom of the second large end piece and stick it in place to form the whole house without a roof. There should be frosting along all the bottoms and between every joint, except along the tops where the roof will meet the house (that will come later). If the house doesn’t seem secure, you might need to add a bit more frosting to firm it all up. Leave your house like this in a secure spot to dry for 2-3 hours.
Next comes the roof. Pipe a generous amount of frosting along all the tops of the house pieces and along one of the edges where the two roof pieces will meet. Carefully place your roof onto your house and have your family members run around wildly looking for something to wedge under the eaves to hold the roof in place. This year we used a tea cup with a small stack of business cards on one side and a Lincoln Log piece wedged against the mixer on the other. It’s not rocket science and anything that works is great; but if you don’t wedge the roof, the pieces will likely slide off before the frosting glue hardens. . . and someone (perhaps you) will shed those tears. Leave everything all rigged up like this over night and by the next day your gingerbread house should be solid enough to withstand gumdrops, peppermints and lots of little hands, without the wet eyes and frustration. Happy gingerbreading!