Tag: birdseed cake

Wildlife Flock to Homemade Seed Cakes

Wildlife Flock to Homemade Seed Cakes

homemade seed cake

Winter finally arrived a couple of weeks ago and with it came freezing temps and a light layer of snow. Unfortunately for our local wildlife, we’ve been so busy traveling, celebrating and reclaiming our home after the holidays that we haven’t been supplementing their food as quickly as we normally do.

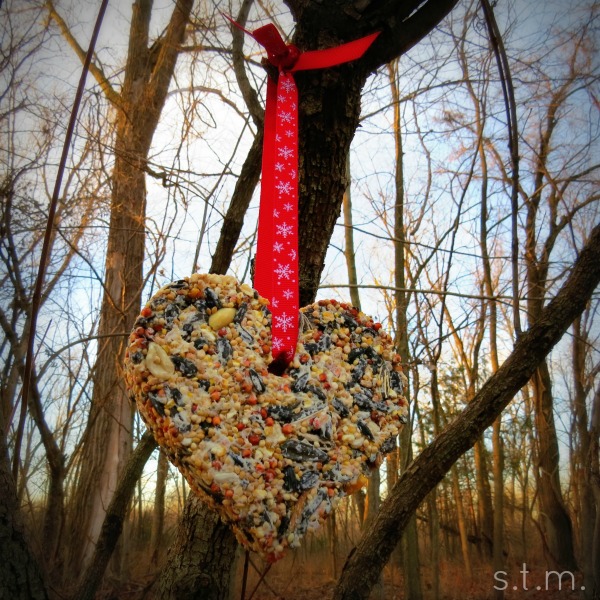
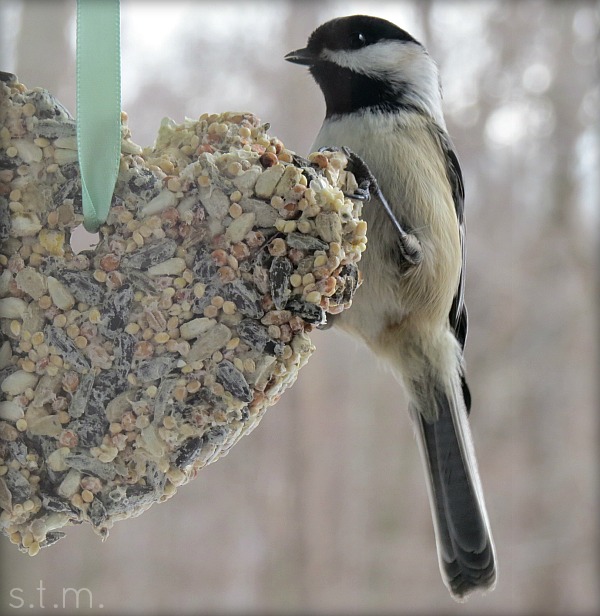
So yesterday morning I pulled out one of my homemade seed cakes I made and stored last year and hung it outside the house. After a couple of hours about town, we came home to oodles of squirrels and a variety of birds already partaking of this tasty treat. My little guy and I sat for quite some time just watching them scramble for the food (and I felt terrible that I hadn’t hung it out sooner).

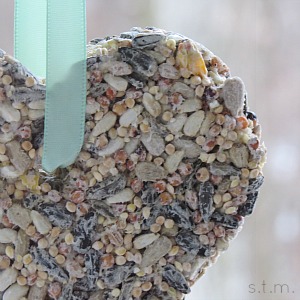
If you are interested in making your own homemade seed cakes, you can read and print the recipe at Seed Cake Recipe for the Birds. They are super simple and fun to make, and they apparently store for quite some time in a plastic baggy. Just make sure they are nice and dry before sealing.

Seed Cake Recipe for the Birds

Seed Cake Recipe for the Birds

When the flurries are flyin’ and you’re stuck inside, why not bring a few birds to your window with these homemade birdseed cakes. I had my doubts when I first tried this recipe, but they really are easy to make and the birds love them.

BirdSeedCake

Birdseed Cakes
This one is for the birds -- homemade seed cakes
Write a review
Print
Ingredients
  1. 3/4 c all-purpose flour
  2. 1/2 c water
  3. 1 envelope unflavored Knox gelatin
  4. 4 c birdseed
  5. nonstick cooking spray
  6. cookie cutters
  7. wax paper
  8. drinking straws
  9. ribbon or string
Instructions
  1. Combine the flour, water and gelatin in a large mixing bowl until well combined.
  2. Add the birdseed to the mixture and stir until well coated.
  3. Coat the inside of large cookie cutters with the nonstick cooking spray and place the cutters on a sheet of waxed paper.
  4. Completely fill each of the cutters with the seed mixture, making sure to press it into all the little nooks and crannies.
  5. Cut a piece of straw for each cookie cutter and carefully insert it into each shape (not too close to the edge) and leave it in place. This will make a hole from which to hang the seed cake.
  6. Let the filled cutters set for two hours,
  7. Carefully push the dried seed mixture out of the cutters and onto the wax paper, and remove the straw pieces.
  8. Allow the shapes to dry overnight.
  9. Insert a piece of ribbon or string through the holes in your seed cakes, tie them off and hang them from the nearest tree.
Notes
  1. This is a great kid-friendly project and also makes wonderful gifts.
https://www.smalltalkmama.com/