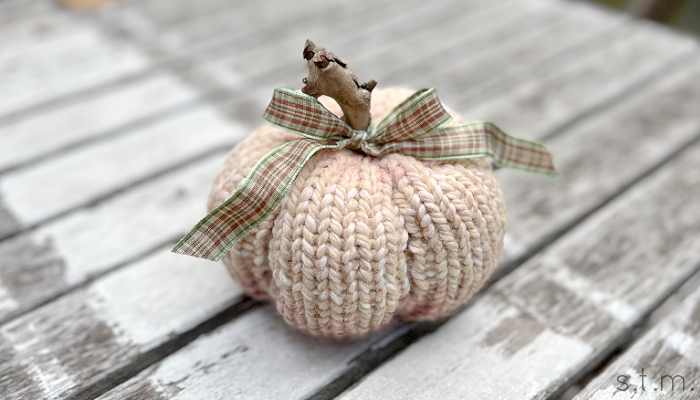
Tag: autumn

Campfire and S’mores — Family Favorites

Campfire and S’mores — Family Favorites

s'mores

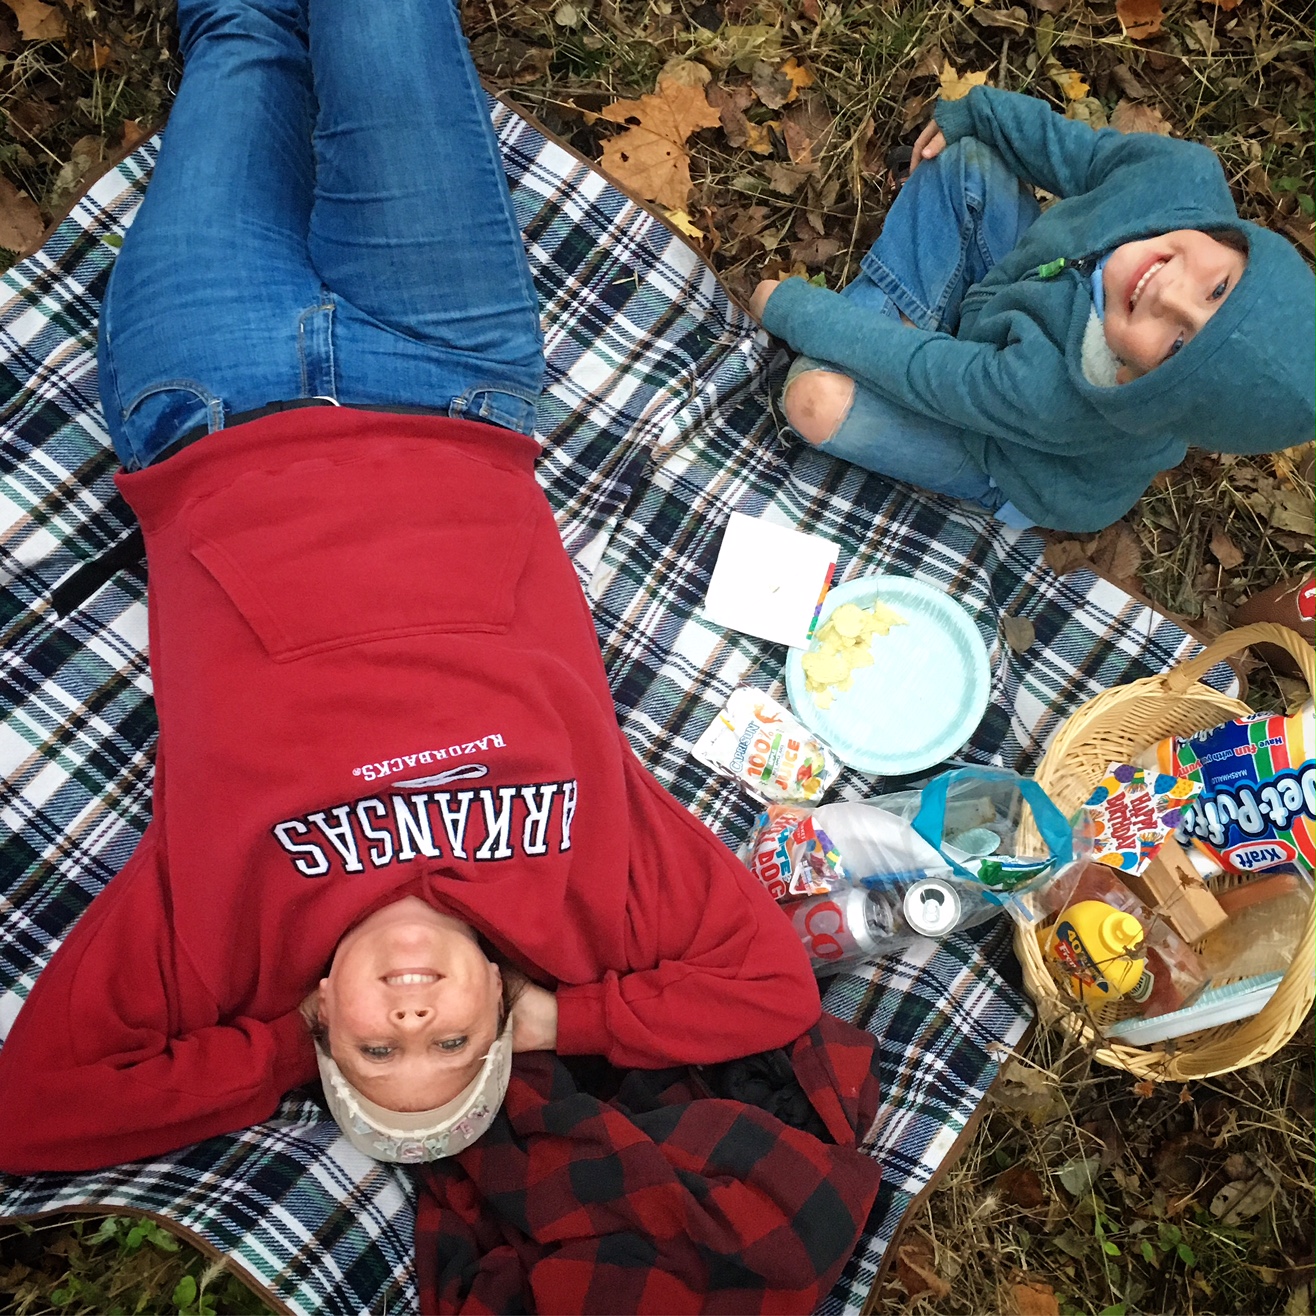
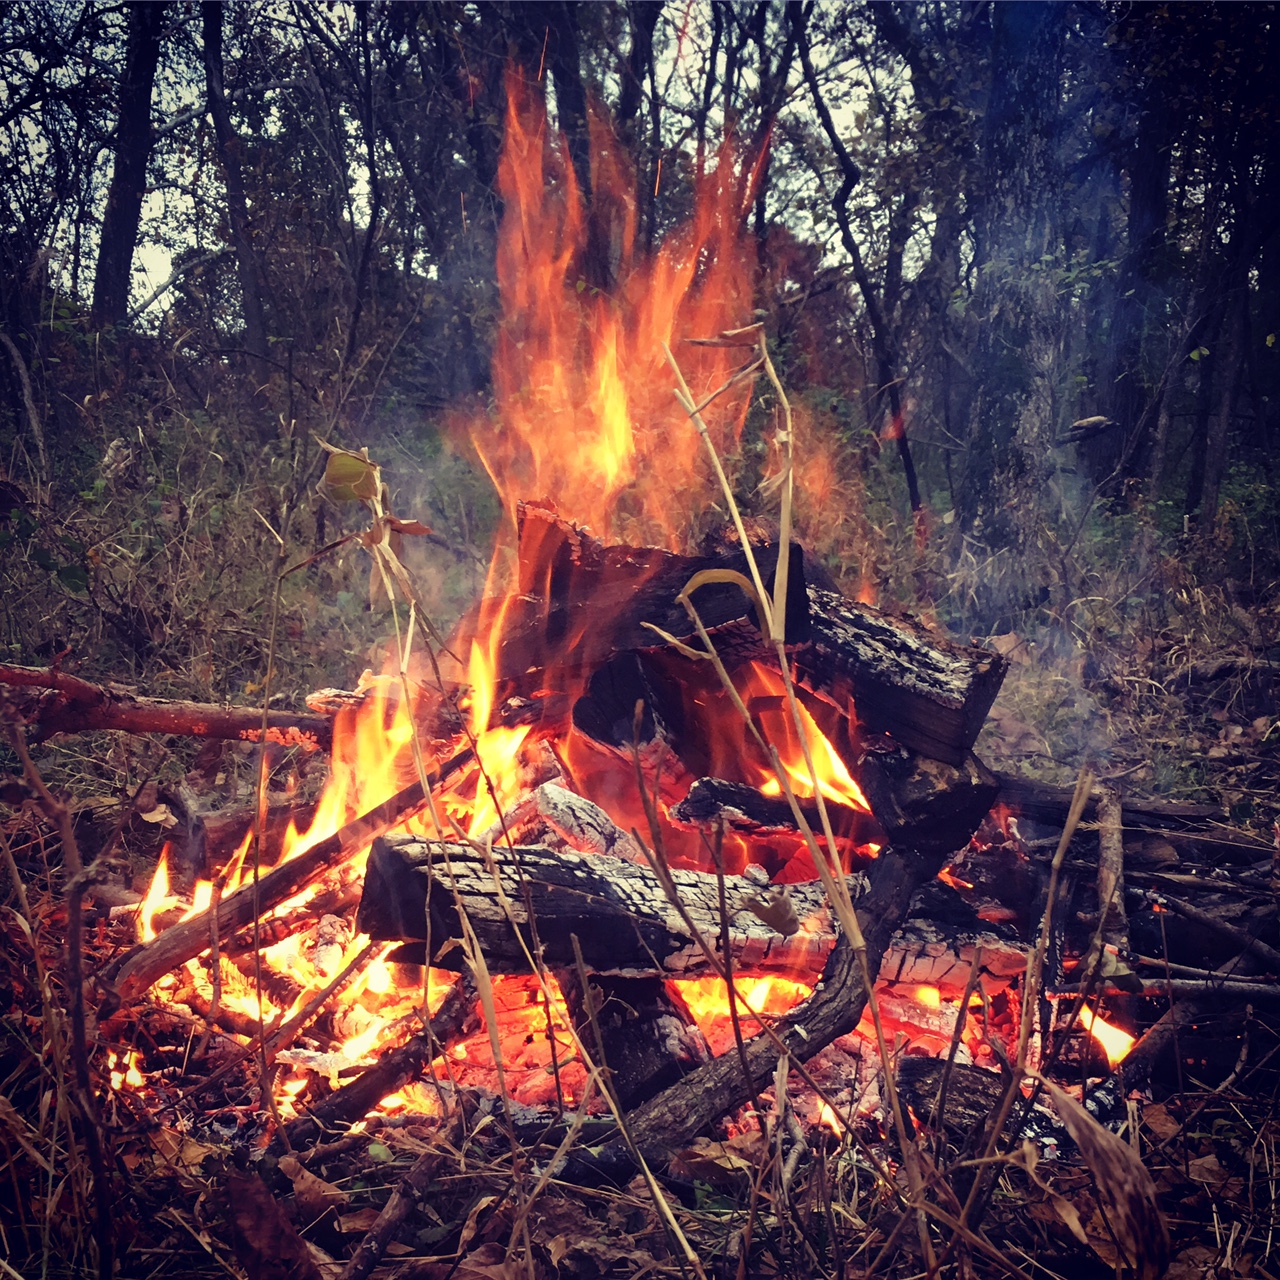
Making s’mores in the backyard is one of our favorite family activities each fall, because there’s just something about a bonfire and melted marshmallows that makes autumn feel all official.

We finally picked a new campfire spot out on our three acres, not too far from the house but not to close either. I wanted it to be somewhat secluded but still convenient for hauling out all the fixin’s. I also have this very healthy respect for fire (thanks to Smokey the Bear), and I need to make sure (my husband makes sure) every ember is doused before I can sleep at night.

s'mores

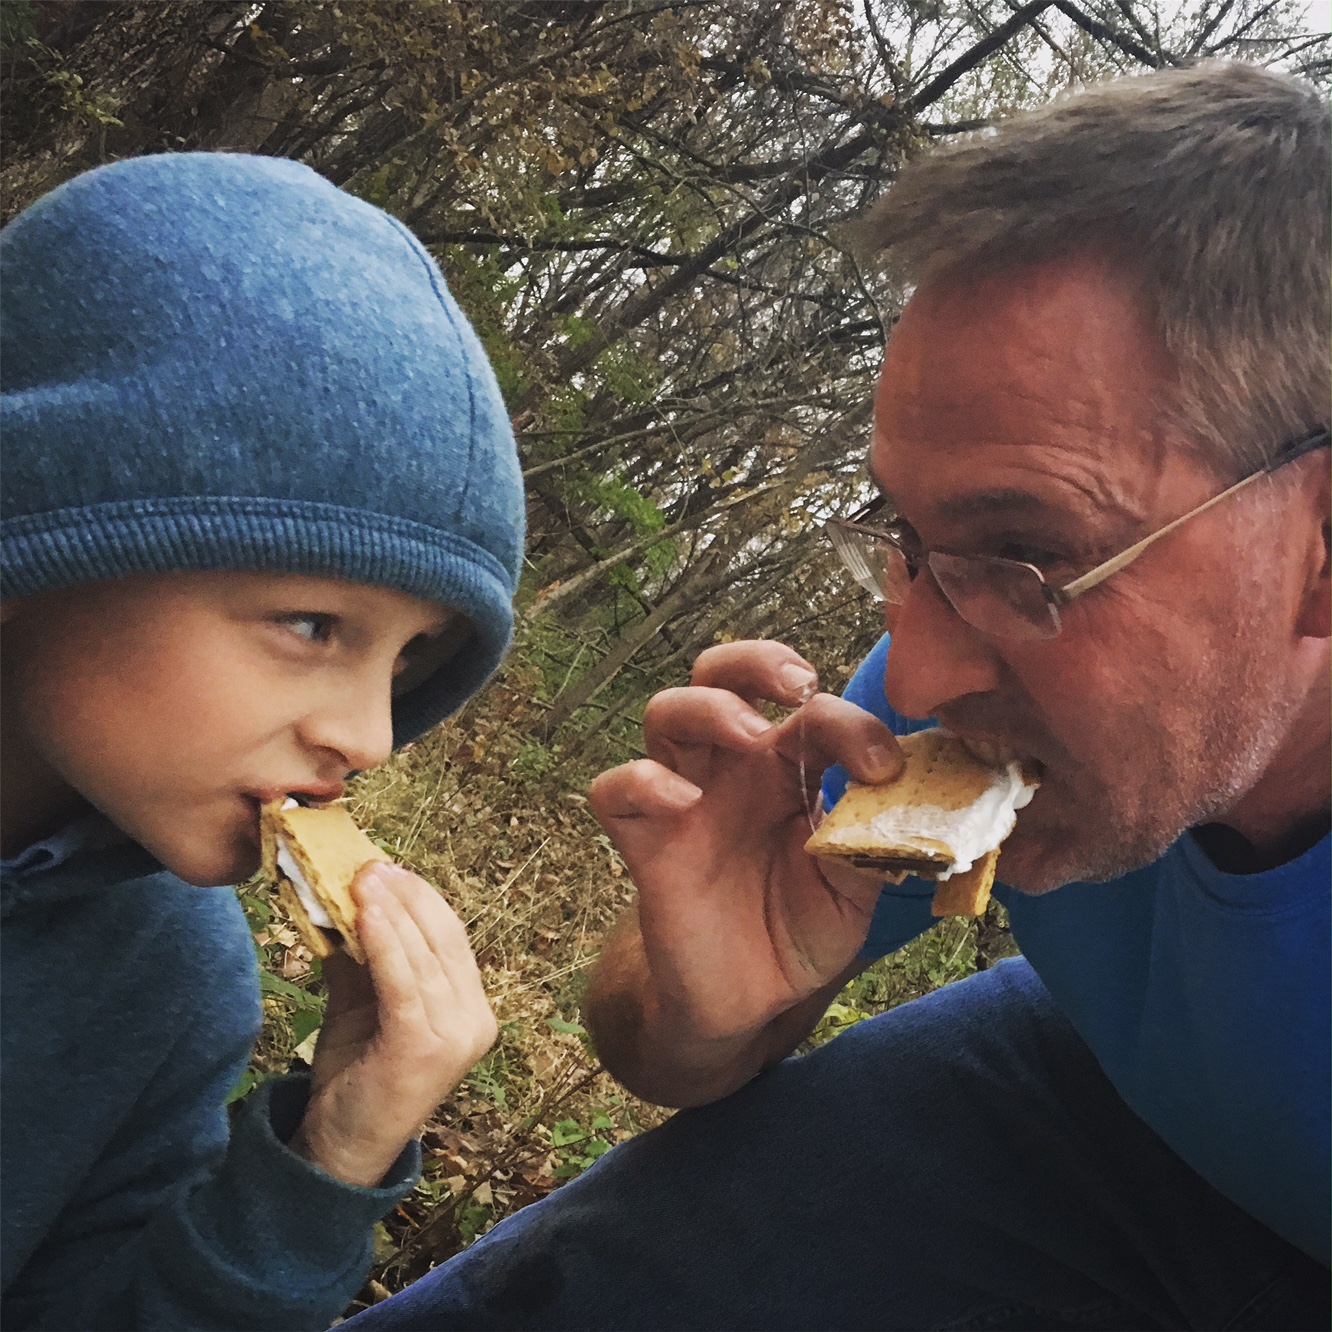
Sometimes it’s not super convenient to start a fire and collect all the ingredients for s’mores and there is always something else less fun that needs to be done, but every time we push to make a campfire happen we are totally rewarded with a bit of relaxing family time around a roaring fire and bellies full of sweet goodness. It really must be one of my favorite things on this earth.

s'mores

Of course, one doesn’t need three acres to create a great family outing. We used to build a fire and roast marshmallows in the backyard of our half-acre lot. Some parks also have fire pit areas for day use that make for a great adventure. Heck, you can even whip up some s’mores over the charcoal grill on your back deck. If you live in town, it’s also wise to check city ordinances before lighting up.

Okay, so now that I’ve just encouraged you to go play with fire, here’s my safety disclaimer. Please use all proper safety precautions before, during and after lighting a fire, Adult supervision (some husband’s probably don’t qualify 🙂 ) is required.

Happy (quickly fading) fall, y’all!


Happy Fall Blocks with a Winter Twist

Happy Fall Blocks with a Winter Twist

fall blocks

Wow, summer decided it was not going quietly this weekend as we posted temps in the 90s here in the Midwest. My son got out of school three hours early on the first day of fall last Friday, so we headed to the zoo. . . let me just say I’m awfully thankful for the indoor penguin exhibit!! Tonight promises rain and much cooler temps, so it should finally start feeling like autumn, at least for several days.

zoo penguins

Okay, so I just had to share a fun penguin pic with you from our summer-feeling fall day at the zoo. We pretty much had the place to ourselves.

As I have been slowly pulling out my autumn dĂ©cor, I came across this fun little fall blocks project I made at one of our awesome MOMS Club® events. My friend, Stephanie, did all the legwork for this one, so all we had to do was ink, paste and Mod Podge. That’s about as easy as it gets for such a cute little craft. Thanks, Stephanie! Today, I’m going to share the process with all of you so that you can assemble your own at home, but there will be some sawing involved, because I’m afraid Stephanie doesn’t come with the directions.

Supplies Needed:

  • 1 2×4 piece of wood (one 8 ft length will make several of these projects)
  • 1 2×2 piece of wood (one 8 ft length will make several of these projects)
  • Coarse sandpaper, with or without an electric sander.
  • Letters (you can buy them precut, use a Cricut machine or even store-bought stickers) — You will need an F and two Ls. You will also need the word “happy” or enough small letters to spell out the word.
  • Paper leaf (you can buy this precut, use a Cricut machine or even store-bought stickers)
  • Coordinating background paper
  • Mod Podge
  • paintbrush for applying Mod Podge

Directions:

  1. The first step is to cut the pieces of wood down to the correct size. Cut the 2×4 down to the following sizes: two pieces 2 3/4″ wide, two pieces 2 1/4″ wide and 2 3/4″ tall. Note: these were sizes for the letters and leaf we used, so you can measure your letters and cut accordingly, if you choose.
  2. Next, cut the 2×2 to size. Our piece was about 4 1/2″ long, but measure the distance of your other blocks pushed together and check your measurement before cutting. Naturally, if you cut your 2×4 blocks different sizes, this block will also be a different size.
  3. Once you have all your blocks cut to size, use your sander/sand paper to round off all the edges and corners for a smooth finished look.
  4. This step is optional, but I like to ink all my edges for a bit more interest with a coordinating color. Do this before you start pasting down things, because you won’t have any luck after.
  5. Now it’s time to start assembling your blocks. We used Mod Podge on the backside of our paper, letters and leaf as an adhesive. Once everything is pasted down, put a nice coat of Mod Podge on top of everything. This will make sure all your elements stay put and add some protection.
  6. After everything dries, you are ready to welcome autumn with your cute handmade blocks!

Okay, so here’s the winter twist I promised for this project. If you want your blocks to pull double duty, simply add a backside that nods to cooler weather. Use coordinating papers and letters and add a little snowflake to welcome winter with just a simple flip.

blocks


Page 1 of 3
1 2 3