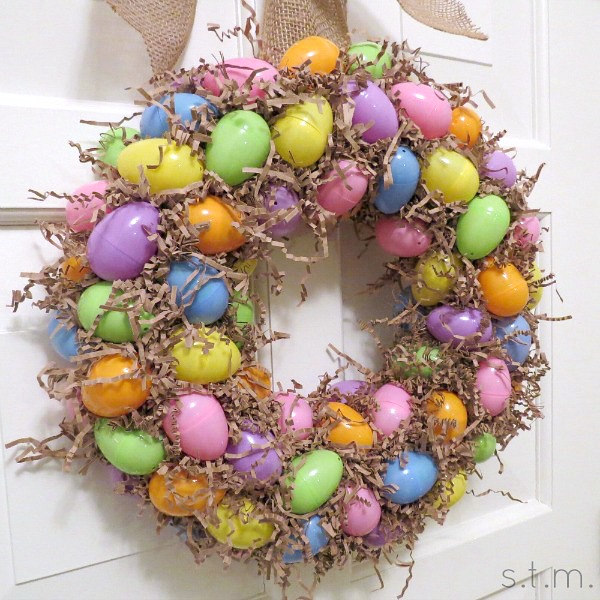
I know March is not quite finished and the temperature outside is a brisk 30 something degrees, but Easter will be upon us before we hardly blink. Sooo, as I try to get into the creative Spring of things I decided to whip up an Easter wreath this weekend. “Whip” may not be the most accurate word to use because it took about three hours to make this cute little thing, but it was easy and cheap enough to create.
The wreath cost me about $10.50 to make, minus the burlap ribbon and hot glue sticks I already had on hand – pretty affordable, I thought. The idea came from the Clover House blog, but I’ll give you a few pointers that will hopefully make your project a success without a few of the pitfalls I experienced.
Update: I removed the plastic wrap from my wreath before starting the project, but my mom tried it using these directions without removing the plastic packaging. Her eggs seemed to stay on a bit better, but it could have been her hot glue, skill, etc. . . just a thought.
Materials:
- 12″ straw wreath
- plastic eggs (I used approx. 75 regular sized eggs)
- 2 bags of paper basket filler
- ribbon for hanging wreath (I used approx. 3 feet of ribbon)
- glue gun and glue sticks
- flat head screwdriver
Directions:
- Start by finding the center of your ribbon and hot glue it around the straw wreath, letting the ends lie loose.
- Tip: Even if your eggs seem to stay in place with hot glue, about the time you finish your lovely little project they will probably start popping off (been there, done that). Smooth plastic surfaces and hot glue don’t tend to mix for very long, but here’s a way to fix this problem ahead of time. Open up each egg and put a glob of hot glue at the hinge point and close the egg quickly. The hot glue should ooze out the edge and give your new dollop of hot glue something on which to adhere.
- Start gluing eggs to your straw wreath using the hot glue. Mix up the orientation and angle of the eggs to get a less-uniform look. Place the eggs pretty close together, but they don’t have to quite touch. You will have larger spaces between the eggs in many spots and that’s okay because we will fill those with the basket filler. Make sure to glue eggs on the outside and inside of the wreath, but not on the back.


- After all the eggs are glued in place take small wads of basket filler and start poking them in the gaps between each egg. Use the flat head to do this and stuff each area pretty full. You don’t need to glue the filler in place, because it should just stay where you put it as each spot fills and tightens.
- Tie a bow at the top of your ribbon and hang your wreath in its designated spot. That’s it!
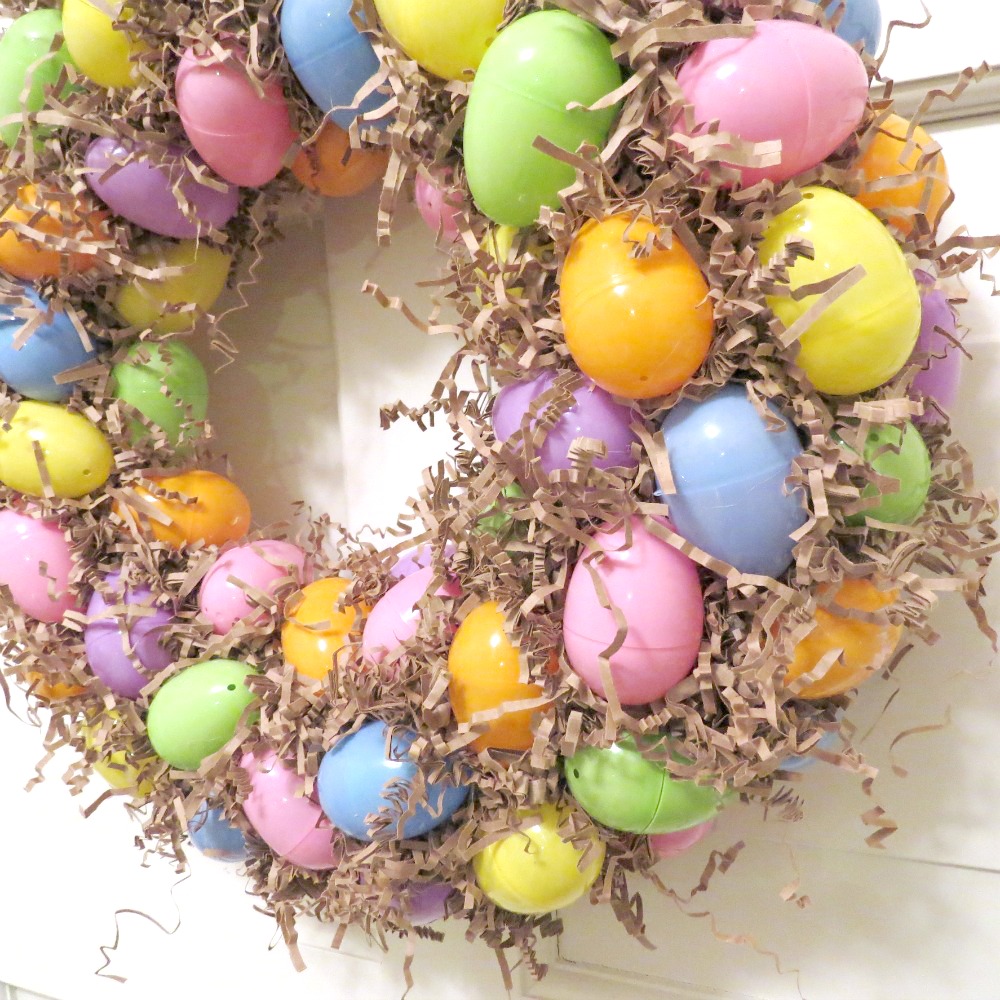
I used pastel eggs, brown basket filler and burlap ribbon for my wreath, but you could use whatever you have on hand, opt for a less earthy feel or even color block your eggs to suit your style. It really is an adorable idea for Easter décor and easy to make if you have a bit of time and don’t mind playing with a hot glue gun. I hope you enjoy!
*****
Shared at:
Wow Us Wednesdays @ Savvy Southern Style
Inspire Me Tuesday @ A Stroll Through Life
What We Accomplished Wed. @ Green Willow Pond
What’s It Wednesday @ Ivy and Elephants
Your wreath turned out very cute! I can see this with all speckled robins egg blue or even all pink or white eggs too. Great tutorial! Thank you for sharing it and your jello playdough recipe at What We Accomplished Wednesdays. Blessings, Deborah
Thanks for stopping by. I’m always happy to party with you.
Hi,
I would like to propose the link exchange deal with your website smalltalkmama.com, for mutual benefit in getting more traffic and improve search engine’s ranking, absolutely no money involve.
We will link to you from our Music & Entertainment’s authority site – http://www.recordpools.org/, from its homepage’s sidebar. In return you will agree to do the same to link back to one of our Music-related Blog, from your smalltalkmama.com’s homepage too (sidebar, footer, or anywhere on your homepage), with our brand name The Guitar Junky.
If you are interested, kindly reply to this email.
Thank you,
Charles
Hi,
I would like to propose the link exchange deal with your website smalltalkmama.com, for mutual benefit in getting more traffic and improve search engine’s ranking, absolutely no money involve.
We will link to you from our Music & Entertainment authority site – http://www.loudthings.org/, from its homepage’s sidebar. In return you will agree to do the same to link back to one of our music website, from your smalltalkmama.com’s homepage too (sidebar, footer, or anywhere on your homepage), with our brand name The Guitar Junky.
If you are interested, kindly reply to this email.
Thank you,
Charles