Today I’m sharing a couple of recently completed DIY projects for the September Sapphire Even Day Blog Challenge (I’m going to call it the “Even Day Challenge” for the rest of the month just so I don’t leave anything out). I love a good deal and I love furniture, so taking something from trash to treasure is a great deal of fun and/or rewarding for me. Believe me, I’m not above pulling out an old chair or chest of drawers from someone’s road-side trash pile.
These two projects are just small little things that were quick and easy to complete. For most of my furniture pieces I use sand paper, flat paint and soft wax. With these three tools I can quickly redo a table, chair or cabinet from start to finish; adding the extras is where it takes time, attention and a bit of product testing.
Project #1 – Pair of BEEutiful Children’s Chairs
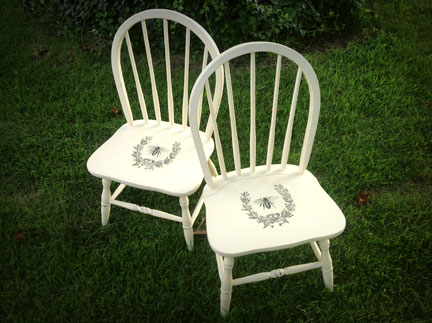
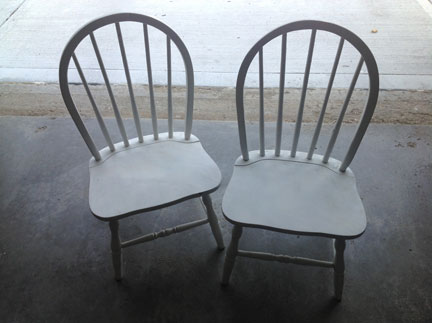
These wobbly white children’s chairs cost $7.00 for the pair, and with the tightening of a few screws, a coat of paint and the addition of a beautiful bee graphic from The Graphic’s Fairy, they became a great resale product for an antique store. You can read the whole story on how I transformed these cute little things on my blog. Just one word of advice, experiment with your own chalk paint BEFORE you start painting.
Project #2 – Monogrammed Side Table
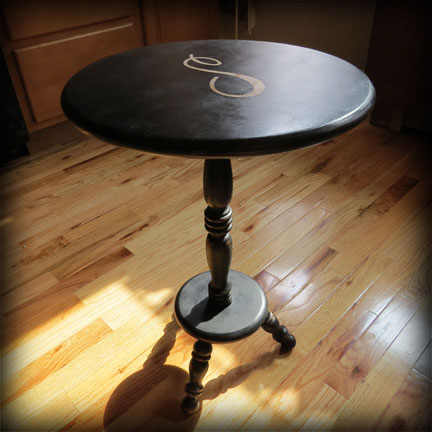

I had this little table hanging out around my house for about a year before I decided to give it a face lift. It had been outside, inside, held pumpkins and mums, and had been just plain ugly the entire time. With the purchase of new living room furniture, I decided it would find a final resting place as a side table (but it still needed major help). I actually used flat black spray paint on this project because of all the spindley things — getting a smooth coat of paint on that was not something I was looking forward to doing with a brush. Before I sanded and painted, I put my Cricut machine to good use and cut a monogram letter out of sticker paper for the top. After spraying the entire piece, I peeled off the sticker, sanded some more and waxed the entire piece. . . and it really was just about that easy, and quick (once I decided its fate).